It is exciting to start a new Minecraft world. You spawn in an unfamiliar environment with nothing but your hands and curiosity. However, the First Few in-game days are the most important. What you do early on determines how smoothly your world progresses. Many players struggle at the beginning because they gather random resources without a clear plan, which often leads to dying at night or wasting valuable time.
A strong early game strategy focuses on Survival, resource gathering, and building a stable foundation for later exploration. By following a simple, structured approach during the first few days, you can quickly move from struggling to survive to confidently exploring caves, mining diamonds, and preparing for bigger adventures.
This guide walks you through the best early game strategy step by step so you can start every new world efficiently and safely.
Understanding the Early Game Phase
The early game in Minecraft usually covers the first three to five in-game days. During this period, players are limited in tools, armor, and resources. Mobs are dangerous, food may be scarce, and you have no established base.
Your main objectives during the early phase should be:
-
Securing basic resources
-
Building a temporary shelter
-
Preparing for mining and exploration
Instead of wandering aimlessly, a focused plan will help you progress quickly and avoid unnecessary risks.
Step 1: Gather Wood Immediately
The first thing you should do after spawning is collect wood. Wood is the foundation of nearly every early crafting recipe.

Punch nearby trees until you collect at least 10–20 logs. Convert those logs into wooden planks in your inventory.
From these planks, craft the following items:
-
Crafting table
-
Wooden pickaxe
-
Wooden axe
-
Sticks
The crafting table unlocks many recipes and should be placed on the ground as soon as possible.
Although wooden tools are weak, they allow you to start gathering better materials quickly.
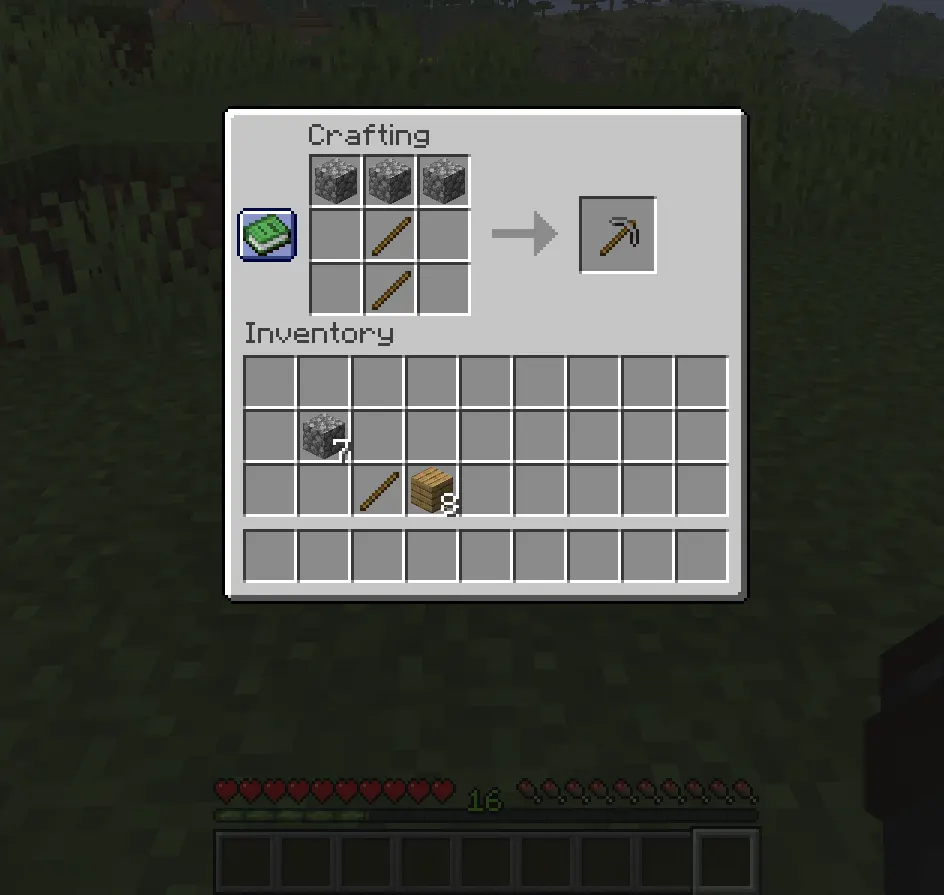
Step 2: Upgrade to Stone Tools Quickly
Once you have a wooden pickaxe, the next goal is to find stone. Stone tools are significantly stronger and more efficient than wooden ones.
Look for exposed stone in:
-
Hillsides
-
Small caves
-
Riverbanks
-
Cliff faces
Mine at least 20 pieces of cobblestone. Use them to craft:
-
Stone pickaxe
-
Stone axe
-
Stone sword
-
Stone shovel
-
Furnace
These tools will make gathering resources much faster and also help you defend yourself from hostile mobs.
Upgrading to stone within the first few minutes greatly improves your survival chances.
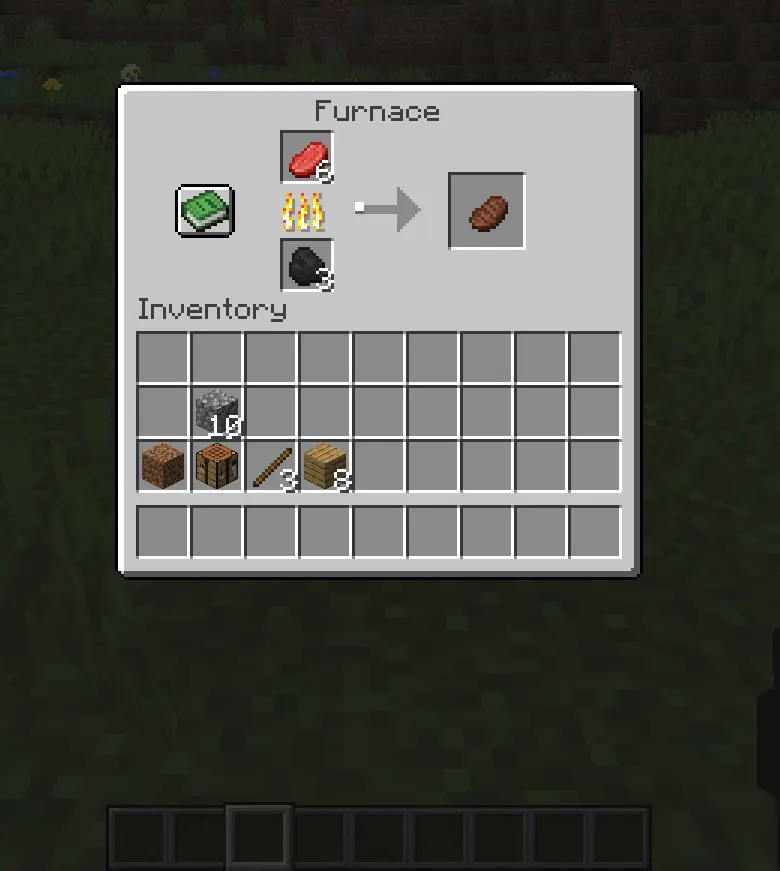
Step 3: Secure Food Early
Food is essential because hunger affects your ability to regenerate health and sprint.
Look around your spawn area for easy food sources such as:
-
Cows
-
Sheep
-
Pigs
-
Chickens
Hunt a few animals to collect raw meat. Then use the furnace to cook it, which restores more hunger than raw food.
If animals are scarce, you can also collect:
-
Apples from oak trees
-
Sweet berries in taiga biomes
-
Fish from rivers or oceans
Later, farming becomes the most reliable food source, but in the early game, animal hunting is the fastest method.
Step 4: Build a Temporary Shelter Before Night
Night in Minecraft is dangerous, especially when you lack armor and strong weapons. Zombies, skeletons, and creepers can easily overwhelm new players.
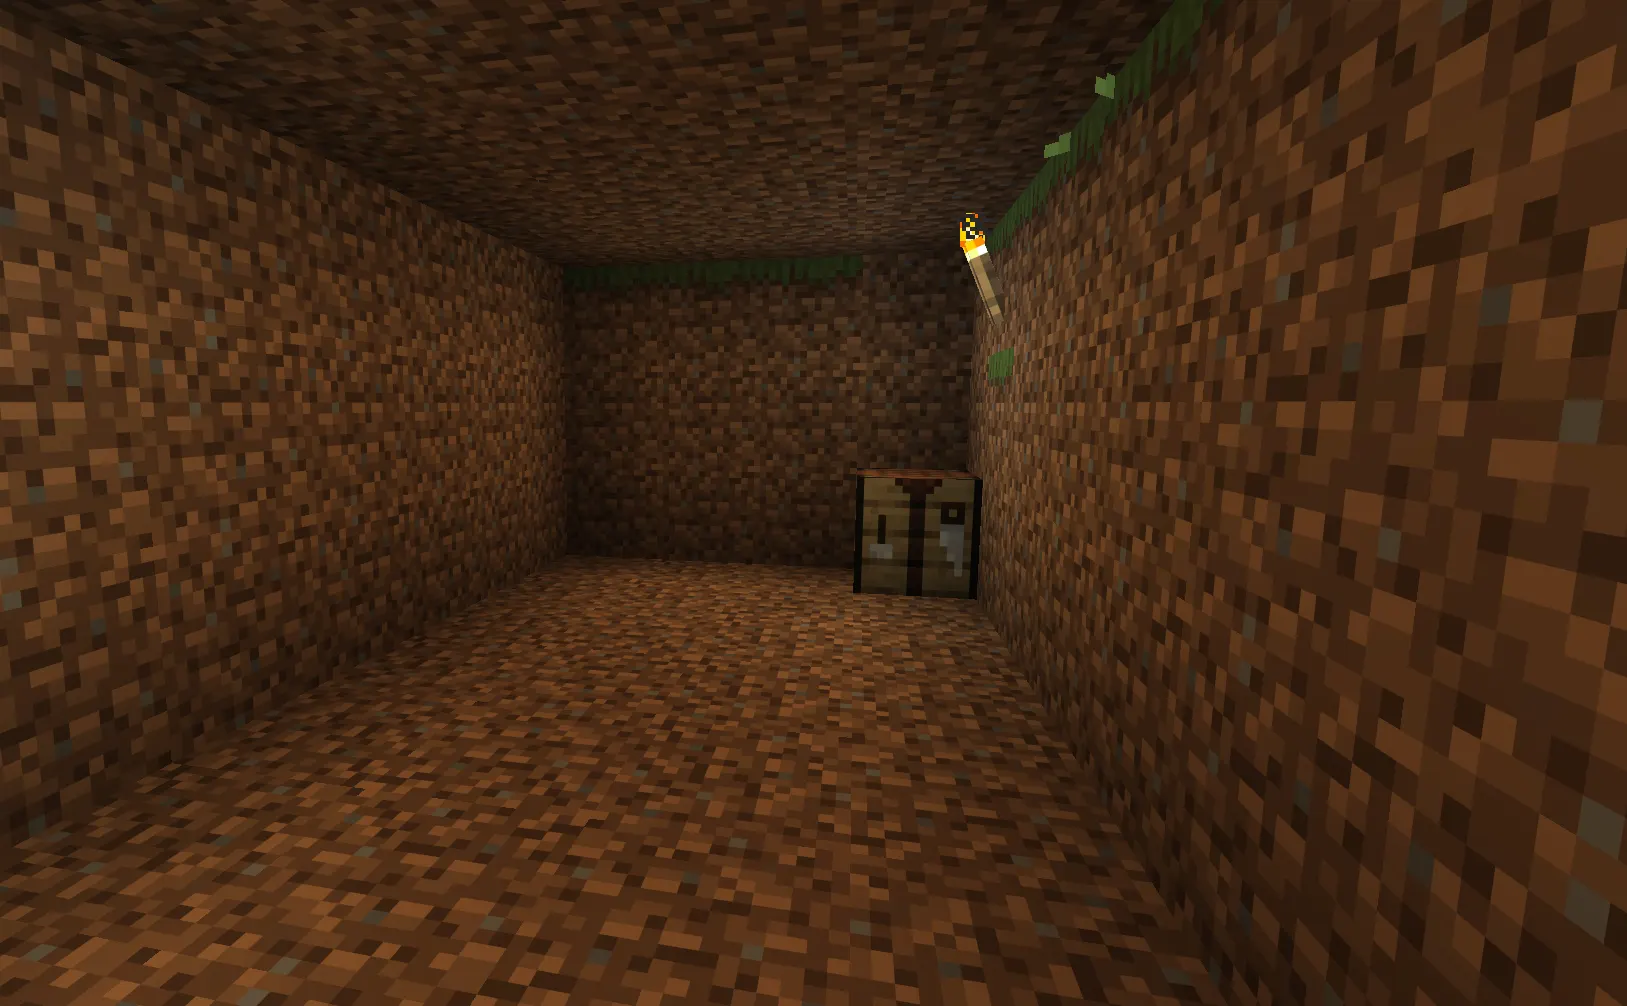
Before the first night arrives, build a simple shelter.
Your shelter does not need to be large. A basic structure made from dirt or wood is enough to keep you safe. The important thing is that mobs cannot reach you.
Your first shelter should include:
-
A crafting table
-
A furnace
-
A chest for storage
-
A bed (if you have three wool)
If you cannot craft a bed yet, simply stay inside your shelter until morning.
Many experienced players also build shelters inside hillsides because it saves time and resources.
Step 5: Craft a Bed as Soon as Possible
Sleeping through the night is one of the most important early game improvements.
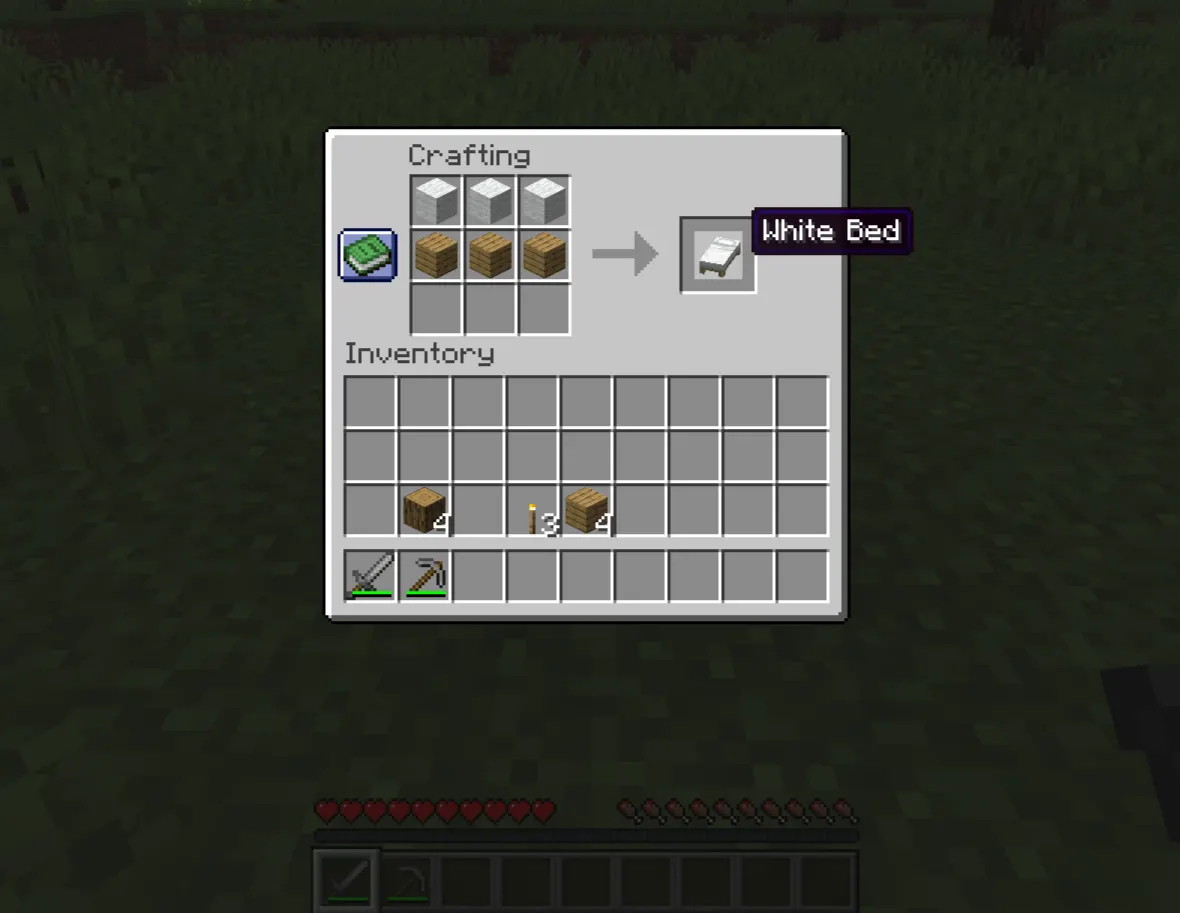
To craft a bed, you need:
-
3 wool
-
3 wooden planks
You can get wool by killing sheep or using shears later in the game.
Once you have a bed, you can skip dangerous nights, which dramatically reduces the risk of dying early in the game.
It also sets your respawn point, which is extremely helpful if you die during exploration.
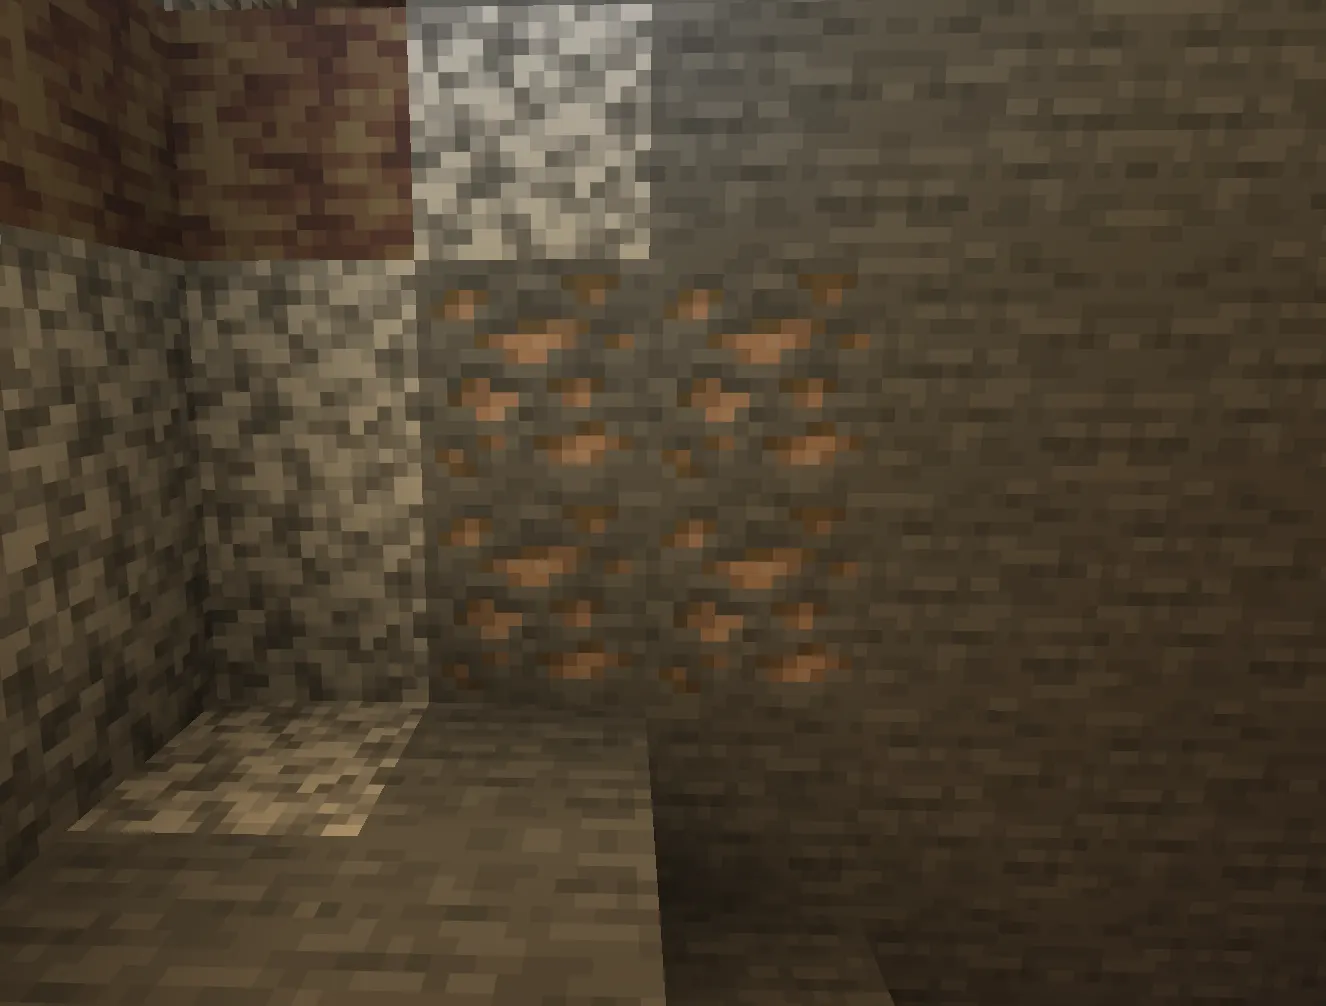
Step 6: Start Basic Mining
After surviving the first night and securing food, the next step is mining.
Mining provides important resources such as:
-
Coal
-
Iron
-
Copper
-
Redstone (later)
Begin by exploring nearby caves or digging a simple staircase mine.
Coal should be your top priority because it provides fuel and torches. Torches prevent mobs from spawning and allow you to explore safely underground.
Try to collect at least 20–30 coal during your first mining session.
Step 7: Find Iron and Upgrade Equipment
Iron is the first major progression milestone in Minecraft.
With iron, you can craft:
-
Iron pickaxe
-
Iron sword
-
Iron armor
-
Bucket
-
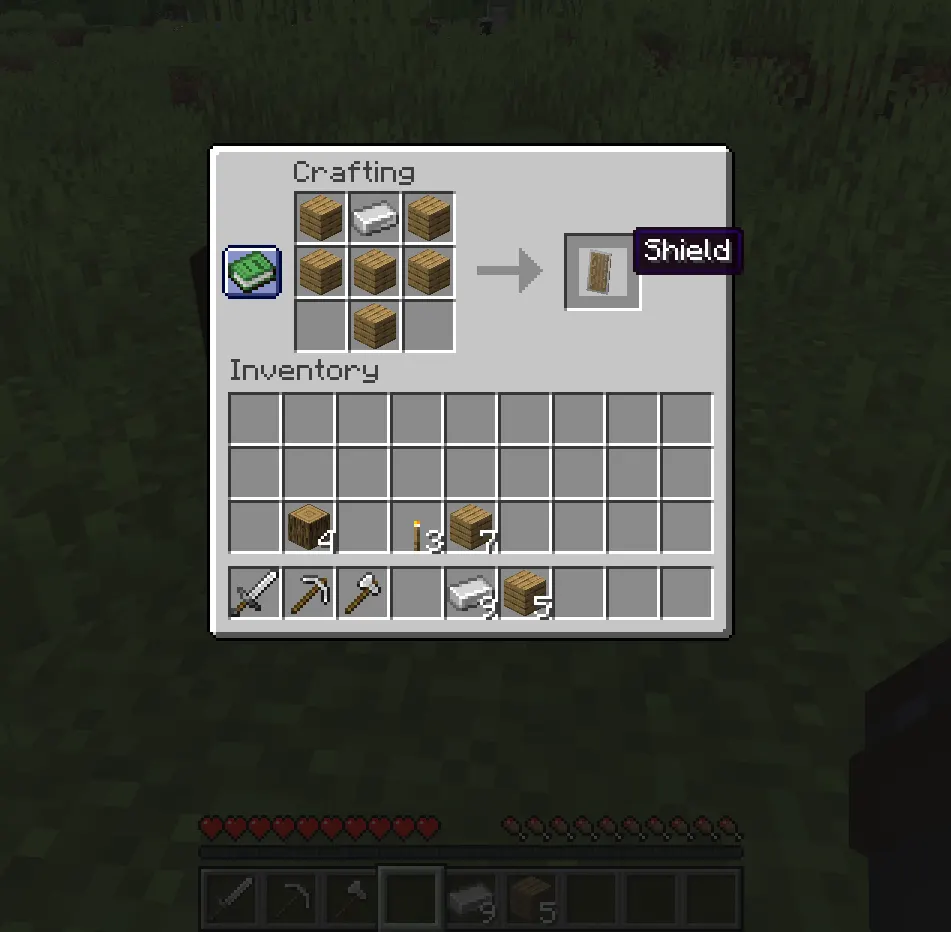
Shield
Iron ore must be smelted in a furnace using coal.
A good early target is collecting 15–20 iron ingots so you can craft:
-
Iron pickaxe
-
Shield
-
Helmet
-
Chestplate
The shield is especially important because it blocks skeleton arrows and many mob attacks.
Once you have iron gear, the game becomes much safer.
Step 8: Establish a Small Starter Base
After gathering iron and basic supplies, it’s time to build a more organized starter base.
Your early base does not need to be fancy, but it should be functional.
A good starter base usually includes:
-
Storage chests
-
Furnace area
-
Bed
-
Crafting table
-
Small farm
Building near useful resources like water, animals, and caves makes survival easier.
Some players also choose locations near villages, which provide valuable resources and trading opportunities.
Step 9: Start Farming for Sustainable Food
Once you settle into a base, farming becomes the most reliable food source.
To start farming:
-
Craft a hoe
-
Find a water source
-
Plant seeds in tilled soil
Seeds are easy to obtain by breaking grass.
Common early crops include:
-
Wheat
-
Carrots
-
Potatoes
Wheat is useful for breeding animals and crafting bread, while potatoes are one of the best early foods.
A small farm ensures you never run out of food.
Step 10: Explore Nearby Structures
Exploration can greatly accelerate your progress.
Look for nearby structures such as:
-
Shipwrecks
-
Ruined portals
-
Desert temples
These locations often contain valuable loot like iron, gold, enchanted gear, and food.
Villages are especially helpful because they provide:
-
Beds
-
Farms
-
Trading villagers
-
Safe buildings
However, always explore carefully because traps and hostile mobs may appear.
Step 11: Prepare for Deeper Mining
Once your base and equipment are ready, you can begin preparing for deeper mining sessions.
Bring the following supplies:
-
Torches
-
Food
-
Extra pickaxes
-
Blocks for building
-
Water bucket
Strip mining or cave exploration can help you locate valuable ores like diamonds.
Although diamonds are not required immediately, reaching this stage means you have successfully completed the early game.
Common Early Game Mistakes
Many players make mistakes that slow down their progress. Avoiding these mistakes can make your early game much smoother.
1. Exploring Too Early
Exploring large distances without proper gear often leads to death and lost items.
Focus on building a stable base first.
2. Ignoring Food
Running out of food prevents healing and sprinting, which makes survival much harder.
Always maintain a reliable food supply.
3. Mining Without Torches
Dark areas allow hostile mobs to spawn. Always bring torches when exploring caves.
4. Carrying Too Many Items
If you die while carrying everything, you risk losing valuable resources.
Store extra materials in chests before dangerous adventures.
Tips for Faster Early Game Progress
Experienced players use a few simple strategies to progress quickly.
Prioritize efficiency.
Focus on gathering essential resources first, rather than collecting decorative blocks.
Use caves wisely.
Natural caves can provide quick access to coal and iron without deep mining.
Craft a shield early.
A shield dramatically increases survivability against skeletons.
Organize your inventory.
Keeping tools and resources organized saves time during mining and combat.
Mark important locations.
Torches, pillars, or maps can help you avoid getting lost.
Transitioning Into the Mid Game
Once you have:
-
Iron armor
-
Reliable food
-
A stable base
-
Access to mining areas
You are ready to transition into the mid-game.
Mid-game goals usually include:
-
Finding diamonds
-
Enchanting gear
-
Building automated farms
-
Expanding your base
At this stage, survival becomes easier and the focus shifts toward exploration and long-term progression.
Final Thoughts
The early game in Minecraft sets the foundation for everything that follows. Players who focus on efficient resource gathering, safe shelter, and smart progression will find the rest of the game much easier and more enjoyable.
Instead of rushing into dangerous caves or wandering far from spawn, prioritize the essentials: wood, stone tools, food, shelter, and iron equipment. Within just a few in-game days, you can establish a strong starting base that supports future adventures.
By following this early game strategy, you’ll be well prepared to explore deeper caves, discover rare resources, and eventually tackle bigger challenges like the Nether and the End.
Every Minecraft world begins the same way — with nothing but potential. The key is turning that potential into progress through smart decisions in the first few days.
And once you master the early game, every new world becomes an opportunity to build something even greater.