Lighting is a critical survival mechanic because hostile mobs spawn in dark areas. Many new players focus on collecting resources, crafting tools, and Building Houses, but they often ignore lighting. Unfortunately, a poorly lit base can quickly become a dangerous place where hostile mobs appear unexpectedly.
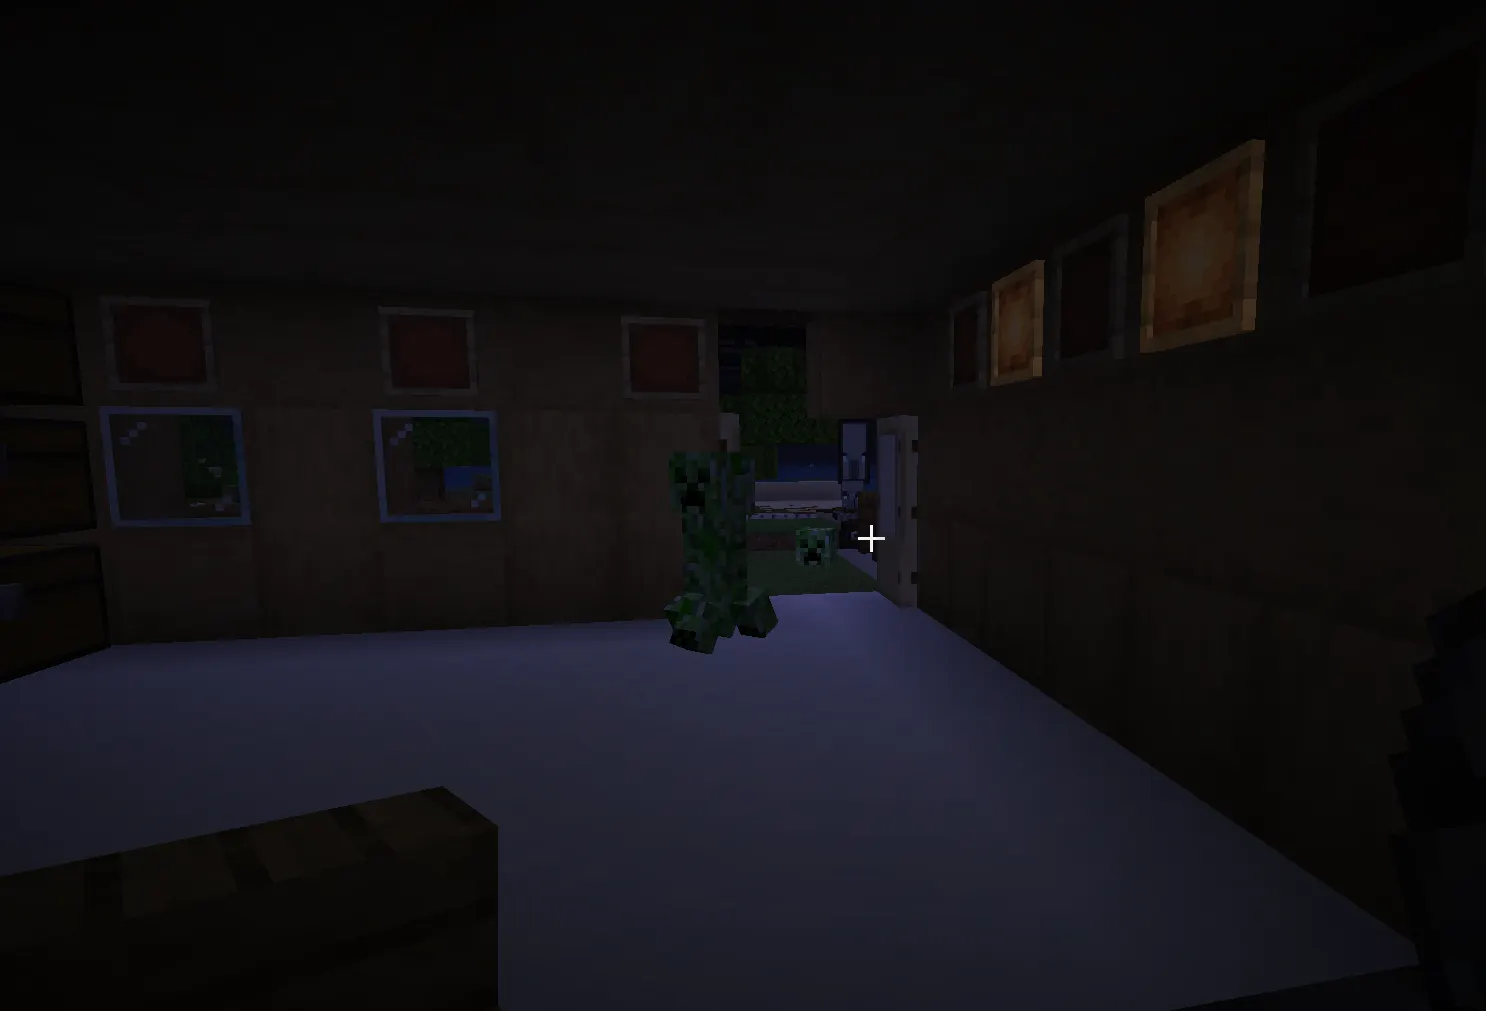
In Minecraft Survival Mode, darkness allows enemies like zombies, skeletons, creepers, and spiders to spawn. If your base contains dark areas, these mobs can appear inside your home and attack you.
That’s why good base lighting is essential for survival.
A well-lit base offers several advantages:
-
Prevents hostile mob spawning
-
Improves visibility while crafting or organizing items
-
Makes exploring your base easier
-
Enhances the overall design and atmosphere
Most players start with torches, but as your world grows, you’ll need better lighting methods. Smart lighting layouts, stronger light sources, and decorative designs can transform your base into both a safe and visually impressive structure.
In this guide, we’ll explore the best ways to light a Minecraft Survival base, from simple torch placement to advanced redstone lighting systems.
Why Lighting Matters in Minecraft Survival
Understanding Minecraft light levels is the first step toward creating a safe base.
The game uses a hidden lighting system in which each block has a light level between 0 and 15. Hostile mobs usually spawn when the light level becomes too low.
If your base contains dark corners, poorly lit hallways, or underground rooms, mobs may spawn there. Maintaining good lighting removes these dangerous areas and keeps your base secure.
How Darkness Works in Minecraft
Darkness in Minecraft isn’t just visual—it directly affects mob spawning mechanics.
When light levels drop too low, the environment becomes dangerous. Several things can create dark areas:
-
Nighttime
-
Underground caves
-
Large interior bases
-
Covered structures
-
Tall ceilings or hidden corners
Without proper lighting, even a well-built base can become a mob spawning zone.
The Relationship Between Light Levels and Mob Spawning
Hostile mobs spawn when light levels fall below a certain threshold. Keeping your base bright prevents enemies from appearing.
For example:
-
Bright rooms stop mob spawning
-
Torches increase nearby light levels
-
Even spacing prevents dark spots
Understanding these mechanics helps players build mob-proof Minecraft bases.
For more technical details about light levels and spawning rules, you can visit the official Minecraft Wiki.
Understanding Minecraft Light Sources
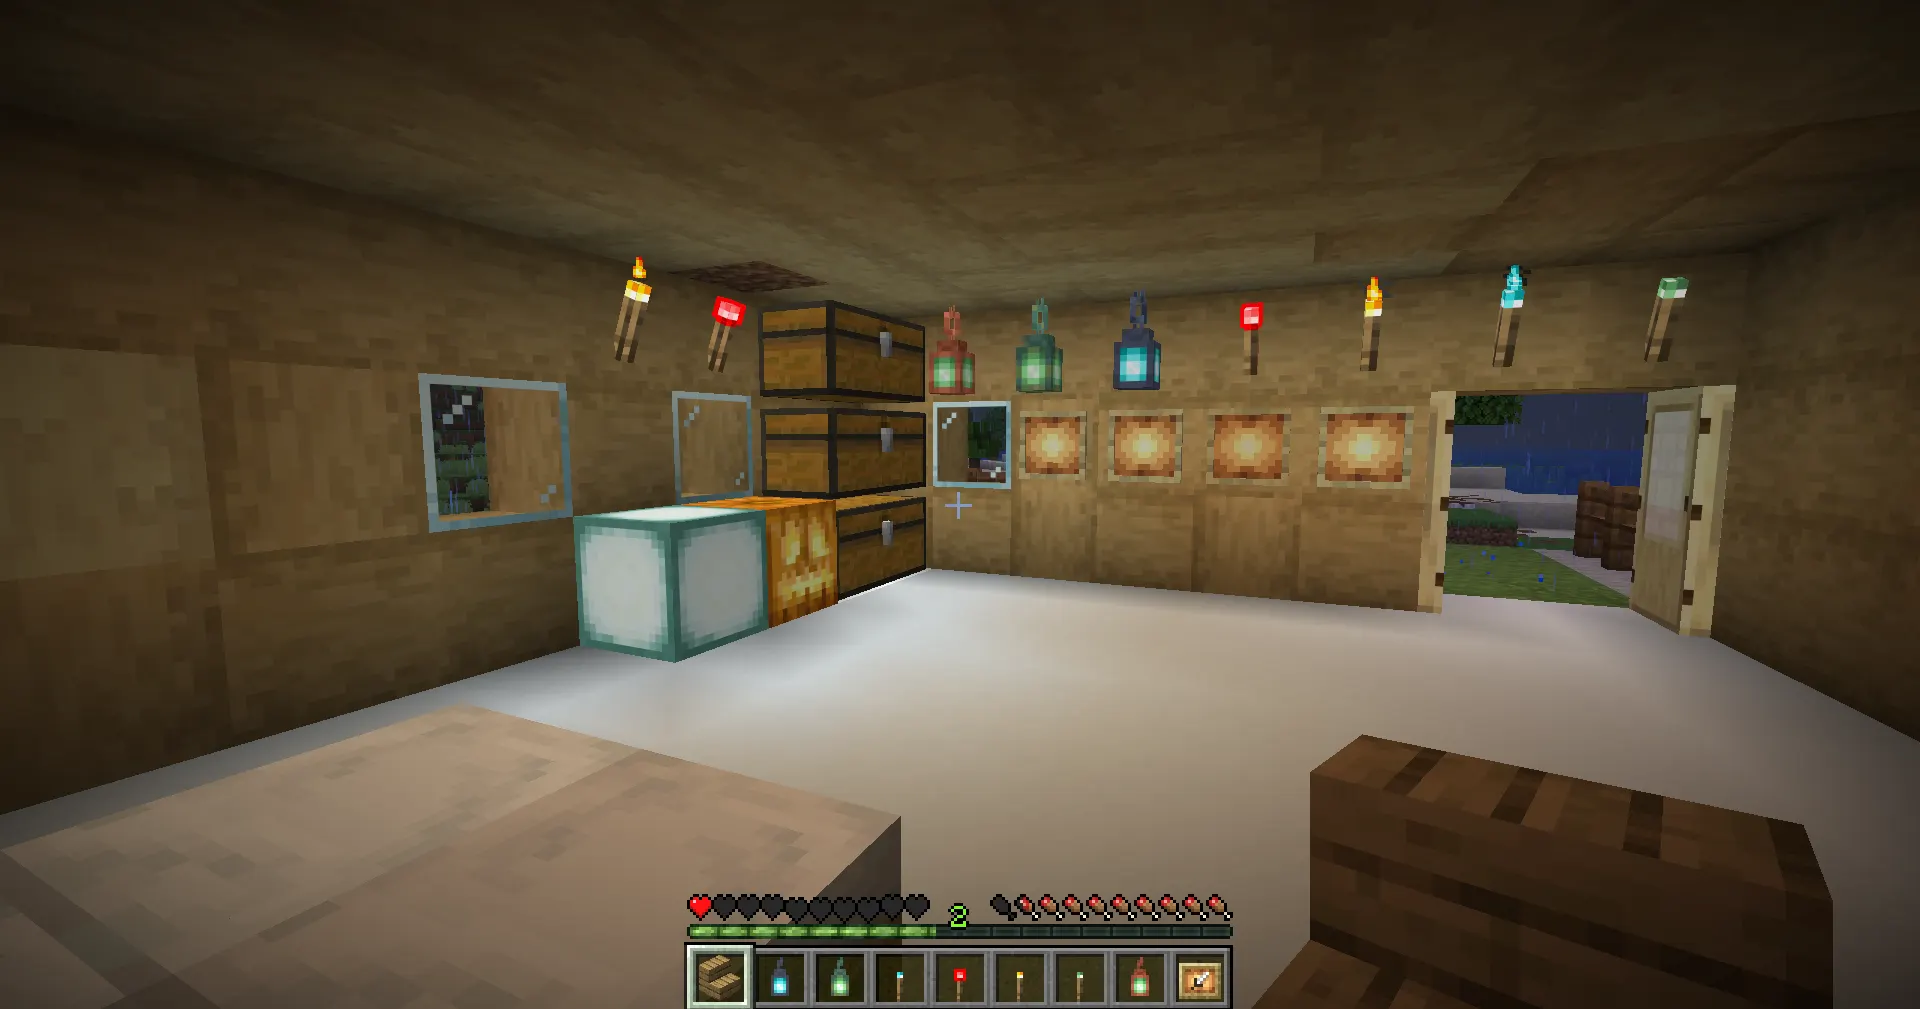
To build an effective lighting system, it’s important to understand the different light sources available in Minecraft.
Each block emits a different light level and has unique crafting requirements.
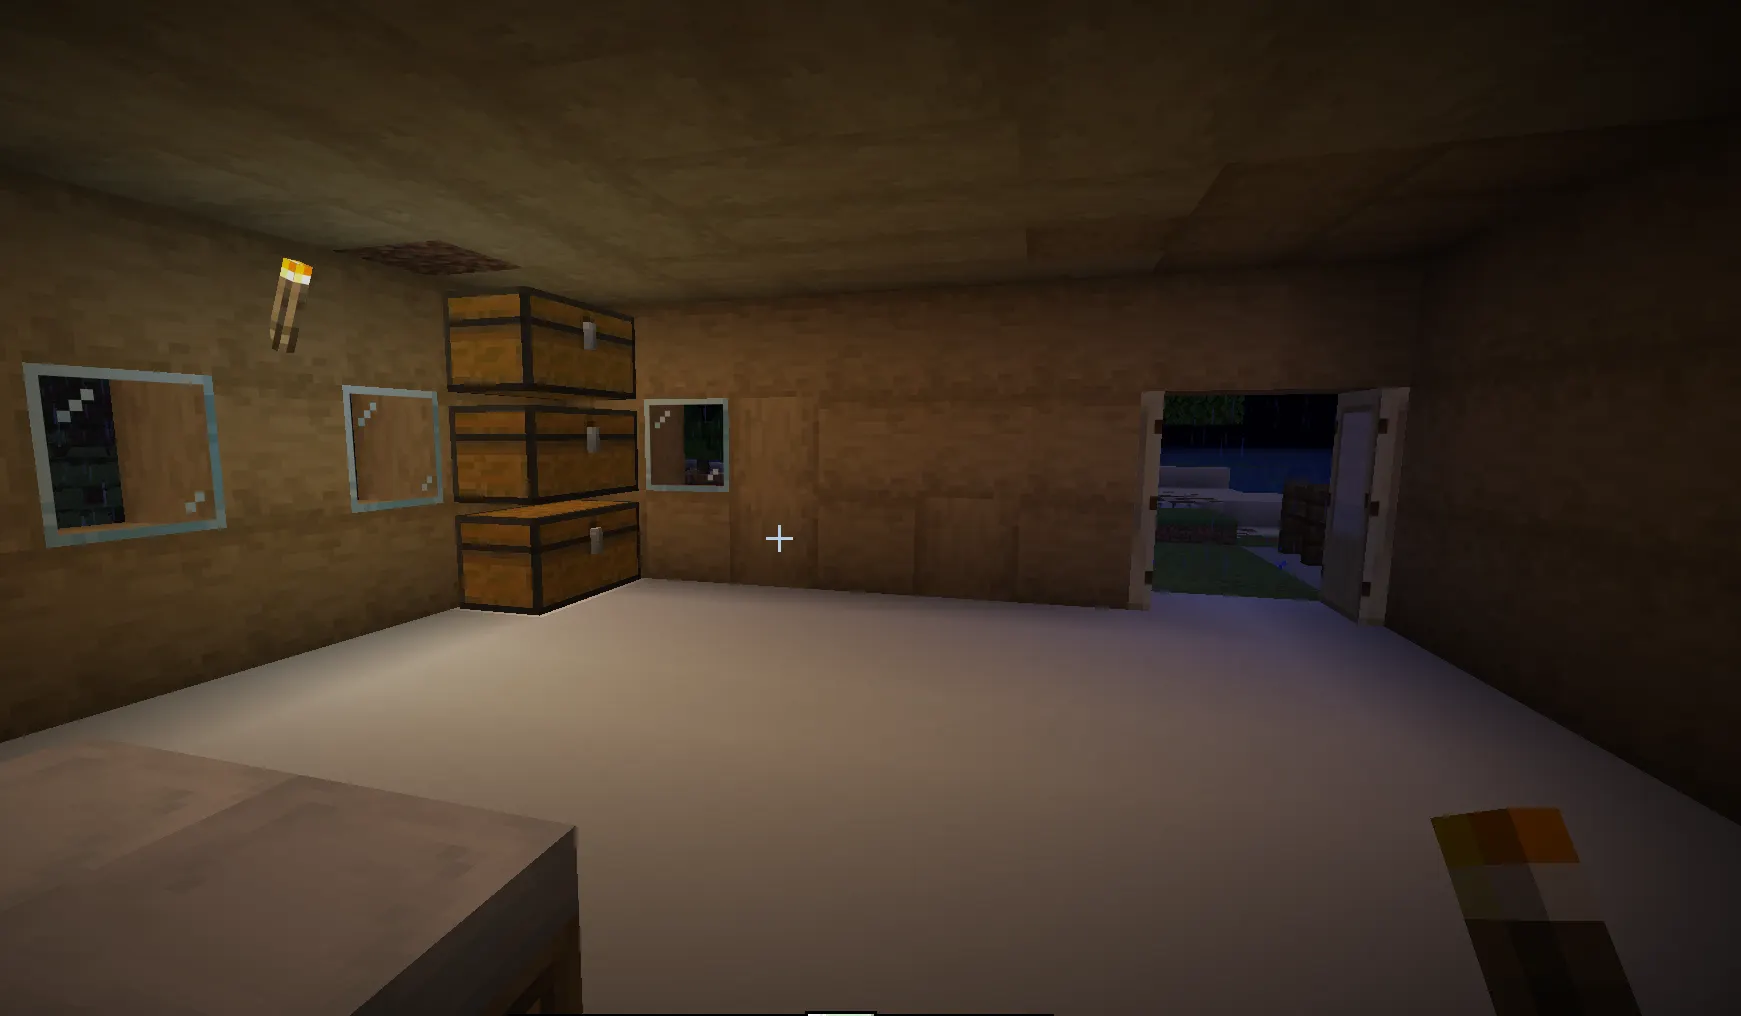
Torches
Torches are the most common lighting item in the early game. They are easy to craft and extremely useful during exploration or base building.
Advantages:
-
Cheap and easy to craft
-
Portable and quick to place
-
Good lighting radius
Torches are crafted using:
-
Sticks
-
Coal or charcoal
Because they require very few resources, torches usually become the foundation of early Minecraft base lighting.
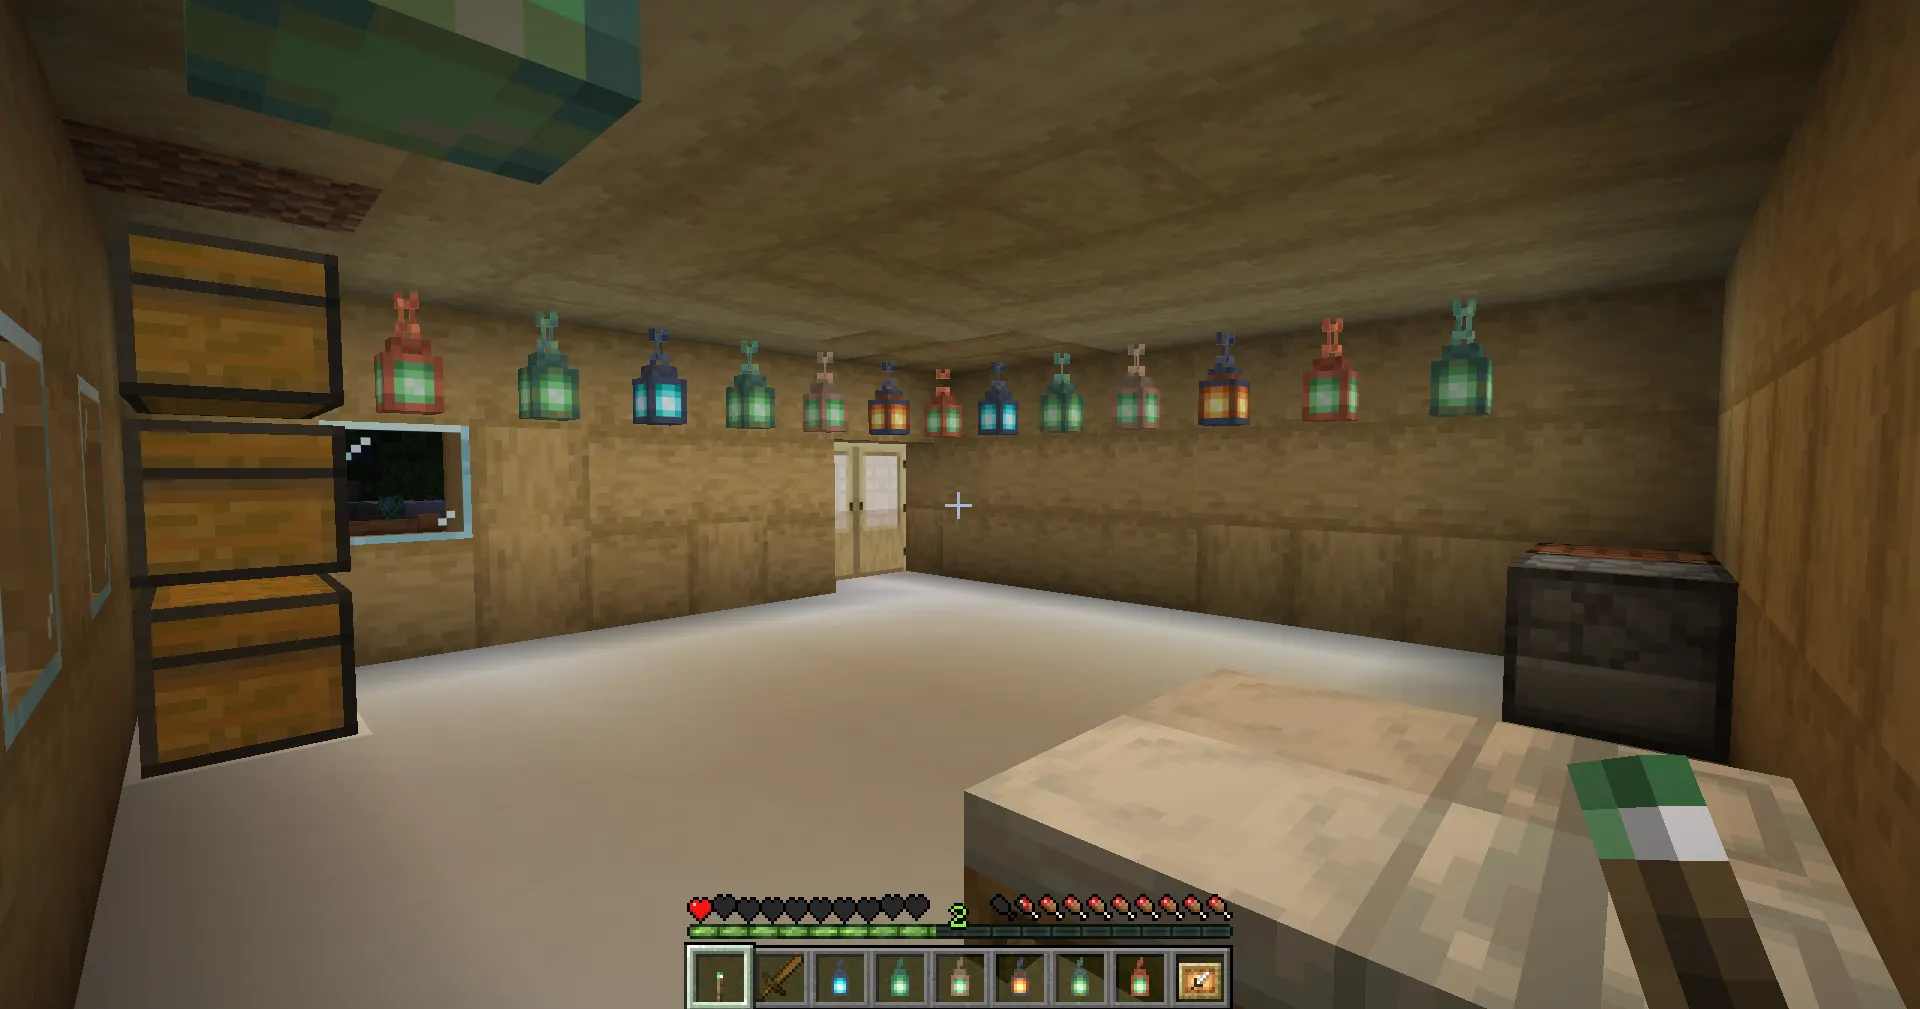
Lanterns
Lanterns provide stronger lighting and a more decorative look compared to torches.
Benefits include:
-
Can hang from ceilings
-
Can be placed on floors or tables
-
Produce bright light
-
Great for interior design
Many players use lanterns in hallways, bedrooms, and storage rooms to improve the visual style of their base.
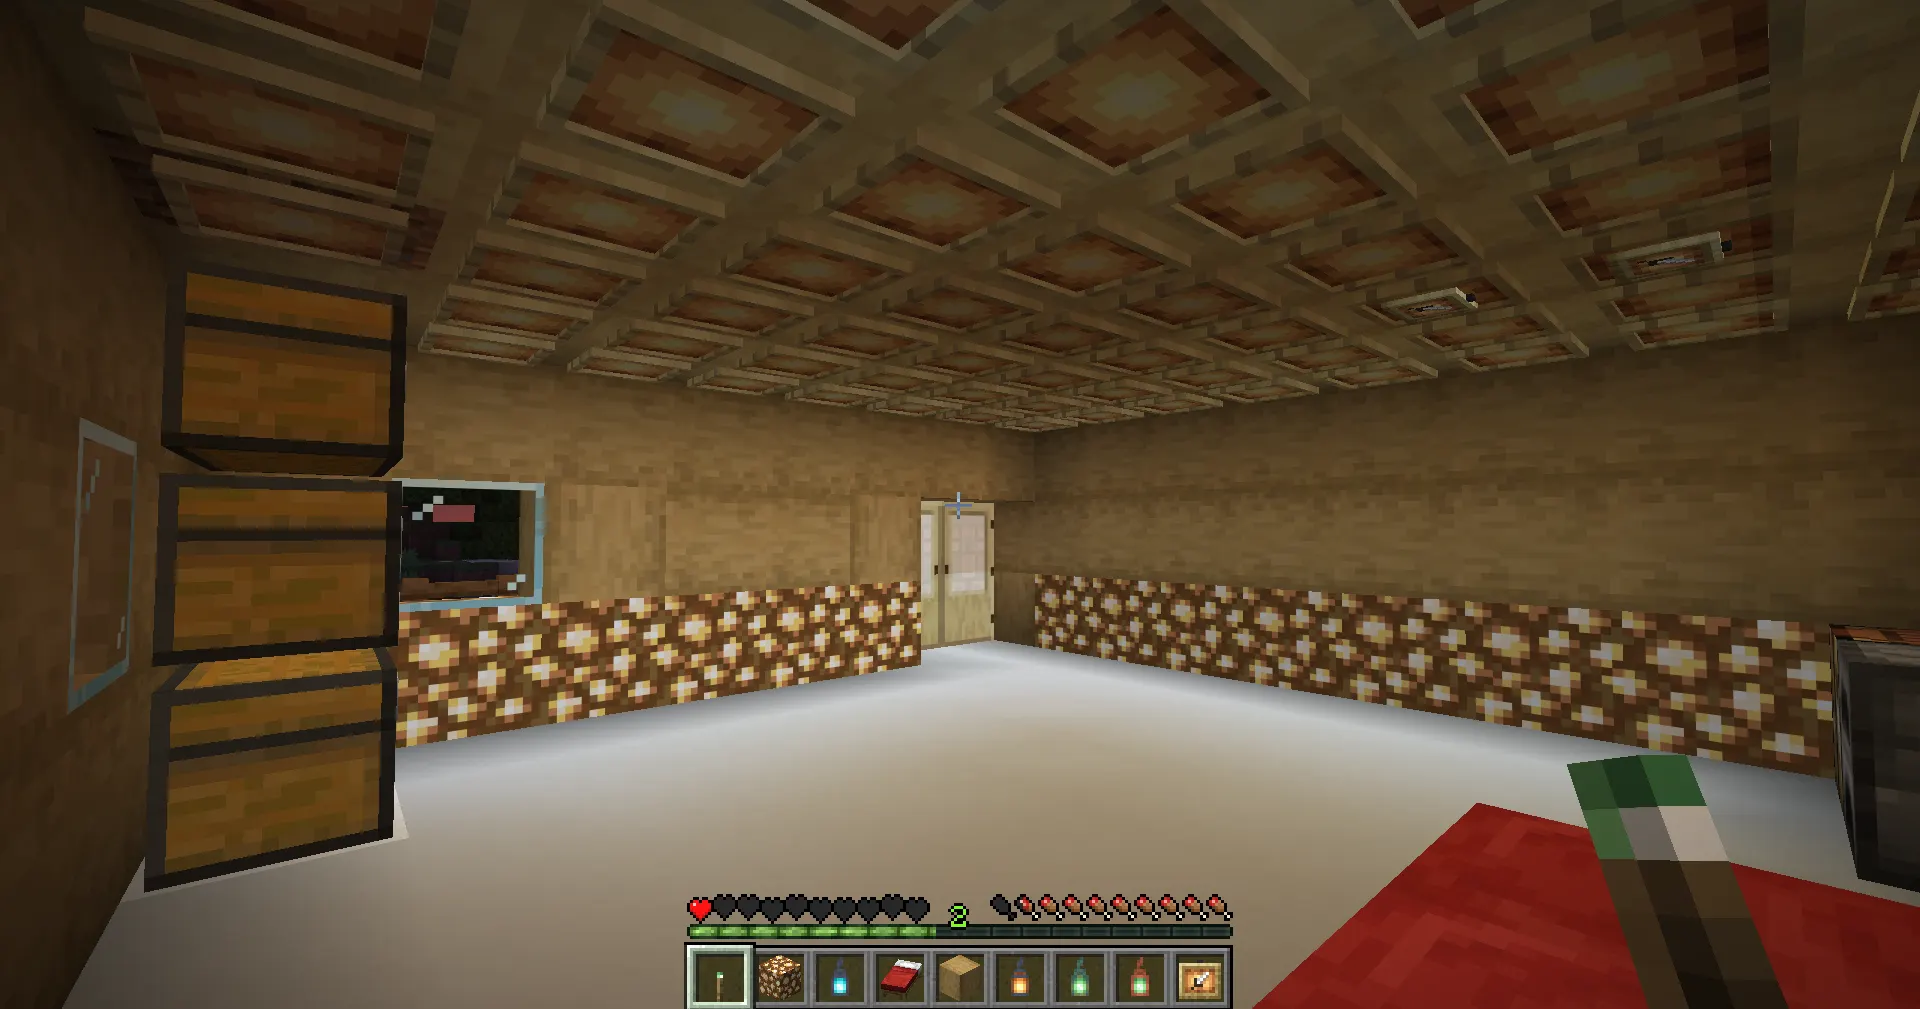
Glowstone
Glowstone is a bright block found in the Nether and is commonly used in large builds.
Features:
-
High brightness level
-
Works well for large rooms
-
Can be hidden behind blocks
Because glowstone emits strong light, it is often used for hidden lighting designs.
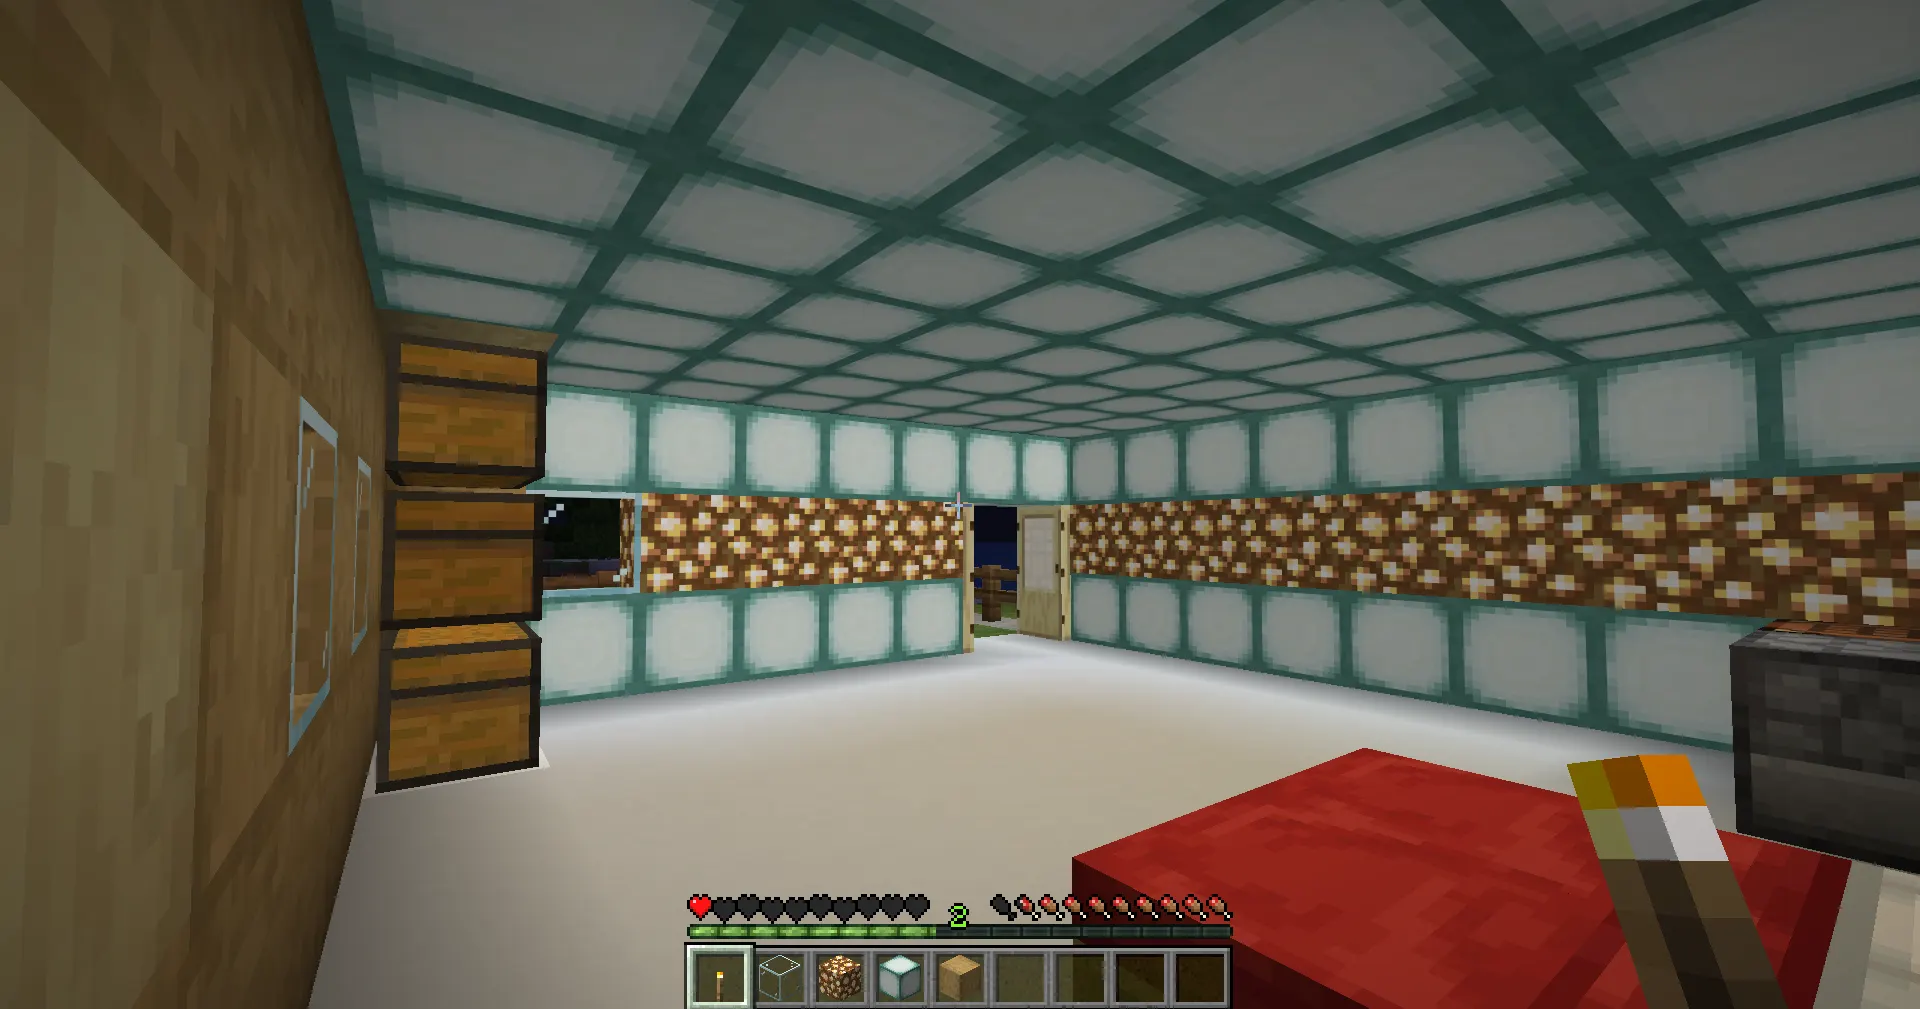
Sea Lanterns
Sea lanterns provide a clean and modern lighting style. They are popular in large or futuristic builds.
Advantages include:
-
Bright white lighting
-
Smooth appearance
-
Perfect for modern base designs
However, obtaining them requires resources from ocean monuments, which makes them harder to collect.
Using different light sources helps create efficient and visually appealing lighting systems.
Early Game Lighting Strategy
When starting a new survival world, resources are limited. Because of this, most players rely on torches for early protection.
The First night in Minecraft can be extremely dangerous. Hostile mobs begin spawning quickly, so it’s important to light your shelter immediately.
Placing several torches around your base can drastically reduce mob spawns.
Crafting Torches Quickly
To produce torches early in the game:
-
Gather wood
-
Craft a furnace
-
Smelt logs into charcoal
-
Combine charcoal with sticks
This method ensures a steady supply of torches during the early stages of survival.
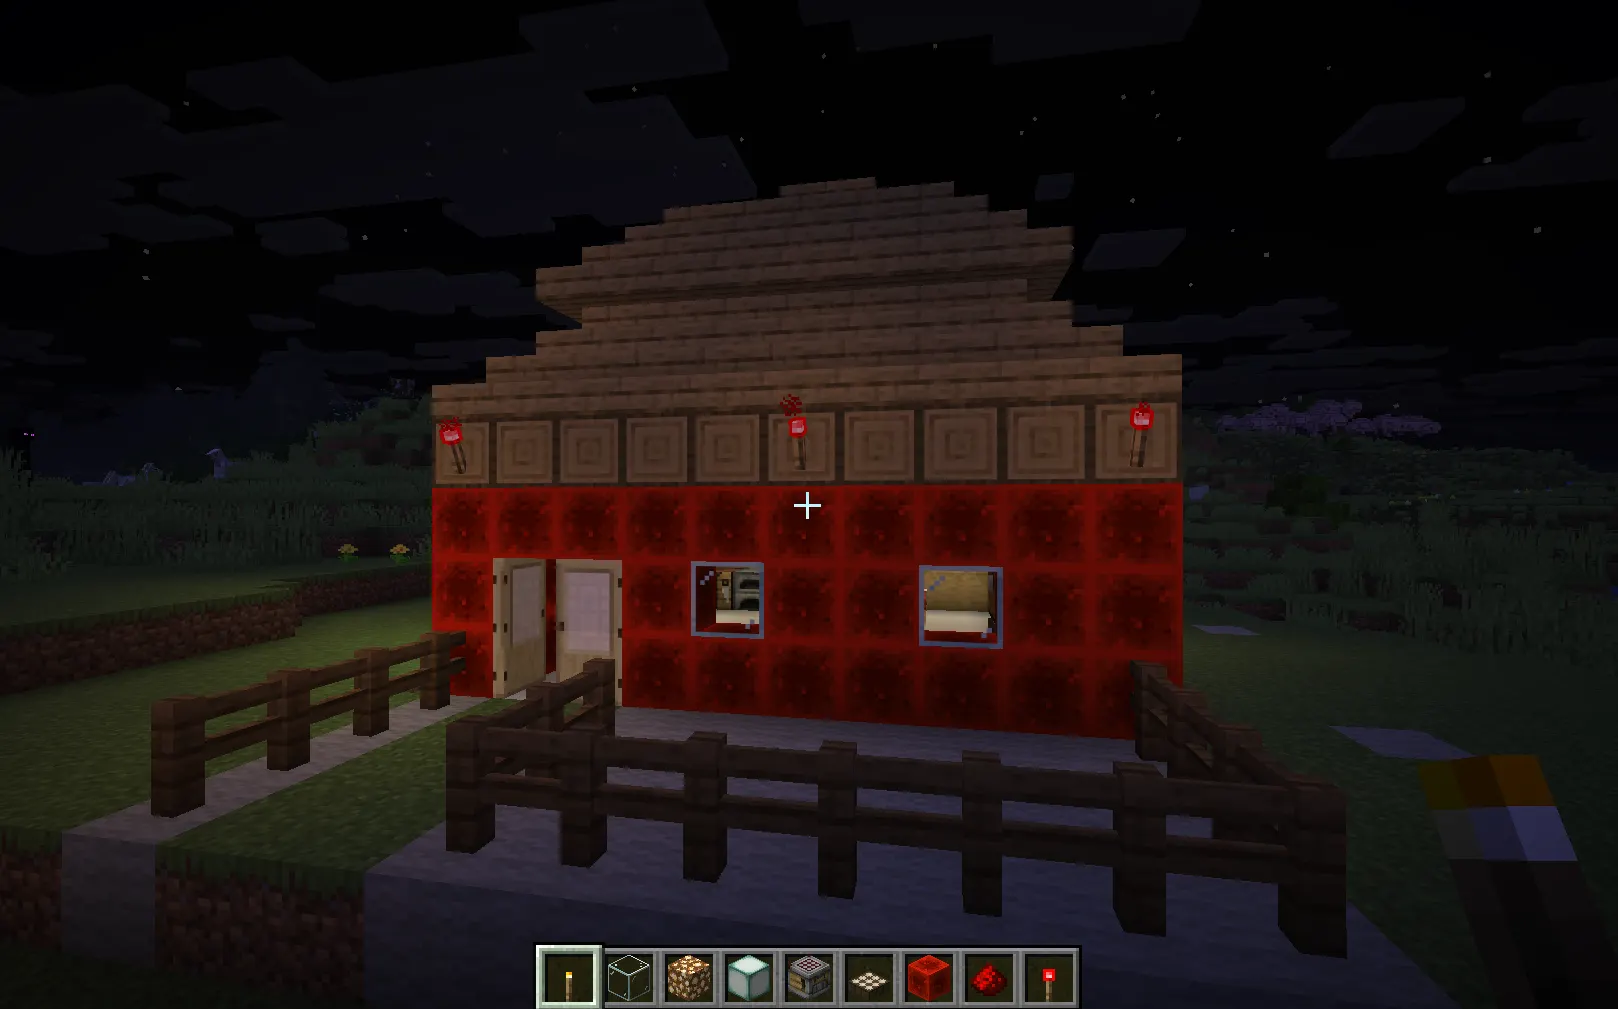
Lighting the Outside of Your Base
Many beginners forget to light areas outside their base, which allows mobs to gather near entrances.
To prevent this, place torches:
-
Around base walls
-
Near doors and entrances
-
Along pathways
-
On rooftops
Lighting the surrounding area improves safety and makes nighttime exploration easier.
Mid-Game Base Lighting Improvements
As players gather more resources, they can improve their lighting systems.
Mid-game bases often contain:
-
Storage rooms
-
Crop farms
-
Animal pens
-
Enchanting rooms
Each area needs proper lighting to prevent mob spawning.
Hidden Lighting Techniques
Hidden lighting is a popular technique used by experienced builders.
Examples include:
-
Glowstone placed under carpets
-
Sea lanterns hidden beneath slabs
-
Shroomlights behind walls
These methods keep your base bright while maintaining a clean design.
Lighting Farms and Storage Rooms
Crop farms require adequate lighting because plants grow faster with enough light. Storage rooms also need good illumination to keep mobs from appearing between chests.
Always check for dark corners and ensure every part of the room receives enough light.
Advanced Lighting Techniques
Large Survival Bases require more advanced lighting strategies.
Massive bases often include multiple floors, tunnels, and large rooms. Without careful planning, these areas may contain dark spots where mobs can spawn.
Redstone Lighting Systems
Redstone allows players to create automatic lighting systems.
Examples include:
-
Lights that activate at night
-
Motion-activated lights
-
Hidden lighting for secret rooms
These systems improve both convenience and immersion in large builds.
Decorative Lighting Layouts
Lighting isn’t only about safety—it also affects base design.
Popular decorative lighting styles include:
-
Lantern-lit pathways
-
Ceiling light grids
-
Wall-mounted lamps
Combining different light sources can make a base feel alive and visually impressive.
Common Lighting Mistakes Players Make
Even experienced players sometimes overlook important lighting details.
Common mistakes include:
-
Placing lights too far apart
-
Ignoring underground areas
-
Forgetting exterior lighting
-
Using only one type of light source
Fixing these issues can greatly improve base safety.
Gamqo Tip:
Always place torches around the entrance and roof of your base during the first few nights. Many mobs spawn on rooftops or nearby hills and can easily drop down or walk into your base if those areas are dark.
Best Lighting Layout for Large Bases
Large bases require a structured lighting layout.
A common approach is to use a grid system.
Example layout:
-
Place torches every 7–10 blocks
-
Light all corners of the rooms
-
Check ceilings and hidden areas
This method helps eliminate dark spots and prevents mob spawning.
Outdoor Lighting for Base Protection
Lighting the inside of your base isn’t enough. Outdoor areas must also be illuminated to stop mobs from approaching.
Focus on lighting:
-
Farms
-
Animal pens
-
Pathways
-
Base entrances
This creates a safer environment around your survival base.
Comparison of Minecraft Light Sources
Light Source |
Light Level |
Difficulty |
Best Use |
|
Torch |
14 |
Easy |
Early survival bases |
|
Lantern |
15 |
Medium |
Interior decoration |
|
Glowstone |
15 |
Medium |
Hidden lighting |
|
Sea Lantern |
15 |
Hard |
Modern builds |
|
Shroomlight |
15 |
Medium |
Decorative lighting |
Pro Tips for Minecraft Base Lighting
Here are a few advanced tips used by experienced players:
-
Use night vision to identify dark spots
-
Combine multiple light sources for better design
-
Light rooftops and nearby caves
-
Inspect your base during night time
-
Use hidden lighting to improve aesthetics
These strategies help build a safe, efficient Minecraft survival base.
Conclusion
Mastering base lighting is one of the most important skills in Minecraft survival. A well-lit base prevents hostile mob spawning, improves visibility, and makes your world safer to explore.
New players should begin with torches and focus on lighting essential areas such as shelters, farms, and storage rooms. As the game progresses, upgrading to stronger light sources like glowstone, lanterns, and sea lanterns can improve both safety and aesthetics.
By combining efficient lighting layouts with decorative designs, players can create bases that are both secure and visually impressive.
With the right lighting strategy, your Minecraft survival base will become a safe and enjoyable place to build and explore.