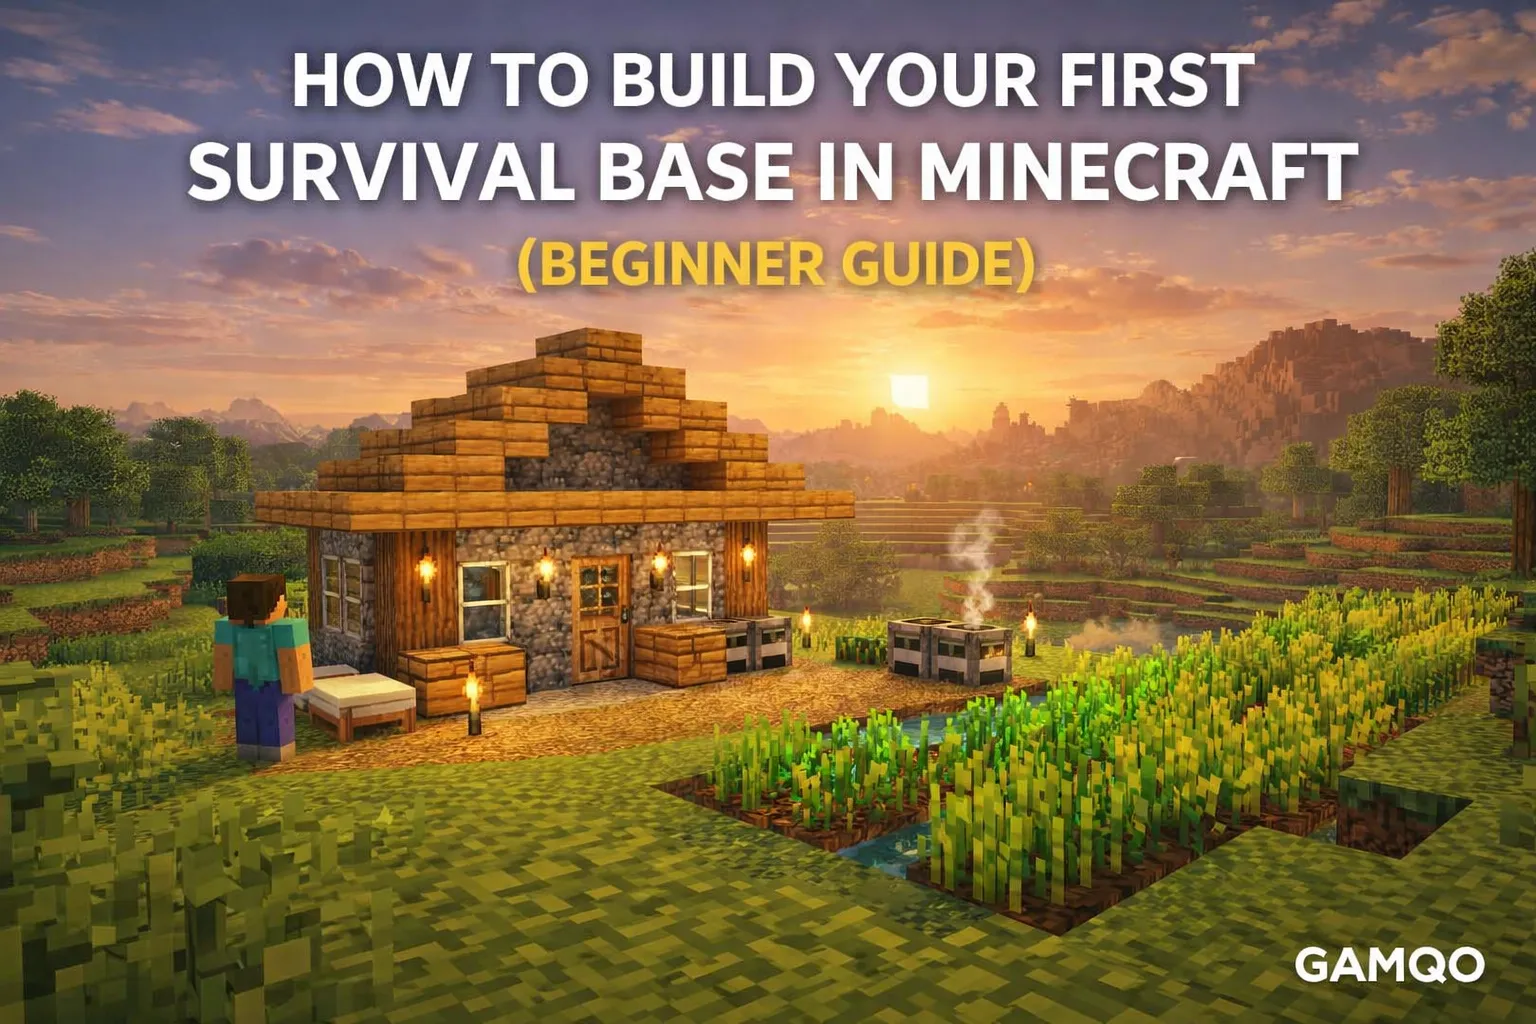
Starting a new world in Minecraft is always exciting. You spawn in an unknown environment with nothing but your hands and the resources around you. During the First few days in survival is your top priority. While gathering food and crafting tools are important, building a secure survival base is what truly sets the foundation for your long-term progress.
A good starter base protects you from hostile mobs, gives you a safe place to store resources, and becomes the center of your world. Many beginners either delay building a base or create something temporary that quickly becomes inconvenient. In this guide, you will learn how to build your first survival base step by step, including the best location, required materials, essential rooms, and beginner-friendly design ideas.
Why a Survival Base is Important Early in Minecraft
During your first few nights in Minecraft, hostile mobs such as zombies, skeletons, and creepers spawn around you. Without proper shelter, surviving the night becomes extremely difficult.
Building a survival base early provides several advantages:
-
Protection from mobs: Walls, doors, and lighting keep hostile mobs away.
-
Resource storage: Chests allow you to safely store collected materials.
-
Crafting area: Furnaces, crafting tables, and other utilities stay in one place.
-
Respawn safety: With a Bed inside your base, you always respawn somewhere safe.
-
Expansion potential: Your first base can slowly grow into a larger survival house.
Think of your first base as the center of your entire world. Every mining trip, exploration journey, or farming activity will start and end here.
Choosing the Best Location for Your First Survival Base
Before placing blocks, the first step is selecting the right location. A good location saves time, improves safety, and makes resource gathering easier.
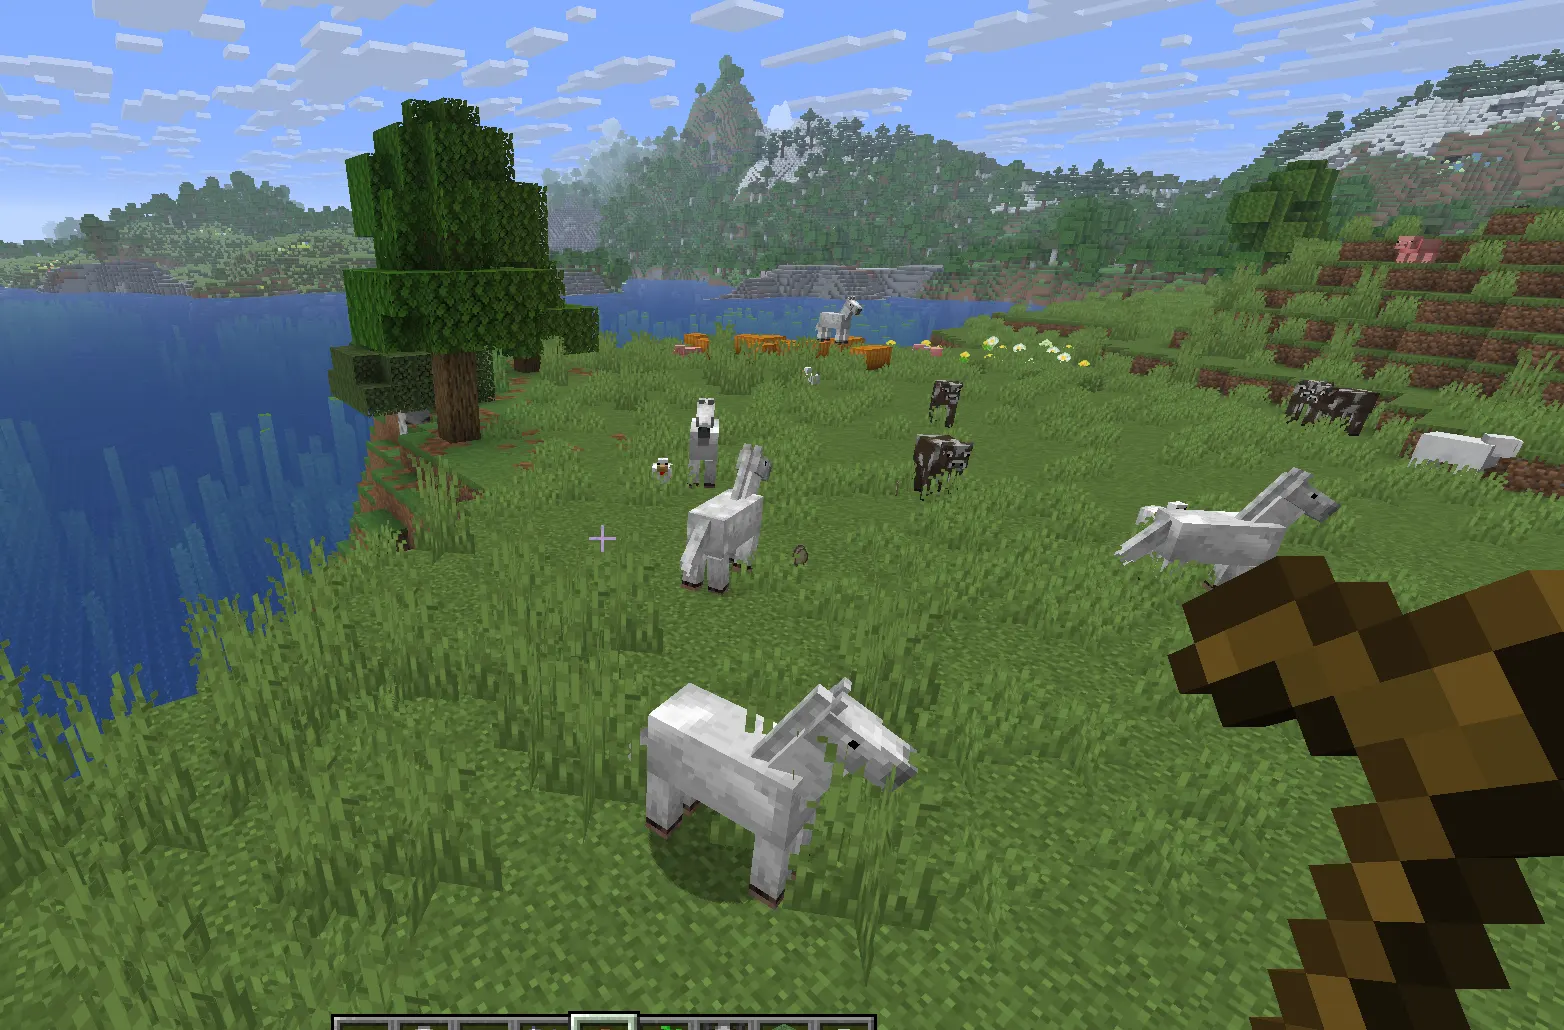
1. Build Near Essential Resources
Your base should ideally be close to:
-
Trees for wood
-
Animals for food
-
Water for farming
-
Stone for tools
-
Open land for expansion
Plains Biomes are usually the best choice for beginners because they provide plenty of space and visibility.
2. Avoid Dangerous Areas
Some locations make survival harder than necessary. Try to avoid building your first base near:
-
Large caves full of mobs
-
Ravines
-
Dark forests with limited visibility
-
Mountain cliffs that are difficult to climb
A flat area with clear surroundings is always safer.
3. Stay Close to Your Spawn Point
If you die early in the game before setting a bed spawn, you will respawn at the original spawn point. Building your base nearby reduces the risk of losing your items.
Materials Needed for a Beginner Survival Base
The first base should be simple, efficient, and easy to build. You do not need rare materials. Most blocks can be gathered during the First day.
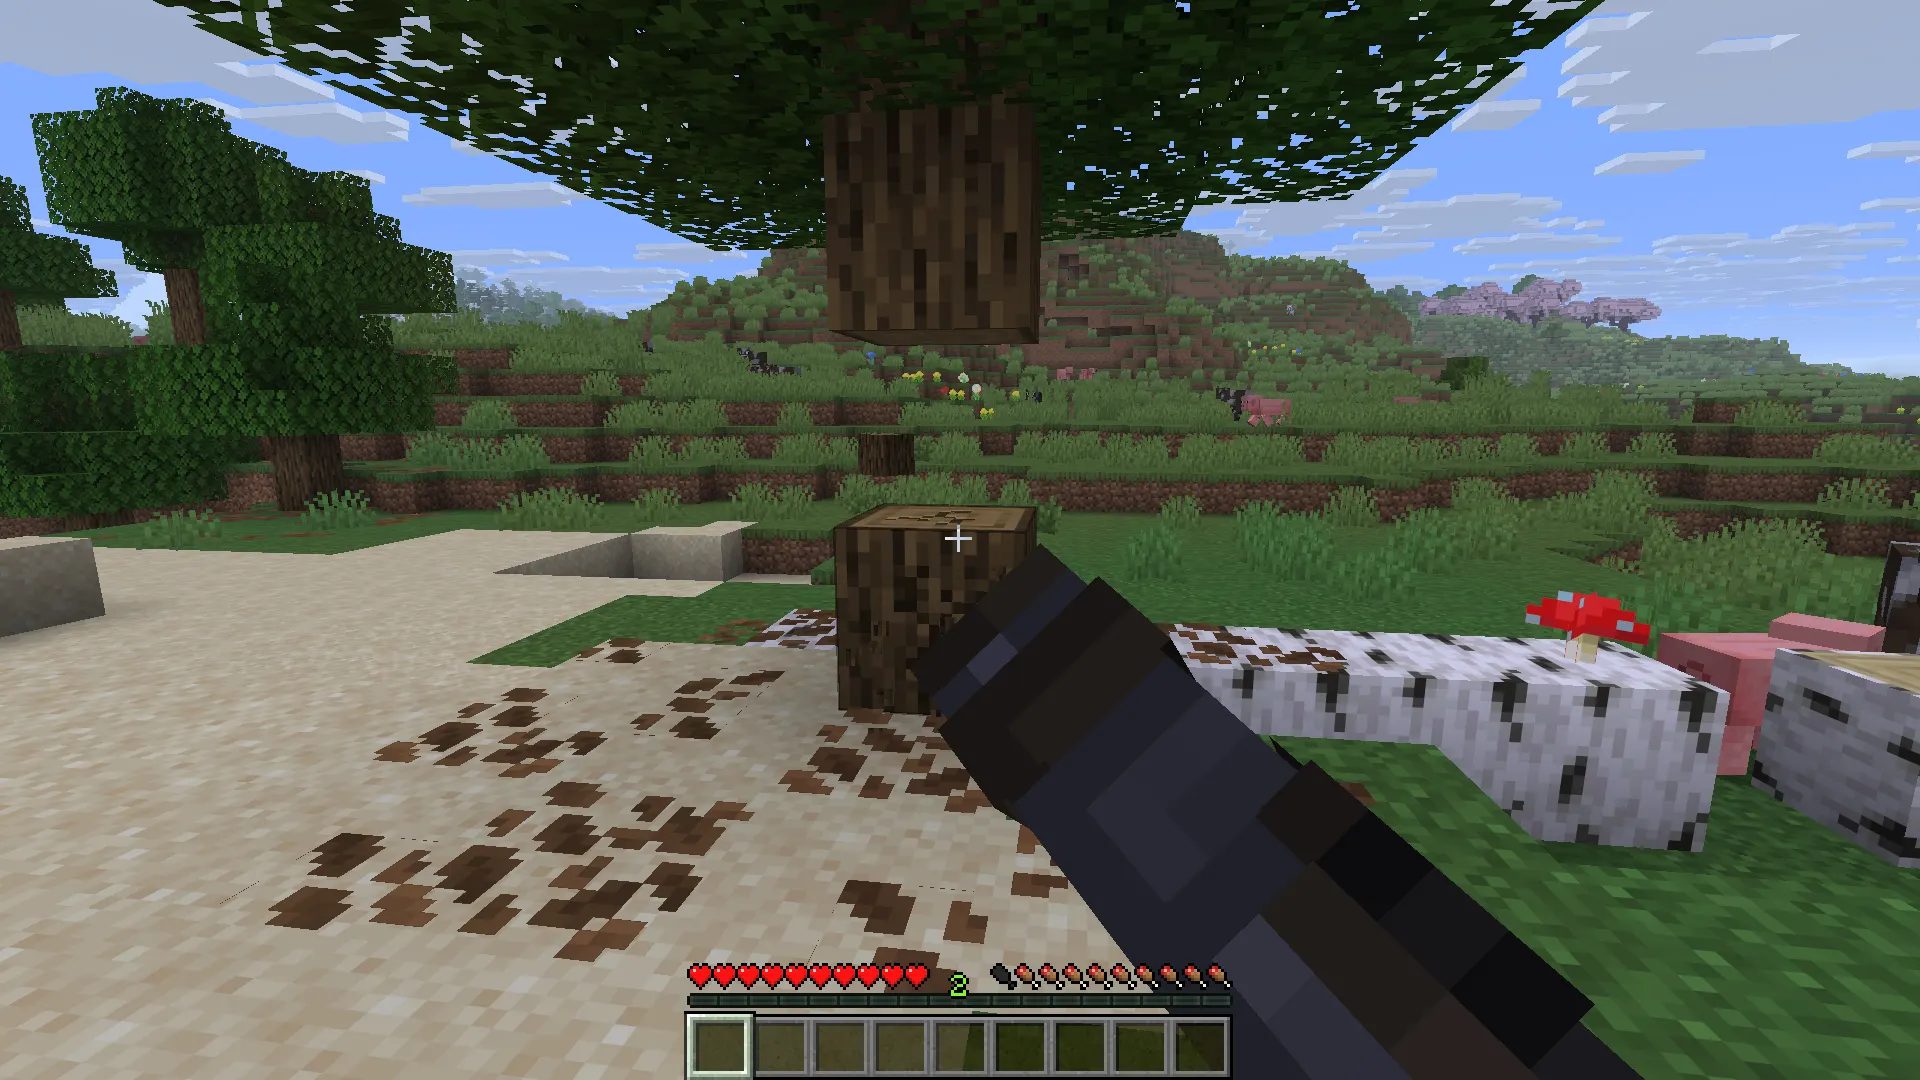
Here are the basic materials you should collect:
-
150–200 wooden planks or logs
-
80–120 cobblestone blocks
-
1 crafting table
-
2 furnaces
-
2–4 chests
-
1 bed
-
10–20 torches
-
1 wooden door
Optional materials for decoration:
-
Glass panes for windows
-
Stairs for roof design
-
Fences for outside protection
These materials are easy to gather and enough to create a fully functional starter base.
Step-by-Step Guide to Building Your First Survival Base
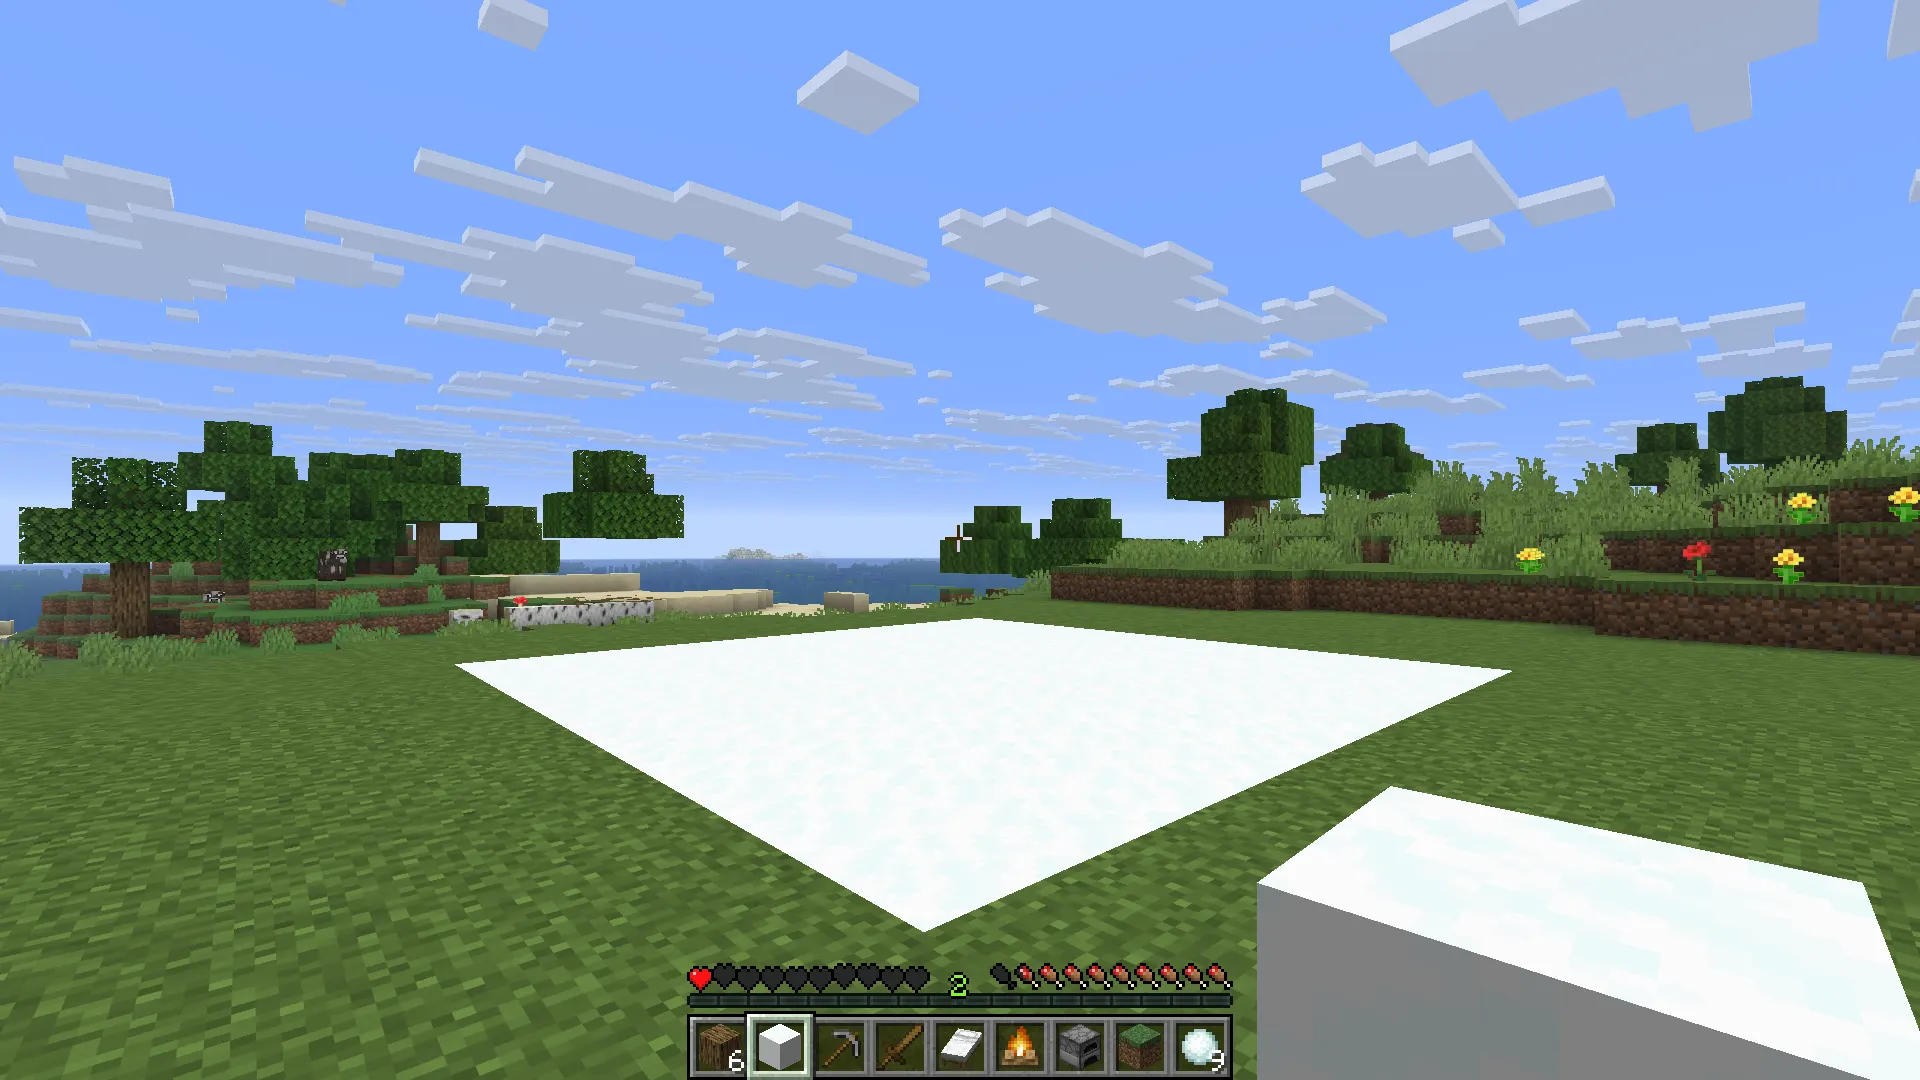
Step 1: Prepare the Land
Start by clearing a small area where your base will be built. Remove grass, flowers, and uneven blocks to create a flat surface.
A 9×9 or 11×11 block area is perfect for a beginner base.
Flattening the ground helps your base look cleaner and makes future expansion easier.
Step 2: Build the Foundation
The foundation determines the structure of your base. Use cobblestone for the floor because it is durable and resistant to explosions.
Steps:
-
Mark a square area (for example 9×9).
-
Fill the entire floor with cobblestone blocks.
-
Leave one block space where the door will be placed.
This simple foundation makes your base stronger and prevents mobs from breaking in easily.
Step 3: Construct the Walls
Now build the walls around the foundation.
Recommended wall height: 3 blocks high
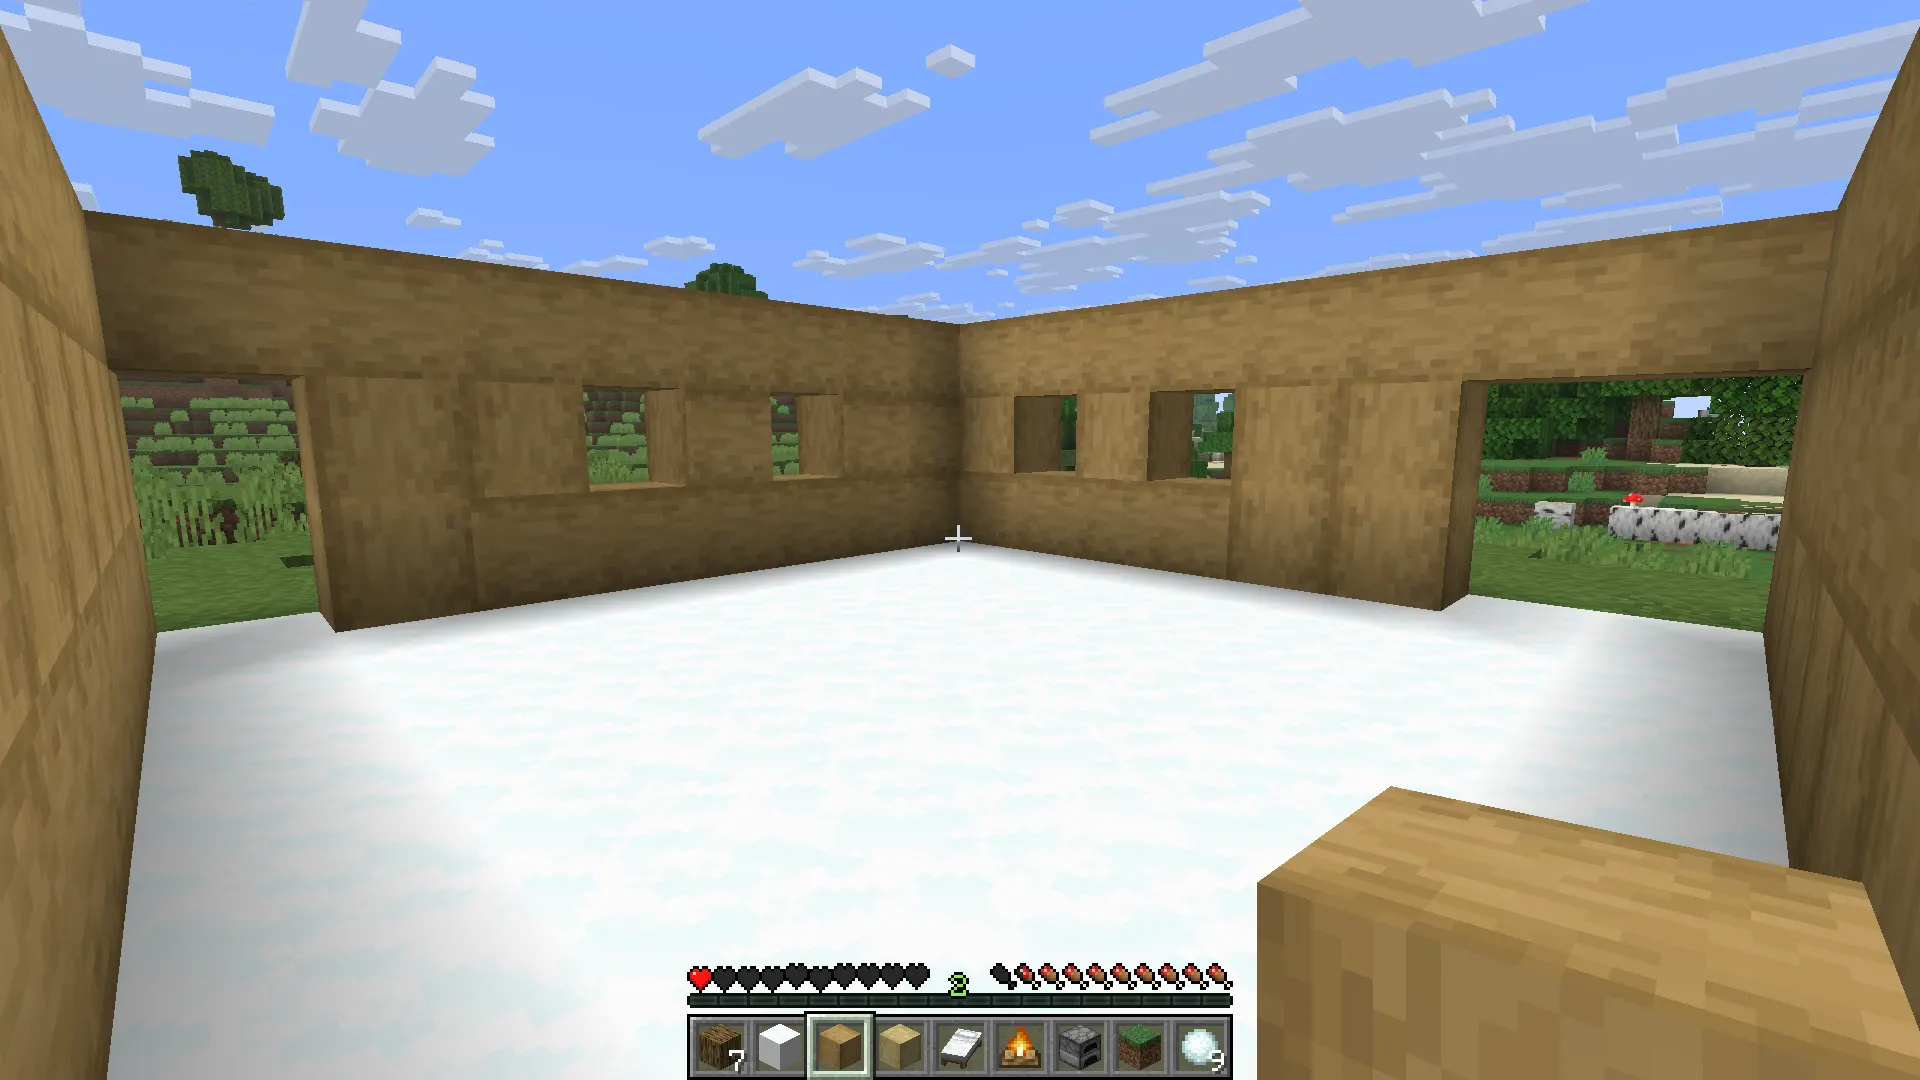
You can use:
-
Wooden planks for a warm look
-
Cobblestone for durability
-
A mix of both for better design
Leave spaces for windows so natural light can enter during the day.
Example layout:
-
Front center: Door
-
Two side walls: Windows
-
Back wall: Storage area
This layout keeps your base functional and organized.
Step 4: Add the Roof
A roof prevents mobs from spawning inside your base and protects you from rain and snow.
There are two beginner-friendly roof styles:
Flat Roof
-
Simple and quick to build
-
Uses fewer materials
Stair Roof
-
Looks more realistic
-
Gives your house a better shape
For beginners, a flat wooden roof works perfectly and can be upgraded later.
Step 5: Place the Door and Windows
Install a wooden door at the entrance and add glass windows if you have sand available.
Windows serve two purposes:
-
Allow sunlight to enter
-
Let you see outside for nearby mobs
If you cannot craft glass yet, you can temporarily leave window gaps and cover them later.
Essential Interior Setup for Your Survival Base
After finishing the outer structure, the next step is organizing the inside.
Your base should include a few essential survival utilities.
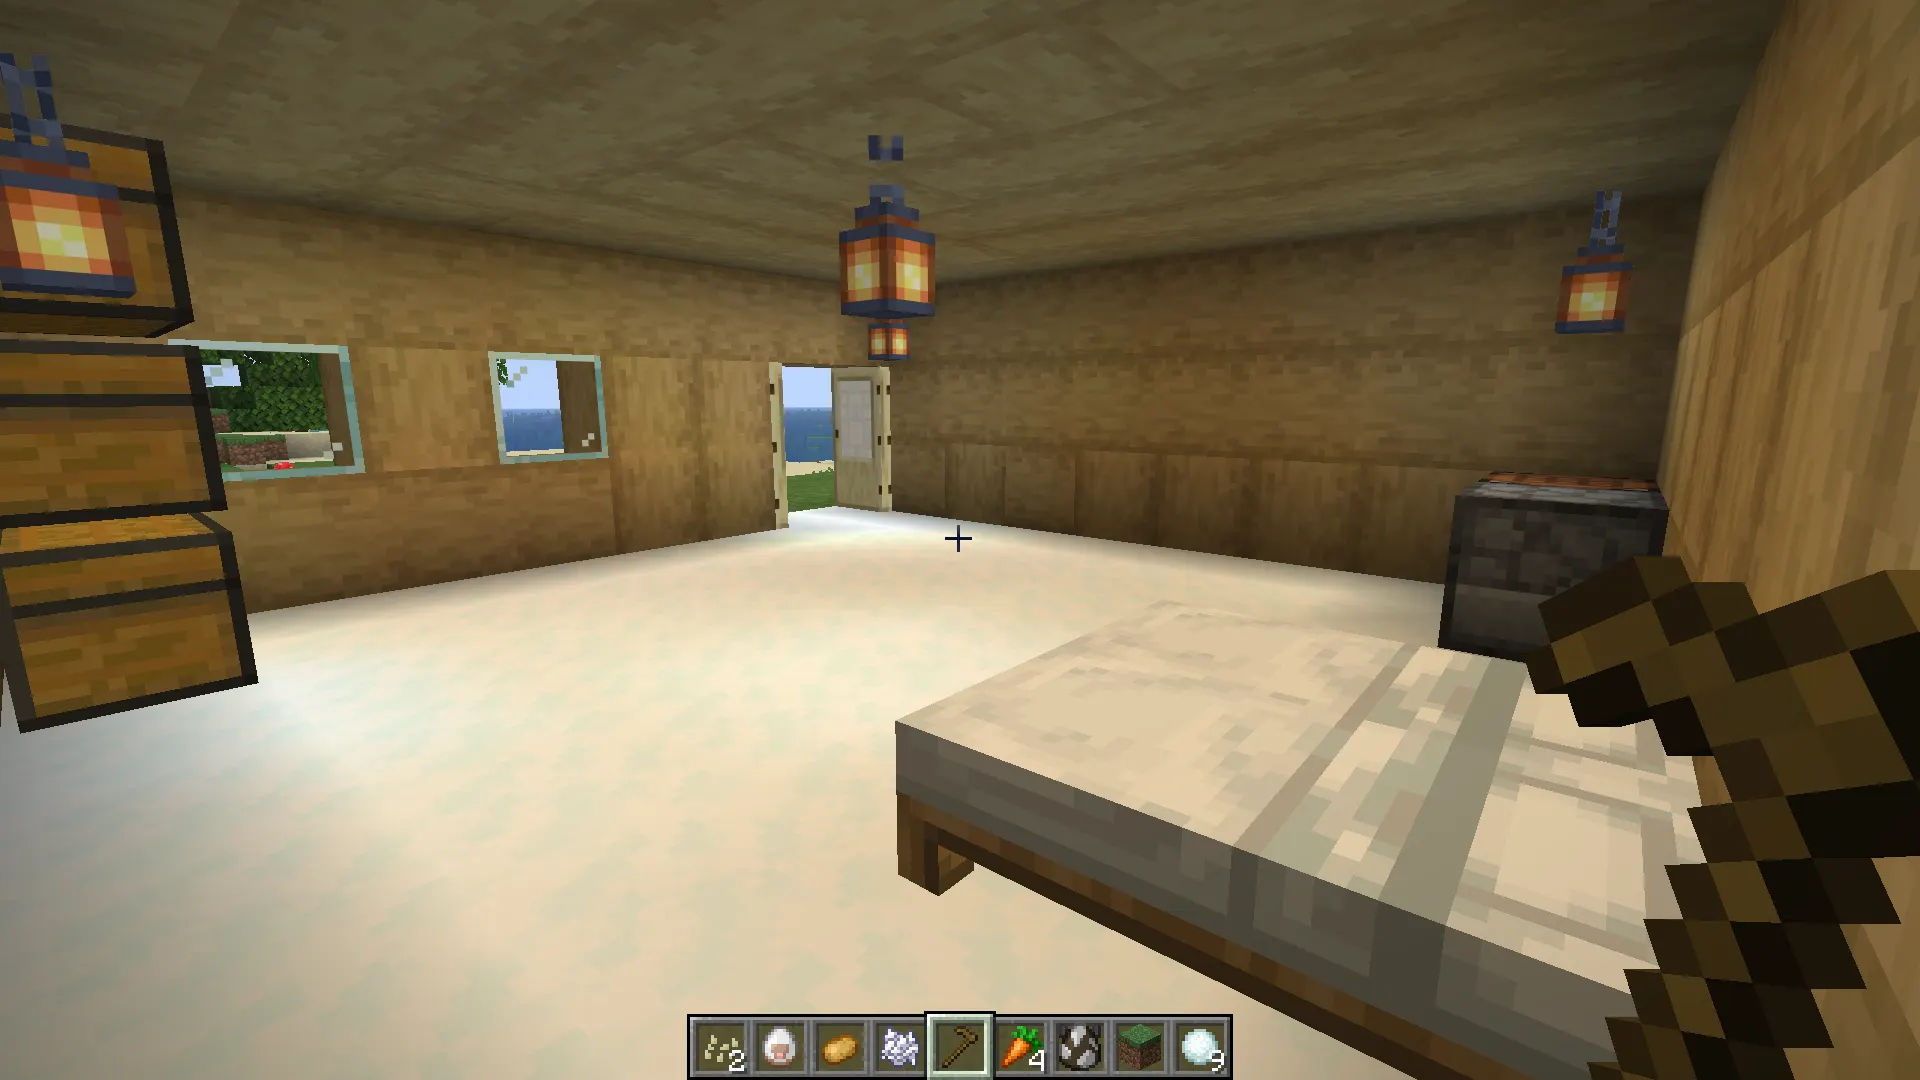
1. Bed (Most Important)
Place your bed immediately after Building the Base.
Benefits of a bed:
-
Skip dangerous nights
-
Set your spawn point
-
Recover quickly after death
Always keep your bed inside a safe, well-lit area.
2. Crafting Area
Place your crafting table and furnace near each other.
This creates a small workstation where you can:
-
Craft tools
-
Smelt ores
-
Cook food
As your base grows, you can expand this into a full crafting room.
3. Storage System
Early game inventory fills up quickly. Add at least two chests inside your base.
A good organization system might include:
-
One chest for blocks
-
One chest for food and materials
Keeping items organized saves time during crafting and mining trips.
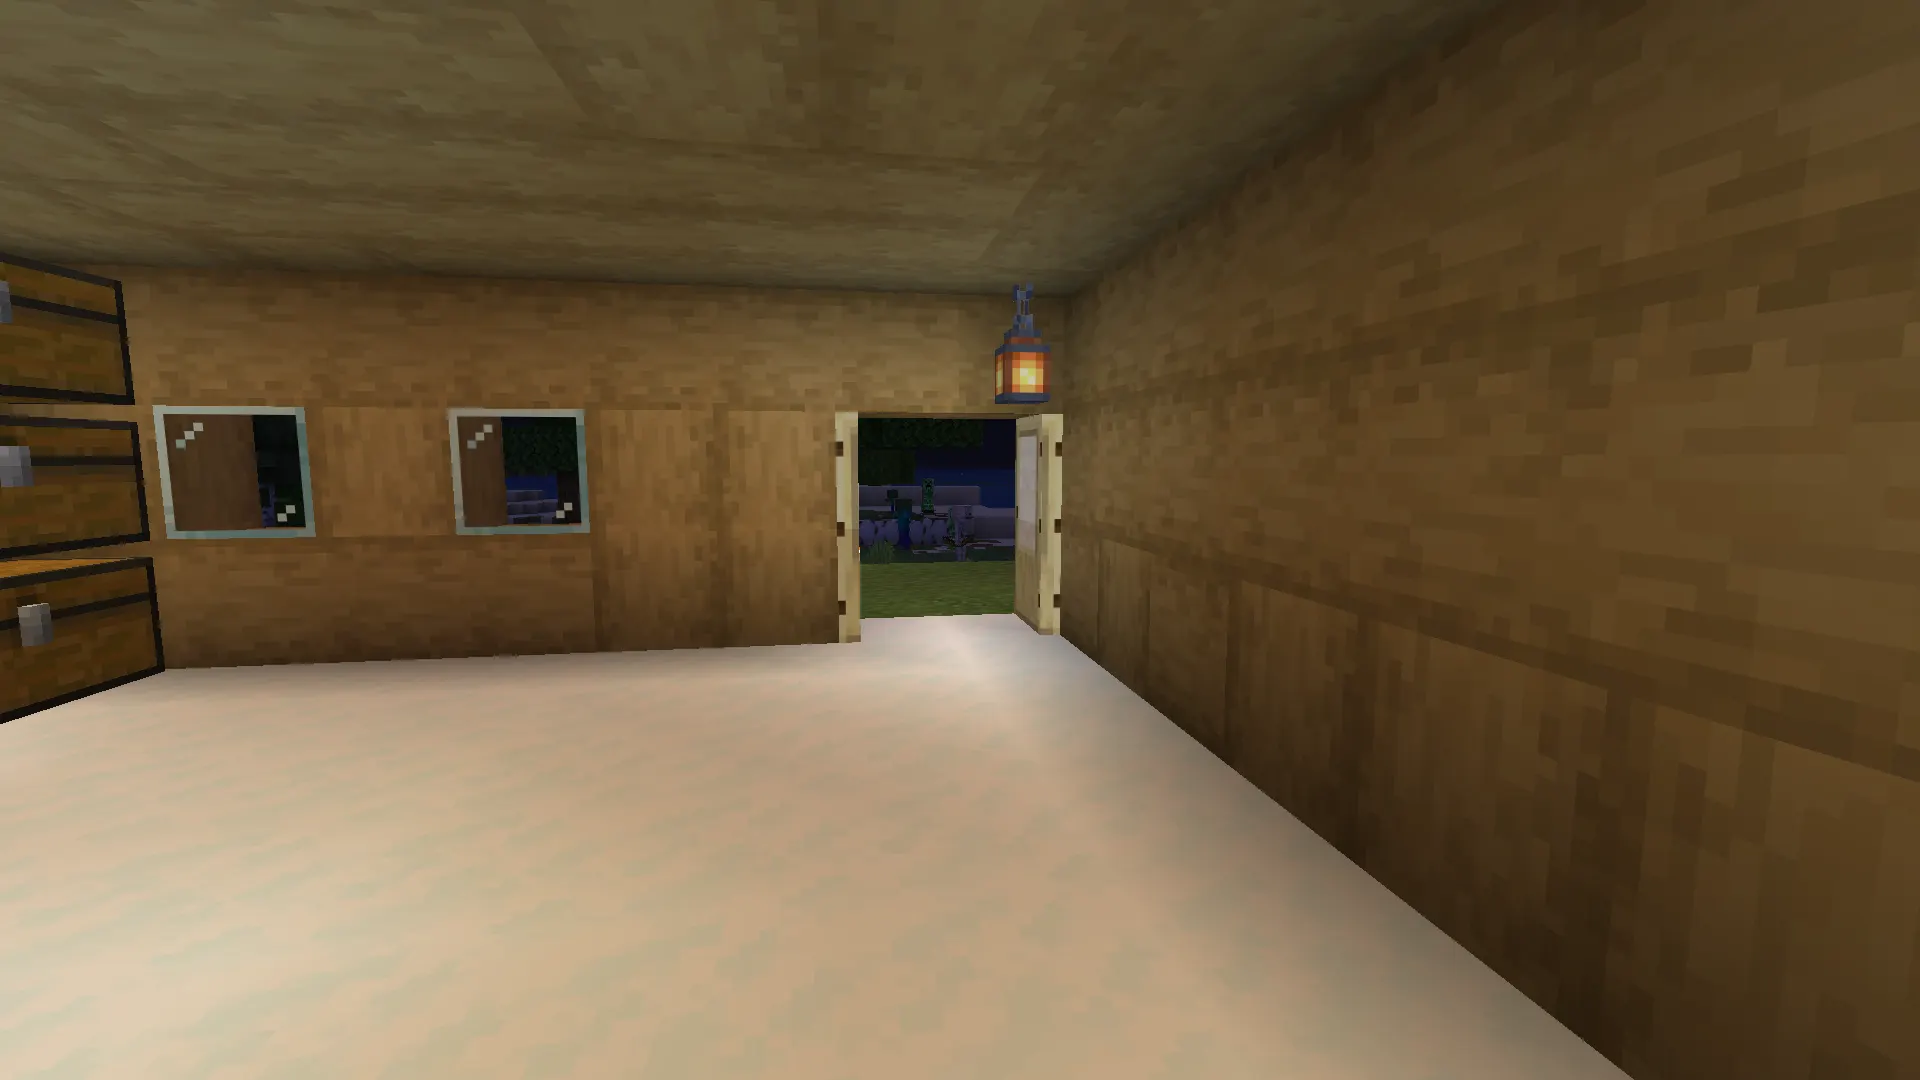
4. Lighting
Lighting is one of the most important aspects of base safety.
Place torches:
-
On each wall
-
Near the door
-
Near crafting areas
-
Outside the base entrance
Proper lighting prevents hostile mobs from spawning inside your base.
Expanding Your Survival Base Over Time
Your first base does not need to stay small forever. As you gather more Resources, you can slowly upgrade it.
Here are some common early expansions:
1. Storage Room
As you mine more materials, you will need a larger storage system with multiple chests.
A dedicated storage room helps keep everything organized.
2. Mine Entrance
Many players create a mine shaft directly under their base.
Benefits:
-
Easy access to ores
-
Quick return to safety
-
Efficient resource gathering
Always place ladders or stairs for easy movement.
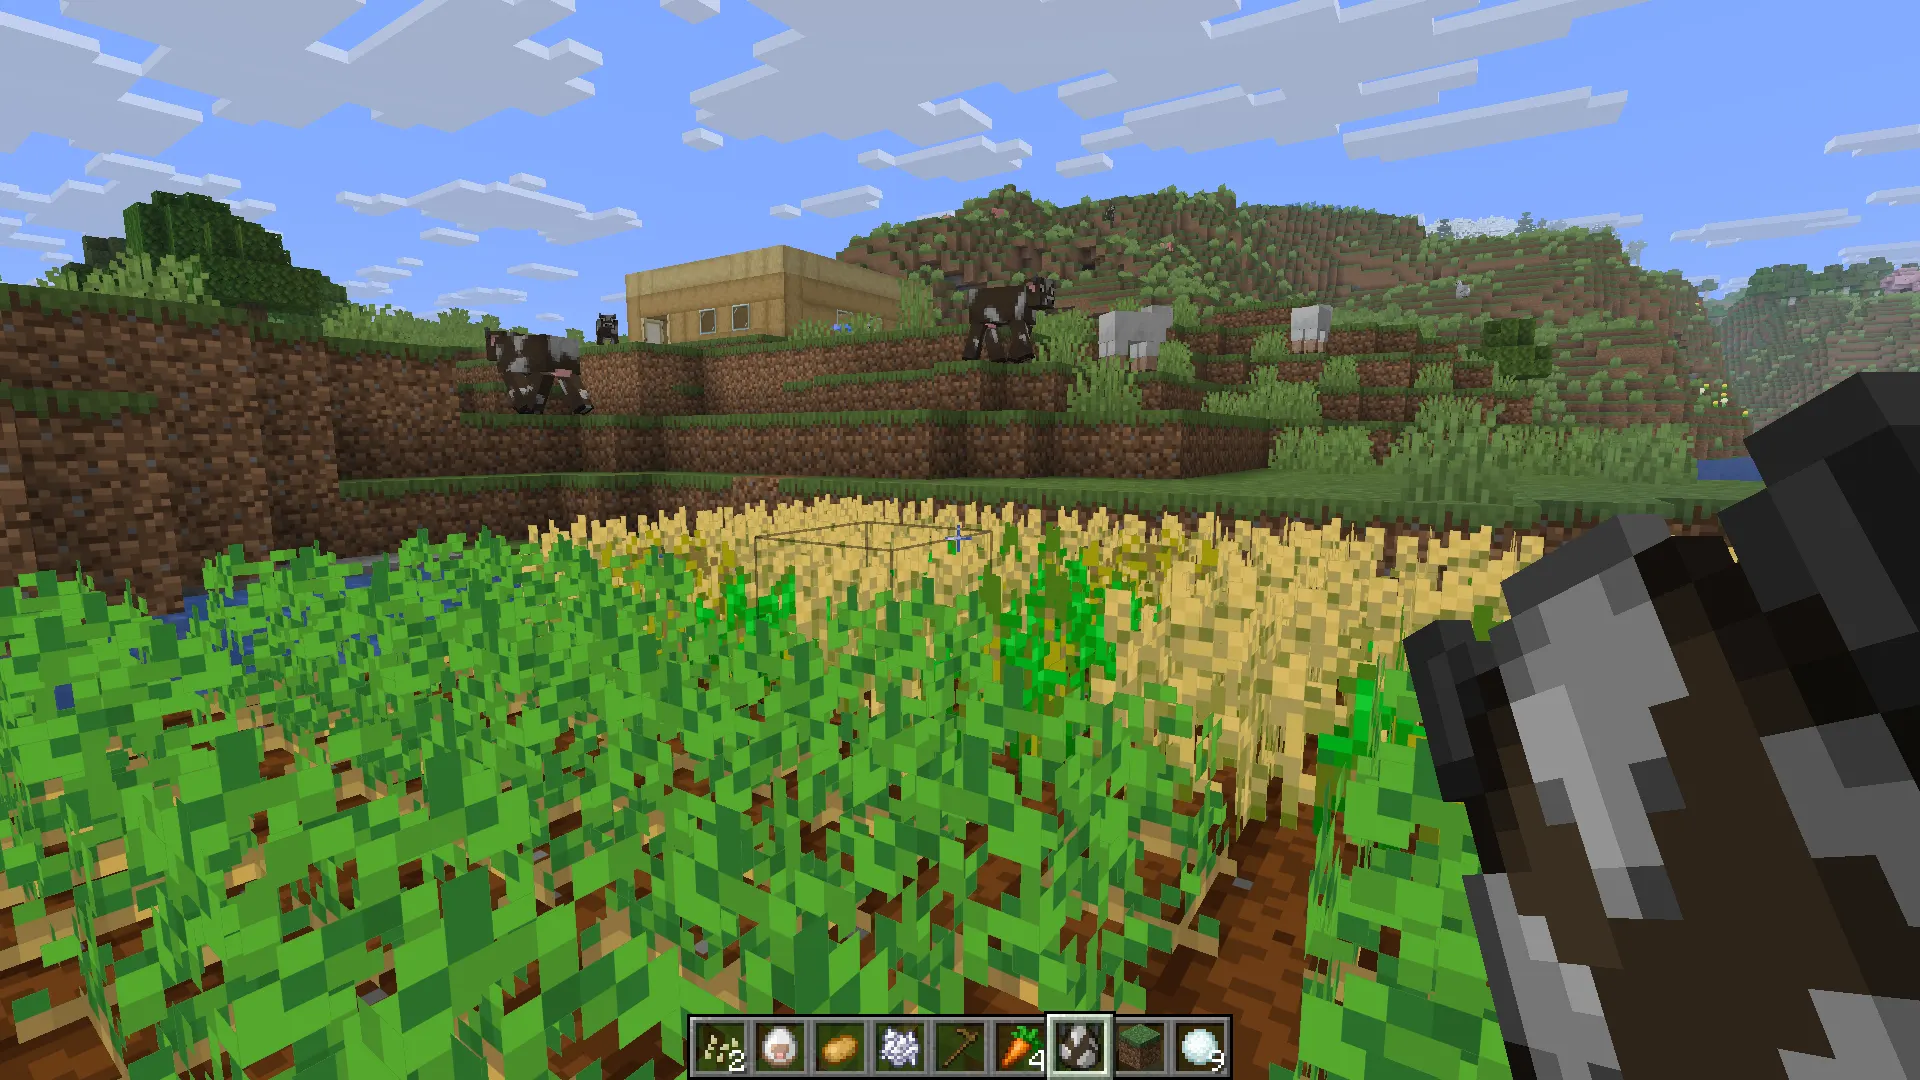
3. Farm Area
Food is Essential for survival.
Create a small farm outside your base for crops such as:
-
Wheat
-
Carrots
-
Potatoes
Adding a farm ensures a steady food supply.
4. Animal Pen
Animals provide food and useful resources.
Build a small fenced area for:
-
Cows (leather and beef)
-
Sheep (wool)
-
Chickens (feathers and eggs)
This turns your base into a sustainable survival hub.
Common Beginner Mistakes When Building a Base
Many new players make Early Mistakes that create problems later. Avoiding these issues will make your survival much easier.
1. Building Too Small
A tiny base quickly becomes cramped. Always leave extra space for future expansion.
2. Not Using Enough Lighting
Dark areas allow mobs to spawn inside or near your base.
Always keep your base well-lit.
3. Building Too Far from Resources
If your base is far from trees, animals, or caves, you will waste time traveling.
Choose a location with multiple nearby resources.
4. Ignoring Creeper Protection
Creepers can destroy weak structures.
Using cobblestone foundations helps reduce damage.
Simple Design Tips for a Better Starter Base
Even a beginner base can look good with a few simple design tricks.
-
Mix wood and stone blocks for a better texture
-
Add glass windows for natural light
-
Use stairs around the roof for shape
-
Place torches outside the entrance
-
Create a small path using dirt or gravel
These small details make your base feel more like a real home.
GAMQO Tip: Protect Your Base from Creepers
Creepers are one of the biggest threats to beginner bases.
Place torches around the outside of your house and avoid leaving dark areas near your walls. This prevents mobs from spawning close to your base and reduces the chance of a creeper explosion damaging your structure.
Final Thoughts
Your first survival base is one of the most important milestones in Minecraft. It represents the moment when you transition from simply surviving to truly building your world.
A good starter base does not need to be large or complicated. What matters most is safety, organization, and room for expansion. By choosing a good location, gathering simple materials, and following a basic structure, you can create a reliable base within your first few days.
Once your base is complete, you will have a secure place to store resources, craft tools, and prepare for bigger adventures like exploring caves, building farms, and eventually traveling to the Nether and beyond.
Every massive castle or Advanced Base in Minecraft begins with a simple survival house. Build yours carefully, expand it gradually, and it will become the heart of your entire world.