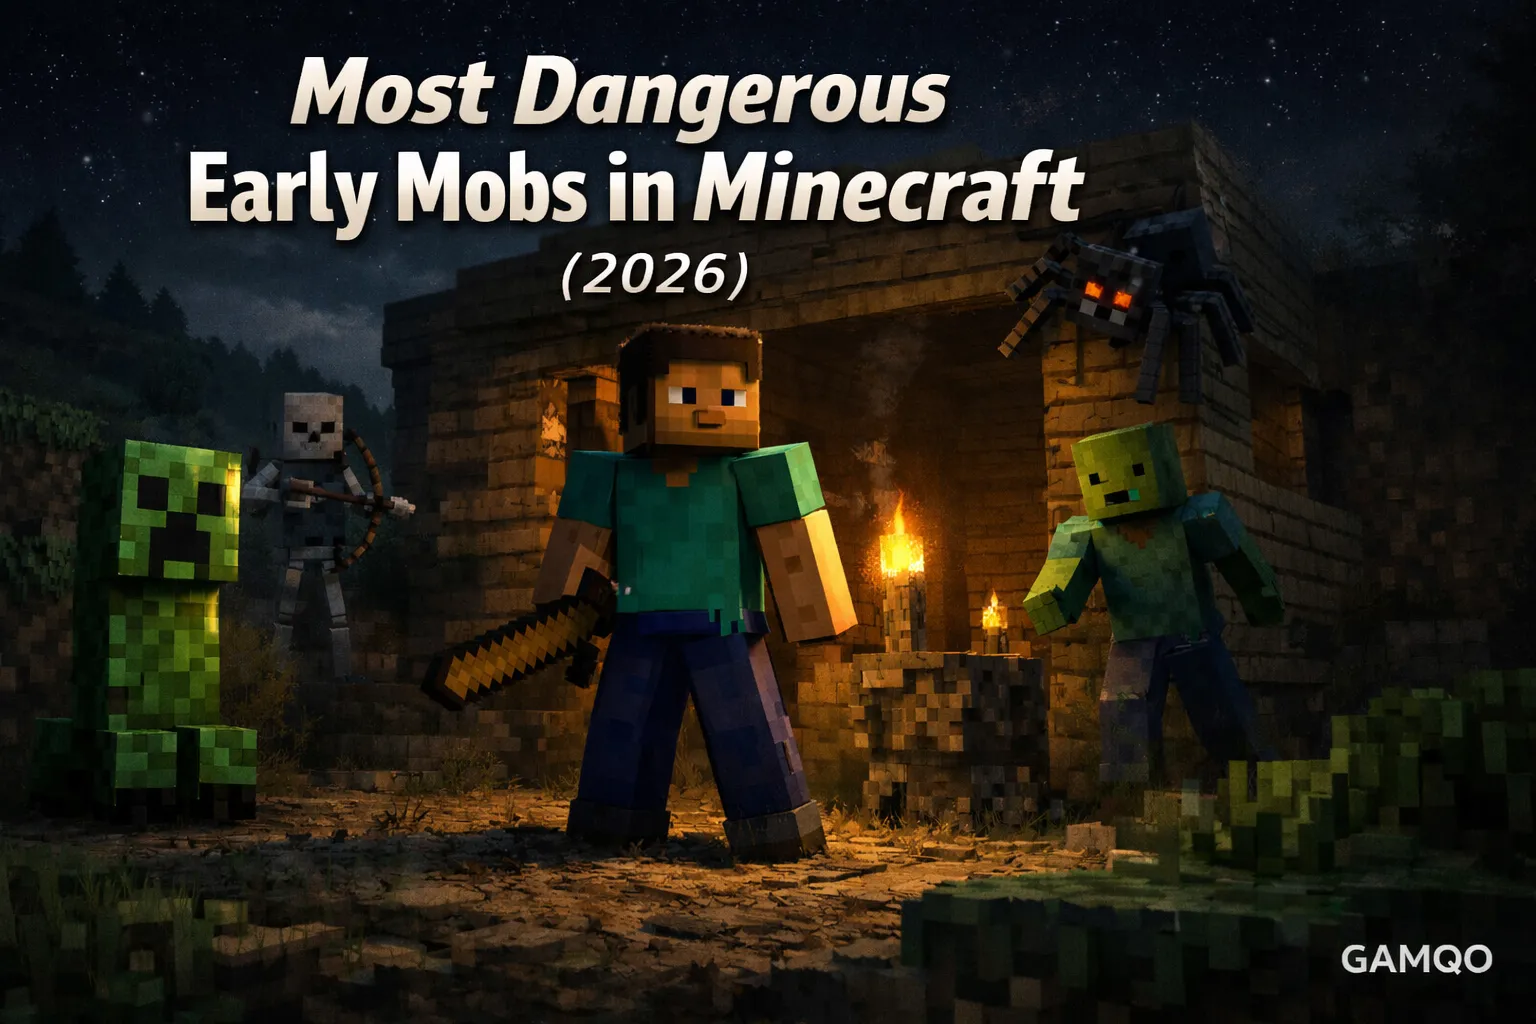
Introduction: Why Your First Night Matters
You spawn into a fresh Minecraft world, and everything feels peaceful. The sun is high, the sky is blue, and the only sound is the gentle tapping of your pickaxe on stone. Then the sun dips below the horizon.
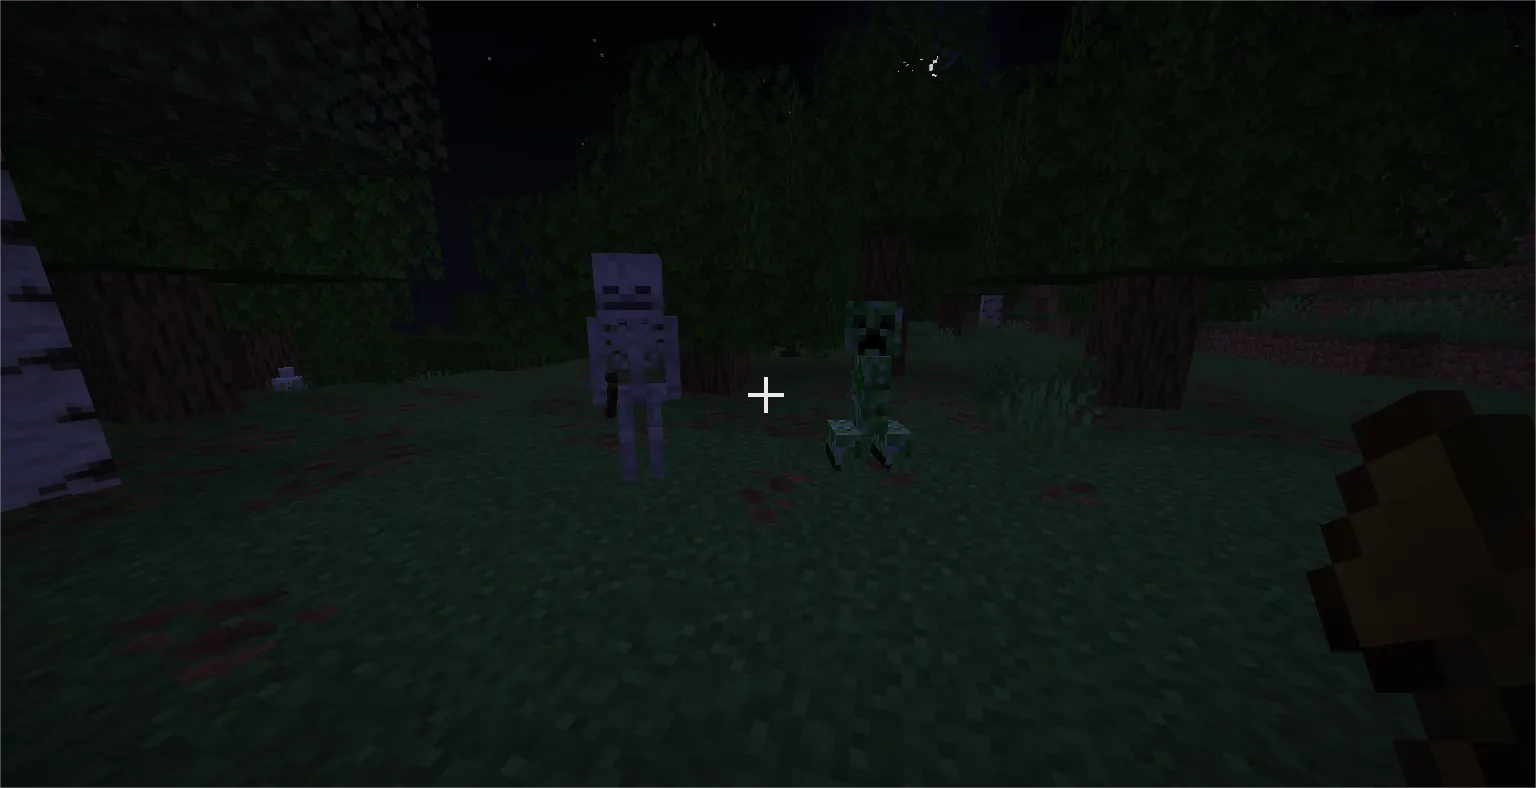
Within seconds, the world transforms. Hisses echo across the landscape. Arrows whistle through the air. Your heart rate spikes as a green creeper rounds the corner—and you realize you have no idea what you're doing.
This moment separates players who quit Minecraft from players who build thriving civilizations. The early game is brutal, and it's not because the mobs are complicated—it's because you have nothing to defend yourself with. No armor. No weapons. No shelter.
But here's the truth: knowing which mobs are actually dangerous and why changes everything. A creeper isn't scary once you understand it detonates in 1.5 seconds, and you can outrun it. A skeleton becomes manageable when you know how to position yourself. Even endermen—teleporting terrors—can be completely nullified with a simple 2-block-high ceiling.
In this guide, you'll learn exactly what makes each dangerous early mob a threat, why they're specifically deadly in the first few hours, and the concrete strategies that let you survive, thrive, and progress to iron tools and armor. No fluff, no vague tips—just practical knowledge from someone who's survived thousands of Minecraft nights.
By the end, you'll understand survival isn't about fighting every mob you see. It's about respecting the danger, building smart, and knowing when to hide and when to stand your ground.
Let's make sure your next First night doesn't end with you respawning confused in the spawn chunks.
Quick Reference: Danger Ranking of Early-Game Mobs
Before we dive deep, here's a quick snapshot of what you're up against:
|
Mob |
Danger Level |
Why It's Deadly |
Difficulty |
|
Creeper |
🔴 Extreme |
Explosive damage + block destruction |
HIGH |
|
Skeleton |
🔴 Extreme |
Ranged damage you can't block |
HIGH |
|
Drowned |
🟠 Very High |
Speed in water + damage while drowning |
VERY HIGH |
|
Spider |
🟠 Very High |
Climbs walls, breaks terrain defense |
HIGH |
|
Zombie |
🟡 High |
Persistent melee, multiple aggro |
MEDIUM |
|
Enderman |
🟡 High |
Teleportation breaks escape routes |
MEDIUM-HIGH |
|
Witch |
🟡 High |
Self-healing makes them nearly unkillable |
MEDIUM |
1. Creepers: The Block-Destroying Nightmare
Why Creepers Are So Dangerous
If I had to pick one mob that ends more early games than any other, it's the creeper. Not because of raw damage—though they hit hard—but because of what happens after they hit.
A Creeper deals 22 damage on hard difficulty (11 hearts). Without armor, you have 10 hearts total. One creeper explosion is nearly fatal. But the real threat is collateral damage: your wooden shelter explodes, your carefully stacked wood blocks scatter, and suddenly you're exposed to the night with nothing but the clothes on your character.
This is why creepers are the first mob that teaches survival psychology: your stuff is more valuable than your pride. Losing a fight is recoverable. Losing your first shelter and resources is devastating.
Why the Early Game Is Critical for Creeper Encounters
In your first 15 minutes of Minecraft, you're gathering wood and crafting basic tools. You're vulnerable. You might be mining your first stone. You're definitely not wearing armor. One creeper ambush while you're distracted by your crafting menu, and you're back to square one.
Worse, creepers spawn frequently in darkness—which is exactly when you're building your first shelter. If you build exposed, a creeper can blow a crater in your roof and leave you defenseless as midnight approaches.
Creeper Survival Strategy: The Escape Plan
1. Maintain distance. Creepers have a detection range of 16 blocks. If you see one, immediately back away to increase that distance. Every block between you and a creeper is a block of safety.
2. Sprint perpendicular, not straight back. If a creeper starts chasing you, don't run directly away. Sprint to the side at a 90-degree angle. Your sprint speed (5.6 m/s) is faster than a creeper's movement speed (2.2 m/s), but only when moving in one direction. Lateral movement briefly confuses their pathfinding, giving you escape time.
3. Use terrain as a shield. Trees, hills, rock formations—anything between you and the creeper blocks its detonation blast. Get behind solid ground and reassess. Often, the creeper will wander away if you break the line of sight long enough.
4. Build your shelter before sunset. This is non-negotiable. A simple wooden box with a door and torches (placed on every wall) prevents creepers from spawning inside. No spawning = no surprises while you're settling in for the night.
5. If trapped, fight or suffocate it. If a creeper corners you with nowhere to run, you have two options:
-
Attack it: Hit it repeatedly, and it'll turn hostile but won't immediately detonate back away between hits. This buys time for it to wander or for you to create distance.
-
Suffocate it: Use sand or gravel (falling blocks) to suffocate it if you're near a mine shaft or sandy area. Suffocation kills mobs without detonation.
Pro tip: Creepers don't detonate immediately—they require 1.5 seconds of line-of-sight contact. If you can get behind a 1-block-high wall and hear the hiss, you're past the point of detonation. Stay hidden for 3 seconds, and it loses aggression.
2. Skeletons: The Archer You Never See Coming
Why Skeletons Deal Serious Threat

Skeletons are dangerous for a reason that separates them from other early mobs: you can't close the distance to fight them effectively in the early game.
An arrow hits for 4 damage per shot on normal difficulty (2 hearts). A single arrow isn't lethal, but skeletons fire in volleys. More importantly, arrows have knockback—they interrupt movement, climb progression, and swimming.
Imagine you're climbing a hill to reach high ground and a skeleton arrow interrupts you mid-jump. You fall and take fall damage on top of arrow damage. Now you're panicked, low on health, and the skeleton keeps firing. That's a dead player.
On hard difficulty, skeletons deal even more damage (8 per shot = 4 hearts). They also wear helmets in some Biomes, making them harder to kill quickly.
Why the Early Game Is Critical for Skeleton Encounters
Early-game combat is slow. Your wooden sword does 4 damage per hit, requiring multiple strikes to kill a skeleton. While you're closing that 20-block gap, the skeleton gets off 4-5 arrows. Without armor, you can't sustain that damage while advancing.
Skeletons are also strategic: they position themselves on hills, in caves, and behind cover. A skeleton on high ground shooting down at you is nearly impossible to approach without taking significant damage.
Skeleton Survival Strategy: Positioning Over Fighting
1. Get to cover immediately. Trees, boulders, terrain—anything that blocks arrows. Sprint directly to the nearest obstacle and don't emerge until you've reset your approach.
2. Strafe perpendicular while moving away. If you're caught in open ground with a skeleton, don't run directly away (it'll keep landing shots). Strafe side-to-side in a zigzag pattern while moving backward. Skeletons struggle to lead moving targets that change direction unpredictably.
3. Build upward for height advantage. If you have wood or blocks, place them vertically above the skeleton. Skeletons can't track targets directly overhead—their pathfinding forces them to find climbing routes (which takes time). You'll be safe from arrows and can drop down for melee attacks.
4. Use water to interrupt arrows. Water blocks arrows. If you're near a river or ocean, move into shallow water. You'll move more slowly, but arrow damage is negated. Push the skeleton into water with you if possible—they move slower in water than you do.
5. Advance during reload. Skeletons have a reload animation between shots (~0.8 seconds). Watch for the moment they draw their bow, and in that window, sprint closer. Repeat until you're within melee range.
6. Night safety = torches everywhere. Skeletons spawn in darkness. A well-lit shelter (light level 8+) prevents them from spawning nearby. Invest in torches before sunset—they're the cheapest defense.
Pro tip: Skeletons sometimes shoot each other during combat. If a skeleton is fighting another mob, use that distraction to heal or escape.
3. Spiders: The Wall-Climber That Breaks Your Defenses
Why Spiders Are Uniquely Dangerous
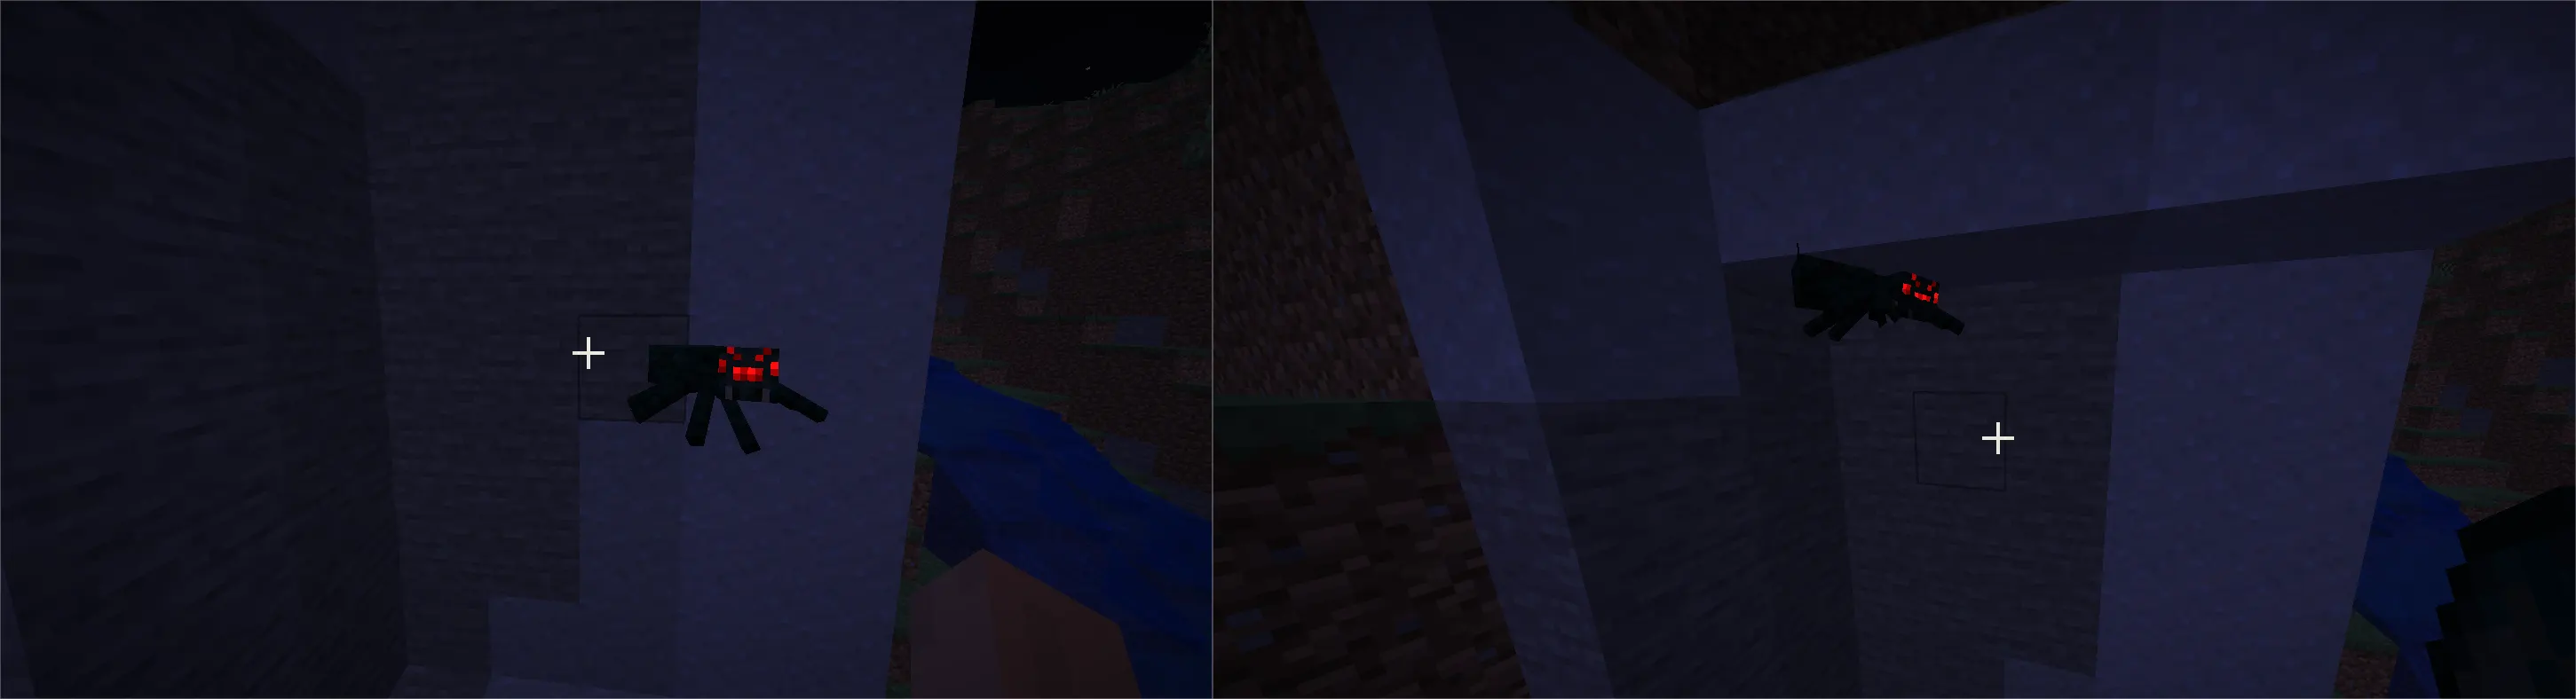
Most early-game mobs have one weakness: you can escape by running to open ground or building upward. Spiders laugh at both strategies.
Spiders climb vertical walls, an ability that breaks the basic survival tactics of early Minecraft. A wall that would stop a zombie becomes a ladder for a spider. Your cliff-side shelter? Spiders can scale it. That tall tower you built? They're climbing it.
Spider damage is modest (2 damage per hit on hard = 1 heart), but they attack rapidly and persistently. A spider that pins you in a corner will hit you 4-5 times before you escape, 9-10 damage with no way to retreat vertically.
Even worse: spiders are neutral during daylight. A spider wandering through your base in broad daylight feels manageable until it randomly turns hostile (when you look at it), and suddenly it's climbing your walls at point-blank range.
Why Early Game Is Critical for Spider Encounters
Without a sword, you can't quickly kill a spider. With just your fists, each hit does minimal damage. Meanwhile, the spider closes the distance and climbs around you. You're forced to flee rather than fight, but fleeing is difficult because of the climbing—the spider catches you on terrain you thought was safe.
Early bases often have exposed walls and poor roofing. A spider can breach defenses that would stop any other mob.
Spider Survival Strategy: Break Their Climb Advantage
1. Fight on flat, open ground. Spiders are fast climbers on vertical surfaces but slow on flat terrain. On open ground, your sprint speed exceeds theirs. If you're in a cave or enclosed space, exit immediately to open daylight and flat terrain.
2. Build overhangs in your base. Spiders can climb vertical walls but cannot climb if there's a block overhanging above them (like a 1-block overhang on a 2-block-high wall). This forces them into pathfinding around your structure rather than over it. Design your early base with strategic overhangs on exposed walls.
3. Place a 2-block-high ceiling everywhere safe. A room with a 2-block-high ceiling (they can't fit if you're standing) is spider-proof from above. They can't climb in, and they can't path over it.
4. Light your base aggressively. Spiders spawn in darkness. More torches = fewer spawn points. Place torches every 12 blocks (to achieve light level 8+), and spiders won't spawn inside your perimeter.
5. Combat if trapped. If a spider corners you inside, fight back. A wooden sword does enough damage to force it back. Hit and retreat, maintaining distance. Don't let it climb around you—force it to face you head-on.
6. Use doors strategically. Spiders can't open doors. A door between you and a spider buys precious time. Lock yourself in a room if pursued.
Pro tip: Spiders take extra damage from fall damage. If a spider is chasing you off a cliff, it'll take the same fall damage. This can kill them or put them low enough for you to finish with a hit or two.
4. Zombies: The Persistent Horde
Why Zombies Are Dangerous (Despite Being Slow)

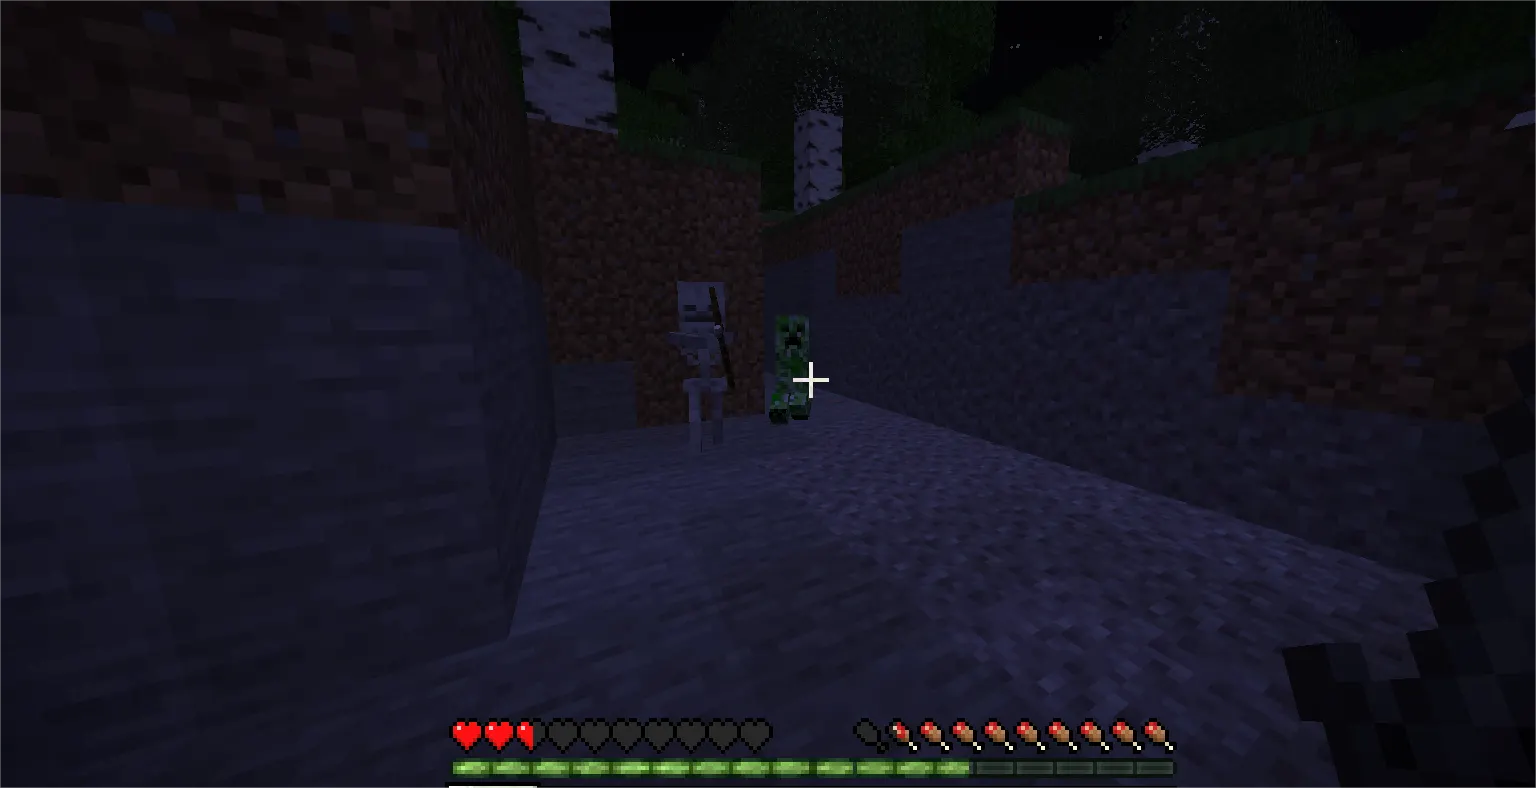
Zombie damage is moderate (2.5 damage per hit on hard = 1.25 hearts), and their movement speed is slow. A single zombie is trivial to handle. A horde of zombies is a death trap.
The real danger is cumulative attrition. Two zombies hitting you simultaneously deal 2.5 damage per second. Three zombies deal 7.5 damage per second. In the early game without healing, you die in seconds if surrounded.
Zombies also don't stop. They pursue relentlessly, forcing you into bad decisions: panicked jumps off cliffs, running toward other mobs, or backing into dead ends. Panic kills more new players than zombie damage itself.
Why the Early Game Is Critical for Zombie Encounters
Zombies spawn everywhere at night and in caves. They're slow enough that you can escape individually, but they spawn in groups. Your first encounter might be one zombie—manageable. Your second might be four zombies converging simultaneously.
Without armor, even slow hits add up. More critically, zombies are durable. A wooden sword requires multiple hits to kill one. While you're killing the first zombie, two more are closing in.
Zombie Survival Strategy: Isolation and Positioning
1. Separate the horde. Never fight multiple zombies simultaneously. Use terrain, doors, and ledges to isolate one zombie at a time. Force them into a single-file approach if possible.
2. Build a funnel structure. If you're expecting zombie aggression, create a narrow corridor where only one mob can attack at a time. Doors work perfectly for this. Attack the lead zombie while the others queue up, unable to help.
3. Use platforms for height advantage. Jump onto a raised platform or pillar (even a 2-block jump is enough). Zombies don't jump well; you can attack from above while they struggle to reach you.
4. Circle strafe while attacking. Don't face a zombie head-on while attacking. Attack once, then move to the side, attack, move to the side. This prevents other zombies from surrounding you and makes you harder to hit.
5. Fallback to your shelter. If overrun, don't fight. Sprint to your base, close the door, and wait. Zombies can't break down wooden doors (only iron doors in some versions). Use your shelter as a panic room.
6. Create distance and heal. Zombies move at 0.23 m/s—slower than your sprint speed. Get distance, eat food to heal, and re-engage on your terms.
Pro tip: Zombies are vulnerable to suffocation and drowning. If you're in water, pull a zombie in with you. They drown while you (the player) can breathe if you manage your sprint-breathing correctly.
5. Drowned: The Water Mob That Changes Everything
Why Drowned Are Uniquely Deadly
Drowned are underwater zombies that fight like demons. They deal 3 damage per hit on hard difficulty (1.5 hearts) with a trident in hand—fast, aggressive, and they own the water.
In water, you move at 30% of land speed. Drowned move at normal speed. This creates a physics problem you can't escape: a drowned will always catch you in water if they're faster and closer.
Combined with water's breathing mechanics (you drown if submerged without air), a drowned fight becomes a two-front war: fight the mob and manage your oxygen. Most early players suffocate trying to win an underwater duel they can't win.
Why the Early Game Is Critical for Drowned Encounters
Early Minecraft means water exploration: gathering clay, sand, and kelp for fuel and building blocks. You'll wade into the shallows without armor or proper weapons. A drowned emerging from deep water and lunging at you is jarring and often lethal.
Worse, you don't understand breathing mechanics yet. Panicking in water while fighting turns a manageable encounter into drowning within 10 seconds.
Drowned Survival Strategy: Avoid the Fight Entirely
1. Stay in the shallows only. Keep water exploration to 2-3 blocks deep, maximum early game. Deep water is drowned territory. You don't have the gear to win those fights.
2. Scout before diving. Look for movement or shadows in water before entering. If you see a drowned, back away slowly and find a different spot.
3. Use blocks to separate and escape. If a drowned is advancing, place blocks between you and it. Drowned pathfinding is slow around obstacles. Use block placement to create distance and escape to shallow water or shore.
4. Carry a water bucket as a lifeline. If you're drowning (oxygen bar flashing red), place water above you. Water places the source block, resetting your oxygen meter instantly. This saves you from panic-drowning.
5. Fight only on land or in ultra-shallow water. If a drowned follows you to shore, kill it there, where you have full mobility. If forced to fight in water, position yourself so your head is above water (you won't drown this way).
6. Use a ranged weapon if possible. A bow keeps a distance and avoids the underwater physics problem. Even in the early game, a few hits with a bow will kill a drowned before melee range.
Pro tip: Drowned drop tridents when killed. Even a weak trident gives you ranged capability. However, early-game drowned hunting isn't worth the risk. Leave them alone until you're geared.
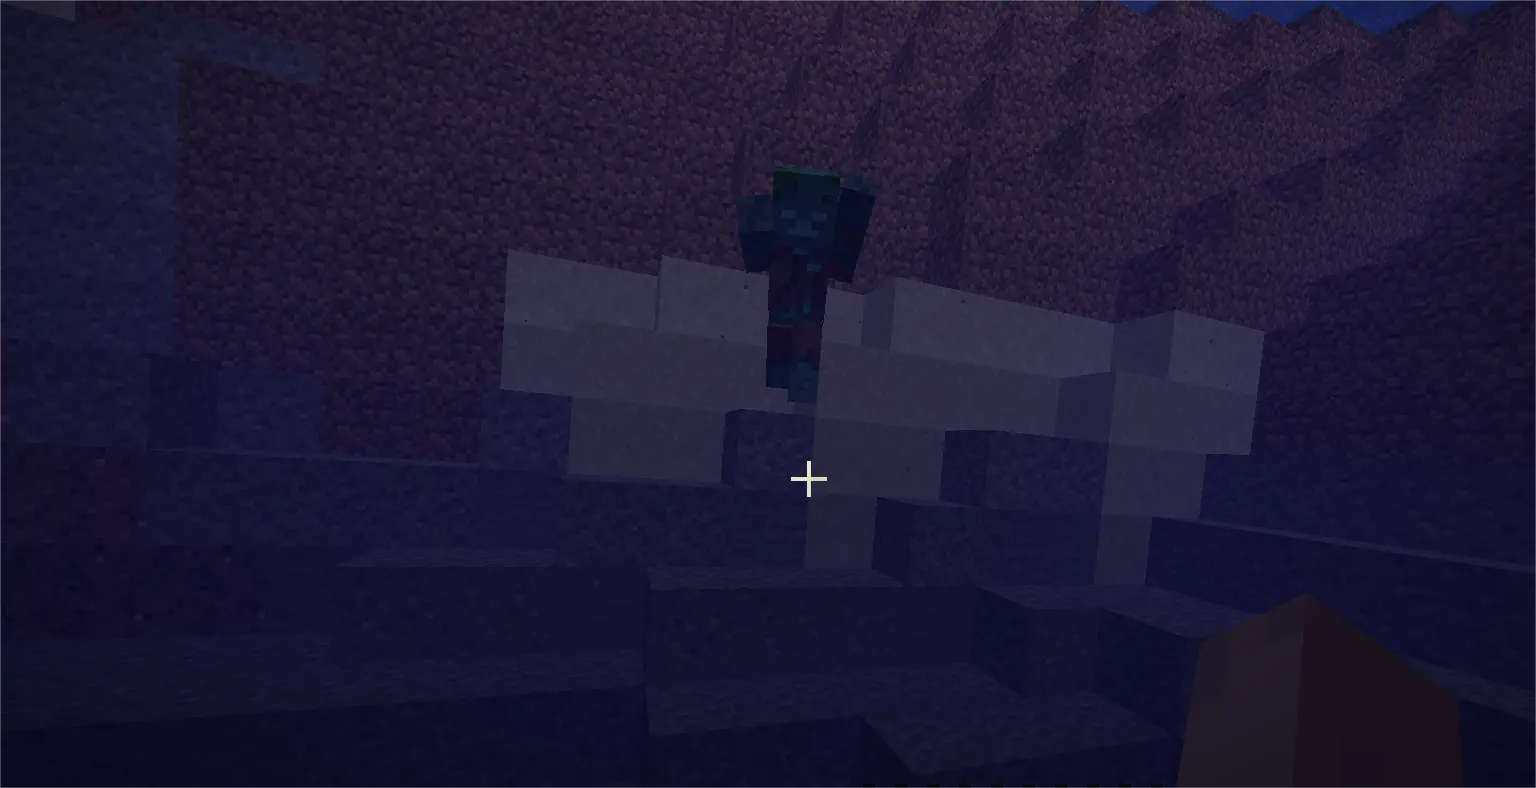
6. Endermen: The Teleporter You Didn't Provoke
Why Endermen Are Deceptively Dangerous
Endermen start neutral and friendly. They stand around, pick up blocks, and ignore you completely. Then you make eye contact (aim your crosshair at them for 0.5 seconds), and they teleport directly into your face and start hitting.
Each hit deals 8 damage on hard difficulty (4 hearts). Two hits and you're nearly dead without armor. The teleportation means you can't escape—they appear behind you, next to you, surrounded by you. Your escape routes vanish.
Most dangerous of all: you don't understand that you provoked them. New players don't know that looking at an enderman causes aggression. You're just wandering, eyes forward, and suddenly it's attacking with no warning. By the time you understand what happened, you've taken 2-3 hits, and you're panicking.
Why the Early Game Is Critical for Enderman Encounters
Endermen spawn in darkness and are most active at night—exactly when you're trying to hide in your shelter. If your shelter has tall ceilings and windows, an enderman can teleport inside and corner you.
Additionally, endermen are hard to fight without practice. Your combat instinct is to chase and hit. Chasing an enderman triggers another teleport behind you. Hitting it triggers more teleports. The fight becomes chaotic quickly.
Enderman Survival Strategy: Prevention Over Combat
1. Design a shelter with 2-block-high ceilings. Endermen are 3 blocks tall. A 2-block ceiling means they can't fit in your safe rooms. They can't teleport into spaces they can't fit. This is the single best Enderman defense.
2. Never aim at their face. Keep your crosshair on their feet or the ground. This breaks eye contact without having to look away completely. You can navigate normally while avoiding provocation.
3. Get indoors immediately if you see one. At night, if an enderman is nearby, sprint into your shelter and close the door. No door = no safety = bad situation. Make sure your early shelter always has a door.
4. Use water as a deterrent. Endermen teleport away from water and take damage in it. A small moat (even 1 block deep) around your base discourages them. They'll avoid the area entirely.
5. If already provoked, hide in water. If an enderman is already attacking, get into water immediately. They'll take damage and try to escape. Let the water kill them while you gain distance.
6. Fight only if forced. If cornered, fight aggressively. Keep hitting and don't back away—backing away triggers more teleports. A wooden sword can kill an enderman in ~15 hits. Hit and hit and hit.
Gamqo tip: Endermen pick up and place blocks randomly. Build your First base with blocks that can't move (stone, dirt) or accept that your structure might change. By the time you have endermen concerns, you'll have better shelter options anyway.
7. Witches: The Self-Healing Nightmare
Why Witches Are Nearly Unkillable
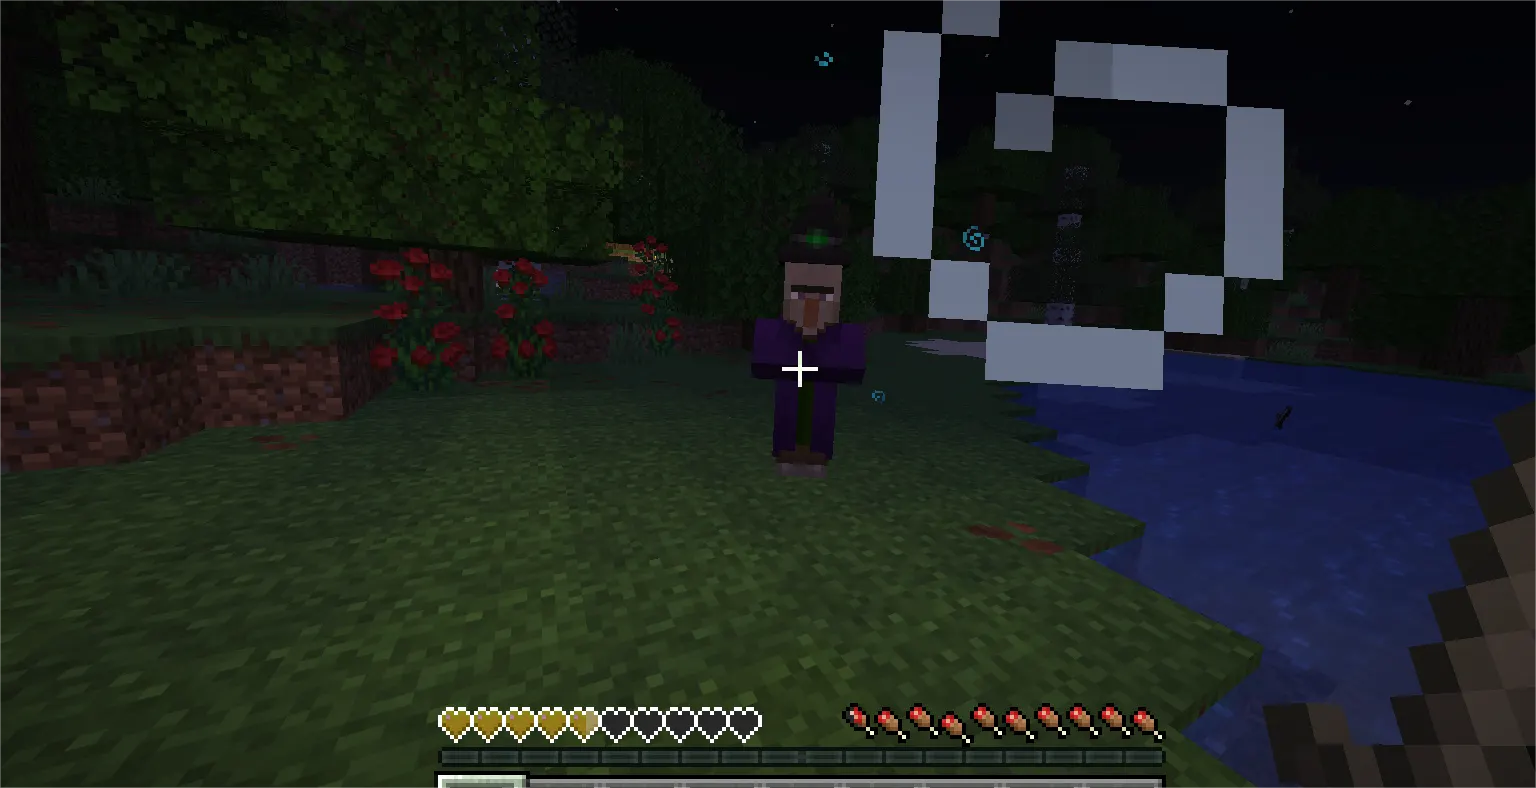
Witches are rare in the early game, but when you encounter one, it breaks all your combat assumptions. You attack it, you're winning, then it drinks a healing potion and regenerates health while you're still attacking.
A witch heals 16 health per potion (8 hearts in one drink). Your early wooden sword does 4 damage per hit. You'd need 4 hits to match one healing potion. Witches drink multiple potions in a single fight. You literally cannot out-damage their healing with early weapons.
Witches also throw damaging potions at you from range. They deal extra damage and have potion effects that debuff you. A witch at range, hitting you with potions while healing itself, is a fight you cannot win through normal combat.
Why the Early Game Is Critical for Witch Encounters
Witches spawn in swamps and certain structures. Early exploration naturally leads to swamps (for slimeballs and lush vegetation). You might assume a witch is just another mob and engage directly.
By the time you realize you can't damage it faster than it heals, you're already in the fight. Panicking and retreating with a witch chasing you often leads to more damage.
Witch Survival Strategy: Avoid Entirely Until Geared
1. If you see a witch, leave the area immediately. There is no shame in this. Witches are designed to be avoided in the early game. Run away and come back when you have iron tools and armor.
2. Maintain extreme distance if you must pass near one. Witches throw potions from ~8-10 blocks away. Stay farther than that. If you can't, go around a different route.
3. If forced into combat, use suffocation damage. If cornered by a witch (unlikely but possible), bury it under sand or gravel and let gravity do the damage. Suffocation bypasses healing. This works but is extremely slow and impractical.
4. Mark the location and return later. Write down the coordinates of the witch or mark it on your map. Return when you have iron or diamond gear. Then it's a manageable fight.
5. Never, ever underestimate potion healing. The moment a witch starts drinking, disengage. You will not out-damage that healing. Accept it and leave.
Pro tip: Witches only spawn in specific biomes and structures. Knowing which spawn mechanics lets you avoid them entirely. Swamps at night = potential witches. Witch huts = guaranteed witches. Plan your exploration to avoid these until geared.
Early-Game Mob Hierarchy: What to Fear and When
Not all mobs are equally dangerous at every phase of the early game. Understanding the progression matters:
First 10 minutes (wood gathering):
-
Creepers = Most dangerous (explosions destroy your resources)
-
Spiders = Secondary threat (climb and pin you)
10-20 minutes (first tool crafting):
-
Skeletons = Primary threat (arrows from range)
-
Creepers = Still dangerous
-
Zombies = Emerging threat (groups are dangerous)
20-30 minutes (shelter building):
-
All mobs = Reduced threat (you're inside a lit structure)
-
Endermen = Emerging threat (can teleport inside tall ceilings)
-
Drowned = Threat if exploring water
30+ minutes (establishing base):
-
Witches = Rare but catastrophic
-
Endermen = Managed threat (proper ceiling height)
-
All others = Manageable with basic gear
This hierarchy means your survival priorities shift. Early focus on shelter and lighting, then weapon upgrade, then armor.
The Real Survival Strategy: Build Smart, Not Fight Hard
Here's what separates new players who quit from new players who build empires:
Shelter > Combat. A lit shelter with a door beats all early-game mobs entirely. Creepers can't get in. Skeletons can't shoot you. Zombies can't reach you. Endermen can't fit. Witches can't find you. You don't need to win fights—you need to avoid them.
This is not cowardly. This is smart.
Experienced players hide at night. They don't fight every mob they see. They build defensively, progress gradually, and only engage mobs when necessary or well-equipped. Your First night isn't about winning combat encounters—it's about surviving until dawn.
The Survival Progression:
-
First 5 minutes: Gather wood, craft a crafting table, and wooden tools
-
Next 10 minutes: Mine stone, craft stone tools, and basic furnace
-
Next 10 minutes: Gather more wood and coal, establish shelter
-
Before sunset: Place torches everywhere (light = safety), build a door, and close it at night
-
Night: Stay inside, craft, cook food, organize inventory
-
Next day: Mine for iron, gather more resources, improve shelter
-
After 1-2 hours: You have iron tools and armor—mobs are significantly less threatening
This progression bypasses most dangerous early encounters. You're not fighting creepers; you're hiding from them. You're not battling skeletons; you're inside where they can't spawn.
First-Night Survival Checklist
Before sunset, you need:
-
Shelter: Any enclosed structure with a roof and door
-
Lighting: Torches or other light sources (place on walls and ceiling to prevent spawning)
-
Crafting Table: To craft tools and shelter upgrades
-
Furnace: To smelt ore and cook food
-
Food: At least 10-15 blocks of wood for fuel to cook meat or cook kelp/seeds
-
Backup Plan: Know where to hide if your shelter is breached
-
Tools: At minimum, a wooden pickaxe and axe; stone tools by the end of the night
You don't need armor yet. You don't need a full kitchen. You don't need crafted weapons. You need shelter, light, and a door. Everything else is preparation for night two.
Conclusion: You Will Survive This
Your first night in Minecraft is intimidating. Mobs are unpredictable. The darkness is overwhelming. You don't know what anything does or how dangerous it is. That's normal.
But here's what's true: millions of players have survived their first night with far less knowledge than you now have. You know exactly which mobs are dangerous. You know why they're dangerous. You know concrete strategies to survive each one.
Creepers? You understand they explode—build shelter before sunset, and they can't reach you.
Skeletons? You understand arrows are dangerous—stay indoors or behind cover.
Spiders? You understand they climb—stay on open ground or build overhangs.
Zombies? You understand they're persistent—separate them and fight one at a time.
Drowned? You understand they own water—stay in the shallows or on land.
Endermen? You understand they teleport—keep ceilings at 2 blocks high and never look at them.
Witches? You understand they heal—avoid them entirely.
None of this requires combat skill. None of it requires amazing reflexes. It requires understanding, planning, and respecting the threat level. Build that shelter. Place those torches. Close that door. Survive the night.
By day two, you're mining stone and improving your situation. By day three, you have iron tools. By day five, you have iron armor and a proper base. The early game isn't about heroic last stands—it's about surviving long enough to progress.
You've got this. Build smart, hide when necessary, and don't panic when you hear that creeper hiss. You know exactly what to do now.
Now go get that wood, build that shelter, and show your first night what you're made of.