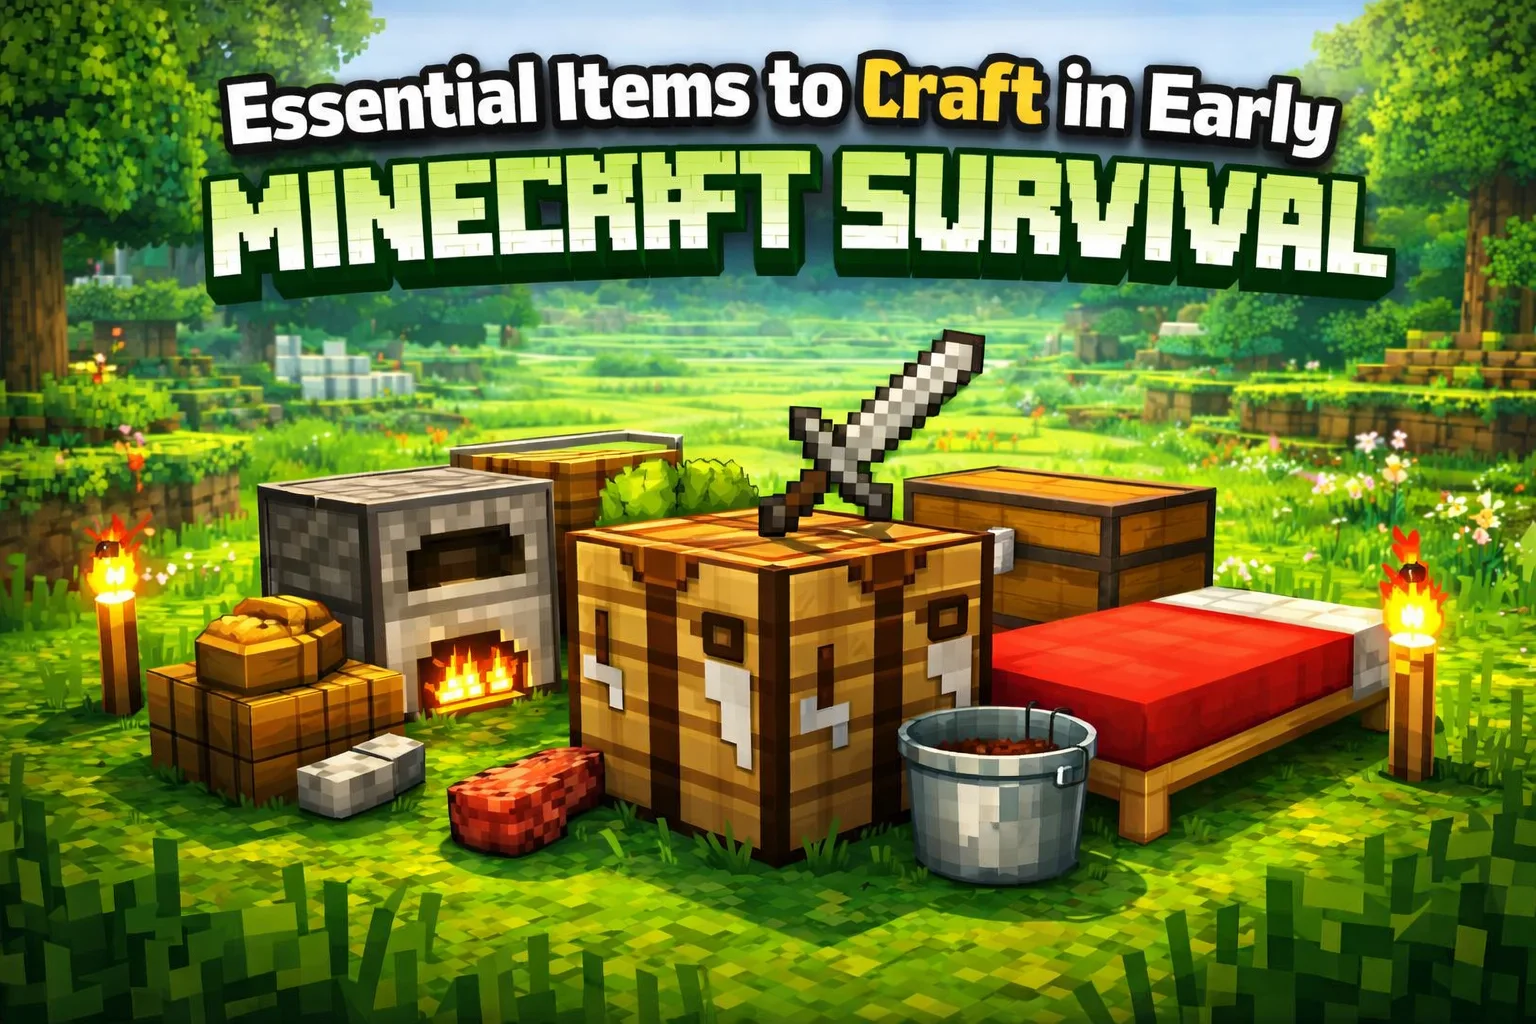
Introduction
You spawn in a random forest, the sun is already halfway down, and you have absolutely no idea what to punch first.
Most new players spend their first ten minutes collecting random blocks, wandering away from their spawn point, and then getting killed by a Skeleton before they ever craft a single useful item. It's a frustrating loop, and it happens because Minecraft gives you a massive open world without a single instruction.
The truth is, early survival in Minecraft is not complicated. It just requires a clear order of priorities. Know what to craft first, know why it matters, and your first night stops being scary. You start making real progress instead of just surviving.
This guide covers every essential item to craft in early Minecraft survival, in the right order, with the mistakes you should avoid along the way.
]
Quick Answer: What Should You Craft First in Minecraft?
Start with a crafting table the moment you spawn, then wooden tools, then stone tools, using the cobblestone you mine. After that, build a Furnace, light torches using charcoal (not coal), and craft a bed before your first night ends. These five steps cover your first thirty minutes and make everything else much easier.
1. Why Crafting Order Matters More Than You Think
Most beginner guides throw a list of items at you without explaining the logic behind it. That's the wrong approach.
In Minecraft survival, every early decision either opens up your next move or blocks it. Crafting a crafting table unlocks better tools. Better tools get you cobblestone faster. Cobblestone gets you a furnace. A furnace gets you cooked food and torches. Each item feeds into the next.
If you craft things in the wrong order, you waste daylight. And daylight is the one resource you cannot get back. Spend your first in-game morning doing the right things, and you walk into the night prepared. Get it wrong, and you are hiding in a dirt hole, hoping nothing finds you.
Think of early survival as a chain, not a checklist.
2. Basic Survival Tools
Crafting Table
What it does: Turns your 2x2 inventory grid into a 3x3 crafting grid, unlocking almost every recipe in the game.
Why it matters: Without a crafting table, you are stuck making only four items. Everything you need to progress, including pickaxes, swords, furnaces, and beds, requires one. This is the single most important craft in the entire early game.
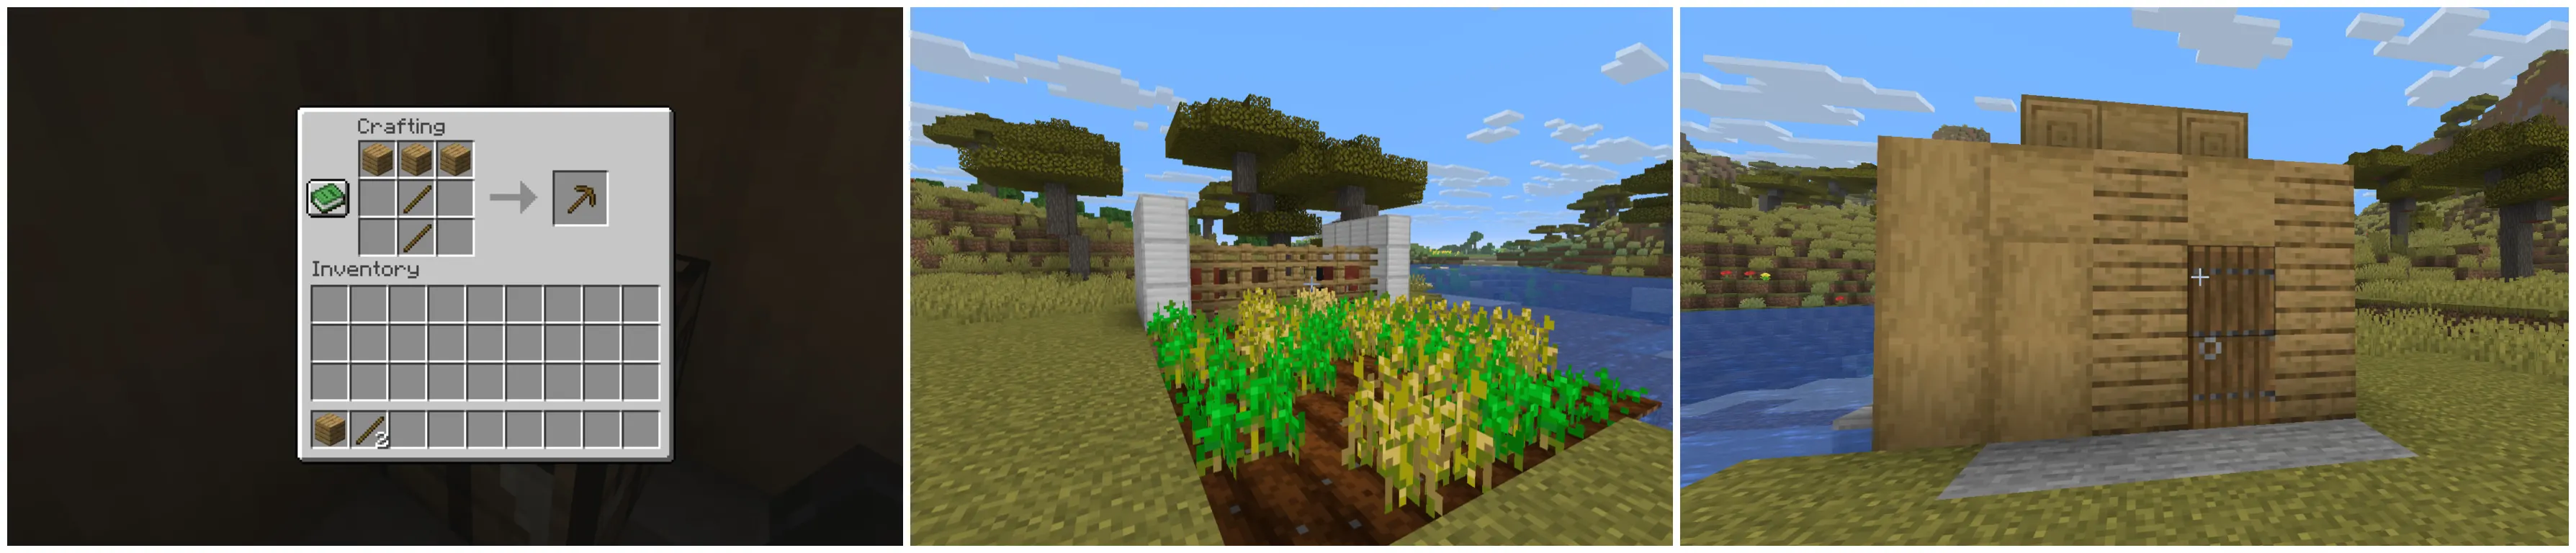
When to craft it: Within the first two minutes of spawning. Punch a tree, collect four wood logs, convert them to planks, and place the planks in all four inventory slots.
Mistake players make: Spending too much time collecting wood before making it. Four logs are enough. Get the table down first, then go back for more wood.
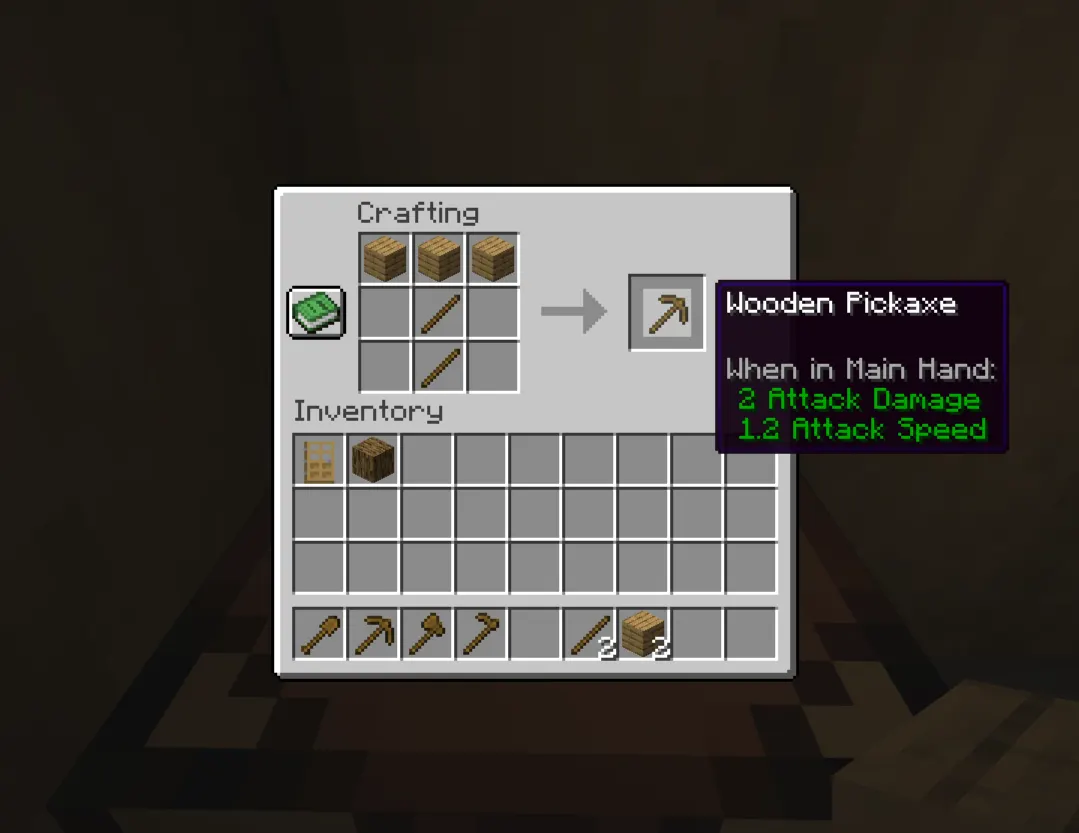
Wooden Tools (Pickaxe, Axe, Sword)
What they do: Your first pickaxe mines stone and coal. Your axe speeds up wood collection. Your sword deals enough damage to kill most early mobs before they kill you.
Why they matter: You need a wooden pickaxe specifically to mine cobblestone. You cannot get cobblestone with your hand, and without cobblestone, you cannot make stone tools or a furnace. The wooden pickaxe is a one-step item. Its only job is to get you to stone tools faster.
When to craft them: Right after your crafting table. Start with the pickaxe, then the sword, then the axe.
Mistake players make: Skipping the wooden axe because it feels redundant. It is not. A wooden axe chops trees almost twice as fast as your fist, and you will need a lot of wood in the first few minutes.
Stone Tools (Pickaxe, Axe, Sword)
What they do: Stone tools mine and chop noticeably faster than wooden ones and last much longer.
Why they matter: Stone is the real beginning of survival. Once you upgrade, wood tools become useless and you can focus on gathering iron, coal, and other materials. Most experienced players keep stone tools until they have iron, skipping gold entirely.
When to craft them: The moment you mine your first cobblestone, which should happen within minutes of making your wooden pickaxe. Switch immediately.
Mistake players make: Continuing to use wooden tools after getting stone. Stone tools are better in every single way. There is no reason to delay the upgrade.
3. Shelter and Safety Items
Crafting Table (Already covered above)
Furnace
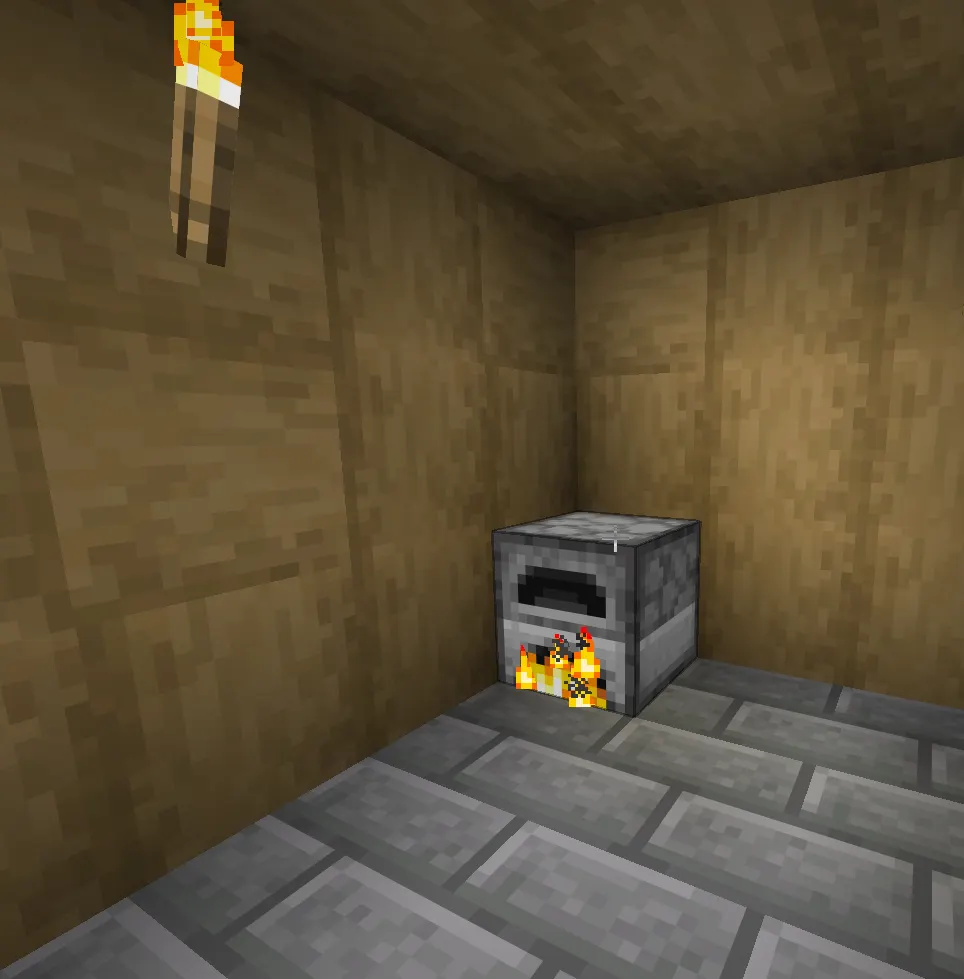
What it does: Smelts ores into ingots and cooks raw food into meals that restore far more hunger.
Why it matters: Raw food is weak. Cooked food keeps you alive longer, which means more time mining, exploring, and building. A furnace also lets you smelt iron ore into iron ingots, which unlocks your best early-game tools and armor.
When to craft it: As soon as you have eight cobblestones. That is your second priority after getting stone tools.
Mistake players make: Waiting to find coal before lighting the furnace. You do not need coal. Chop a tree, turn some wood logs into wooden planks, and use wooden planks as fuel. Or smelt a log into charcoal and use that. The furnace works fine without mined coal.
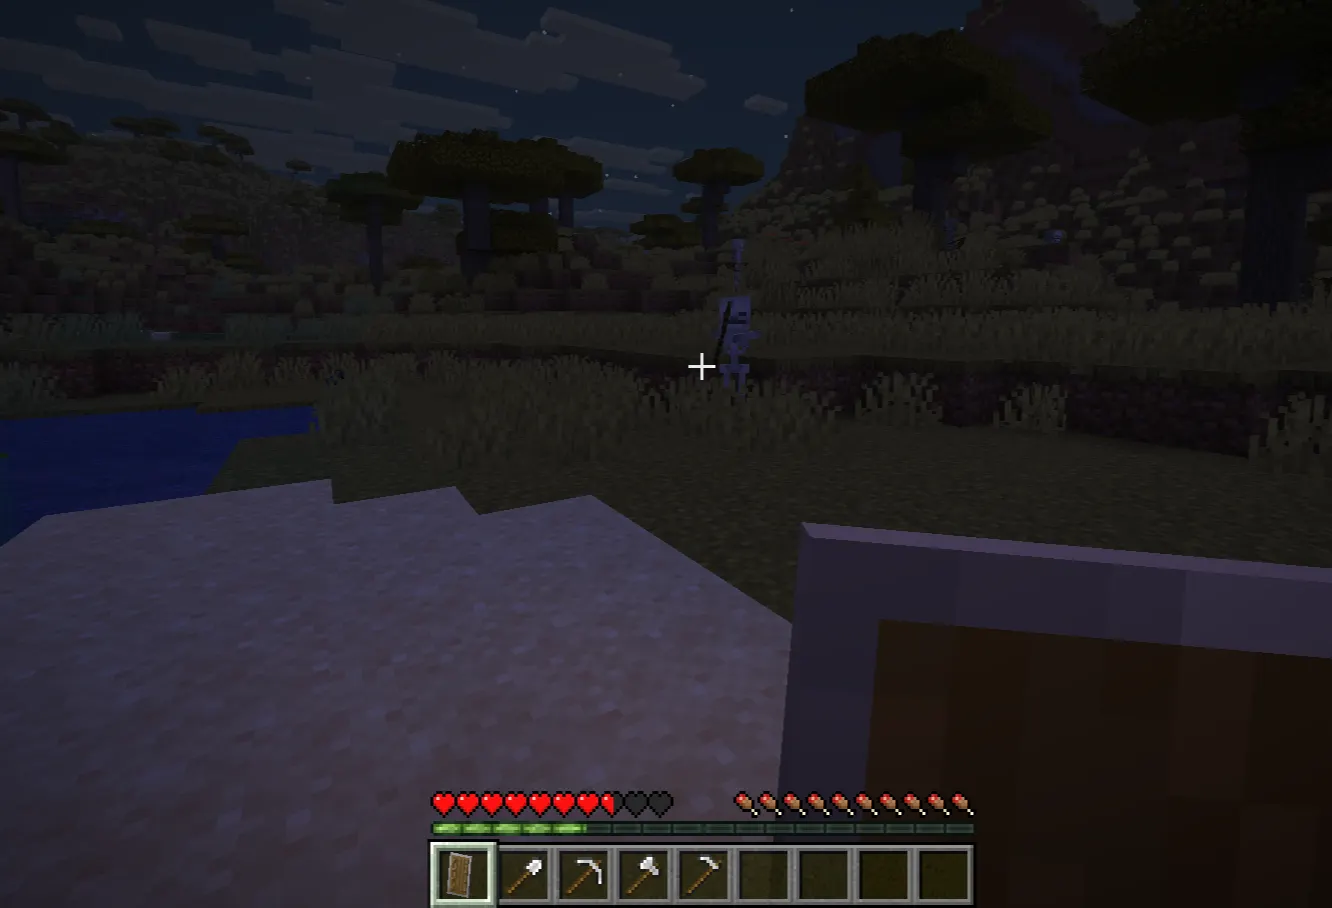
Torches
What they do: Provide light that stops hostile mobs from spawning in dark areas around your base and inside caves.
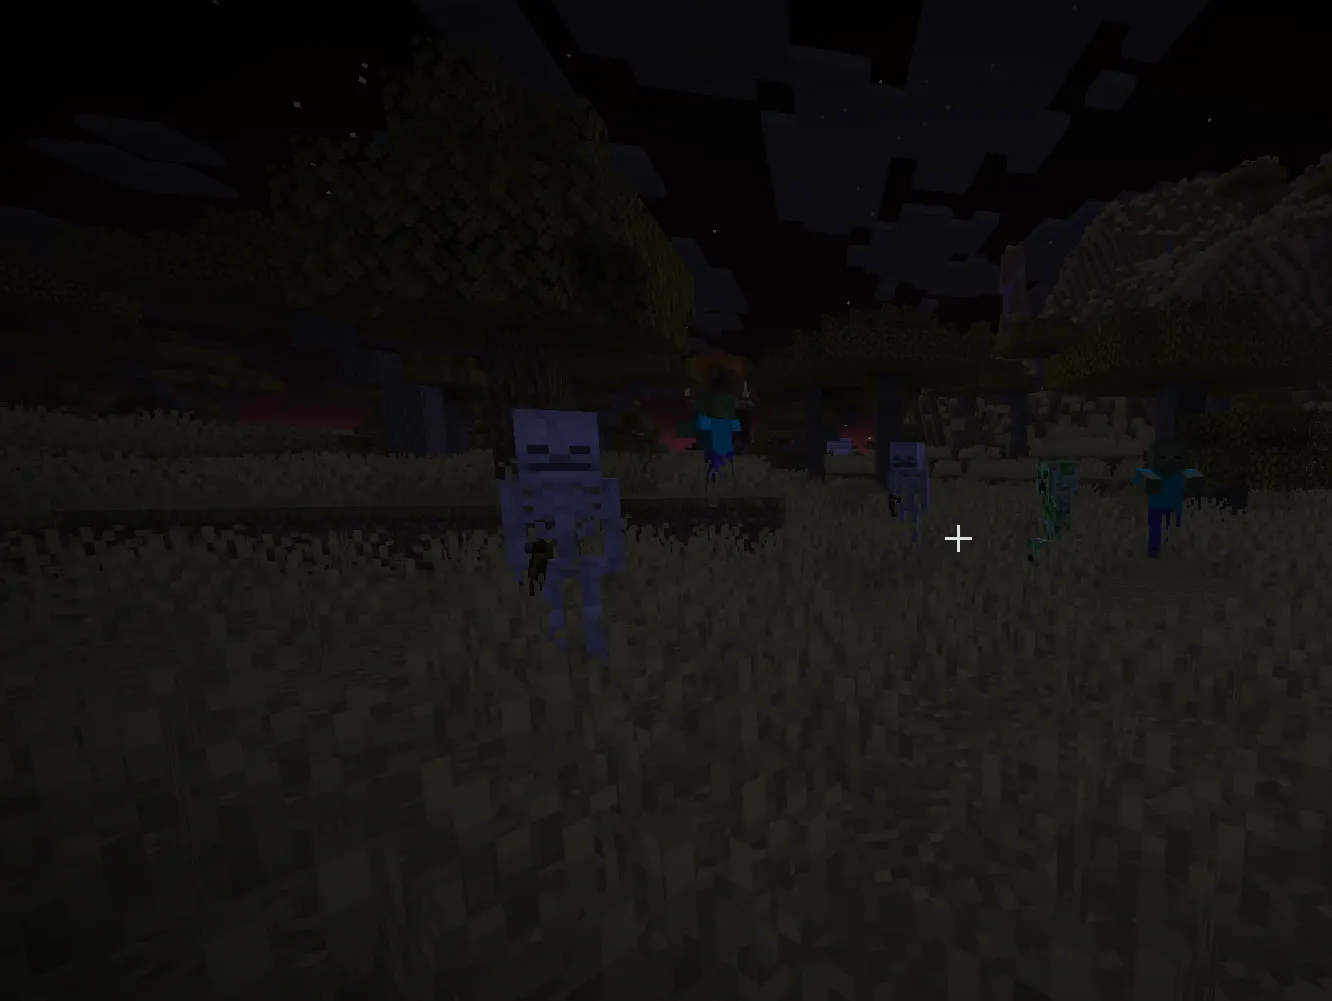
Why they matter: This is the one item beginners constantly undervalue. Mobs only spawn where the light level is zero. Put enough torches around your base, and mobs stop appearing near it. Skip them, and you get zombies walking through your door at night.
When to craft them: As soon as your furnace is ready. Smelt a log to get charcoal, then combine charcoal with a stick to make torches. Do not wait to find a coal vein.
Mistake players make: Assuming torches are just for seeing in the dark. They are mob suppressors. Your base should be fully lit before you consider it safe.
Bed
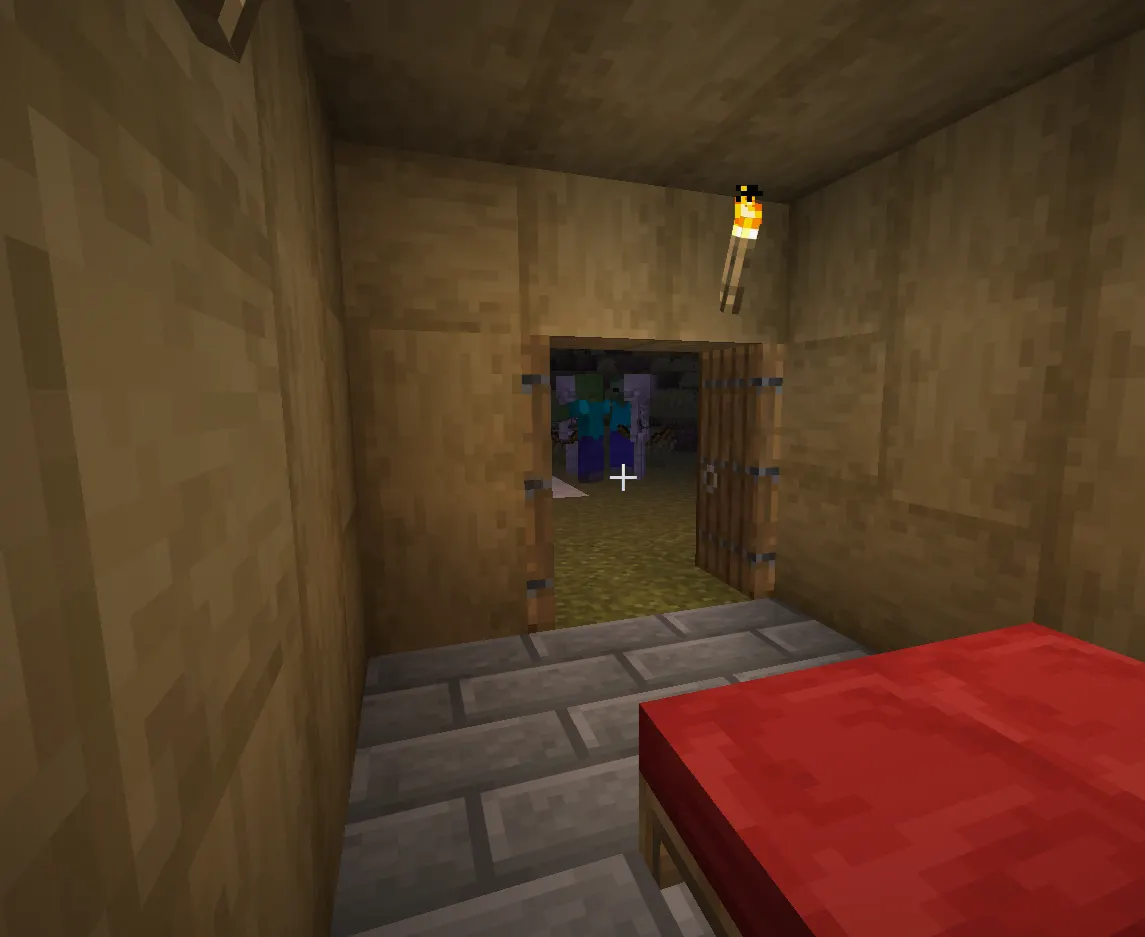
What it does: Skips the night entirely and resets your spawn point to wherever the bed is placed.
Why it matters: The first few nights in Minecraft are genuinely dangerous before you have armor or a shield. Sleeping through them is the smartest move you can make. Resetting your spawn also means that if you die exploring, you respawn at your base instead of some random location far away.
When to craft it: Before your first night. The recipe needs three wool and three wooden planks. Find sheep nearby and kill them for wool as soon as you have your sword.
Mistake players make: Delaying the bed because they feel like they have time. You rarely have as much time as you think. If you see sheep, collect the wool immediately. Do not wait until sunset.
4. Food and Farming
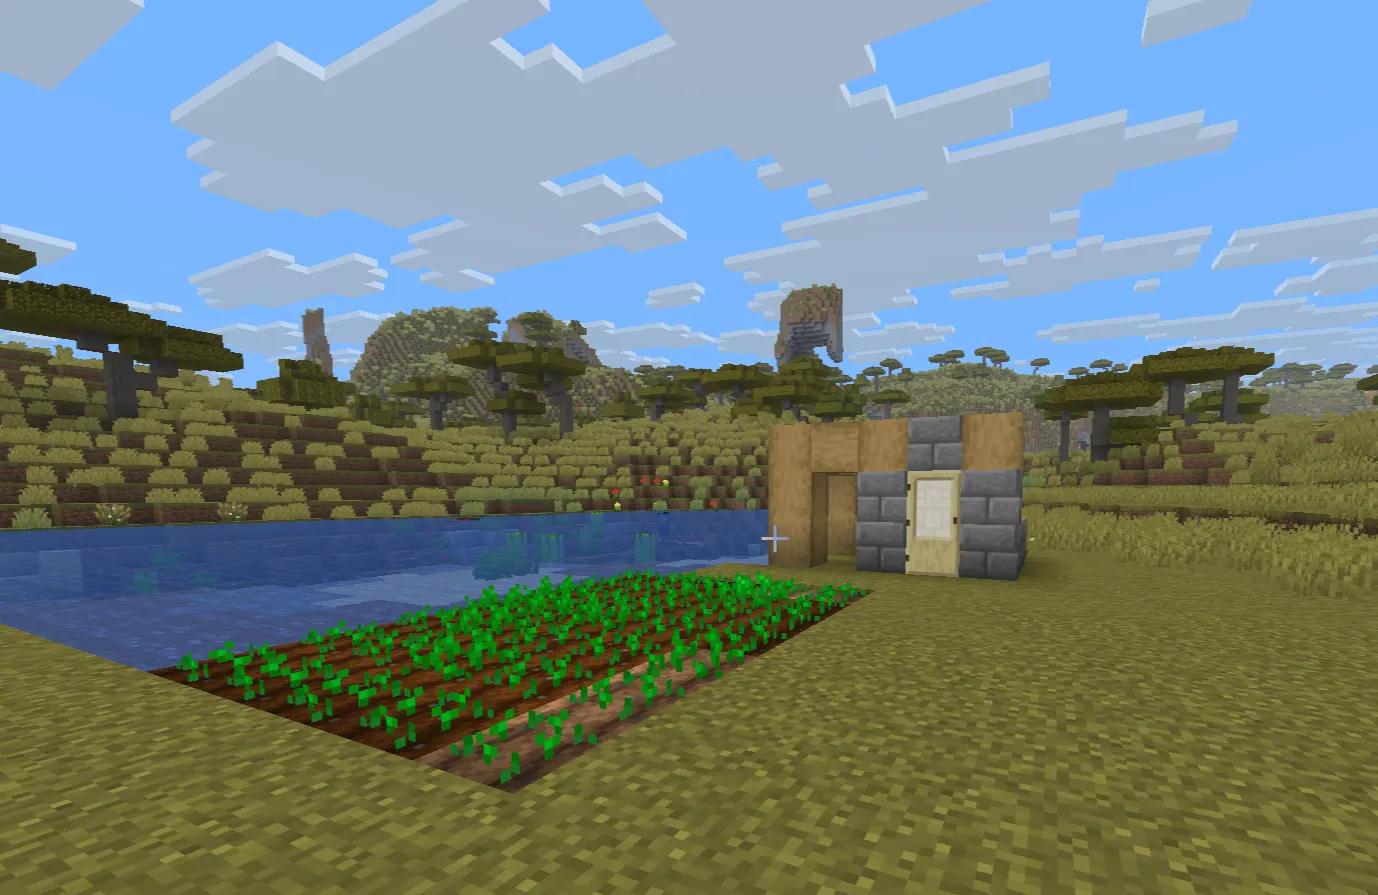
Hoe
What it does: Tills dirt into farmland so you can plant seeds and grow crops like wheat, carrots, and potatoes.
Why it matters: Hunting animals keeps you fed short-term, but it runs out. A small wheat farm near water gives you a renewable food source within a couple of in-game days. Bread is easy to make and keeps you from constantly chasing animals.
When to craft it: Day two. Get your basic survival covered first, then build a small farm.
Mistake players make: Not planting their first farm early enough, then running out of food during a long mining session on day four or five.
Bread and Cooked Meat
What they do: Restore hunger and let you regenerate health faster.
Why they matter: Your hunger bar controls your ability to sprint and heal. Drop below half and you cannot run. Drop to empty, and you start taking damage in Normal or Hard mode.
When to make them: Cook any meat you find immediately in your furnace. Plant wheat seeds as soon as you build your hoe and wait a couple of cycles for your first harvest.
Mistake players make: Eating raw meat out of desperation. Raw chicken has a 30% chance of giving you food poisoning. Raw pork chop and beef are safe, but cooked versions restore significantly more hunger. Always cook first.
5. Progression Items
Shield
What it does: Blocks melee attacks and projectiles when you right-click and hold. Reduces incoming damage to zero when timed well.
Why it matters: One iron ingot and six planks give you the best defensive tool in the early game. A shield blocks skeleton arrows, stops Creeper explosions if you are quick, and makes cave exploration far more survivable. It is almost criminally underused by beginners.
When to craft it: The moment you smelt your first iron ingots. Prioritize this over an iron pickaxe if you are about to fight mobs in a cave.
Mistake players make: Waiting until they have a full iron set before crafting a shield. One iron ingot is all it costs. There is no reason to put it off.
Iron Tools and Armor
What they do: Iron pickaxes can mine diamonds, gold, Redstone, and lapis lazuli. Iron armor cuts incoming damage significantly. Iron swords deal noticeably more damage per hit than stone.
Why they matter: Iron is the upgrade that transitions you from surviving to actually playing the game. Once you have iron tools and at least a chest plate, the early game pressure starts to ease.
When to craft them: Usually around day three or four, once you have explored a cave or strip-mined a small area.
Mistake players make: Mining iron without smelting it. A lot of beginners collect iron ore and then get distracted and die before ever turning it into ingots. Smelt as you go.
Bucket
What it does: Collects water or lava. Water buckets let you create an infinite water source, extinguish fires, and safely descend from heights. Lava buckets work as furnace fuel for over 1000 items per bucket.
Why it matters: A water bucket is one of the most versatile tools in early survival. You can use it to stop yourself from taking fall damage by placing water at the bottom of a drop. You can put out fires from creeper explosions. You can create a water elevator or irrigation for your farm.
When to craft it: After your first iron ingots. Three iron ingots make one bucket, which is very worth it.
Mistake players make: Ignoring buckets completely until mid-game. Carrying a water bucket in your hotbar becomes second nature to experienced players for a good reason.
6. Mobility and Utility
Chest
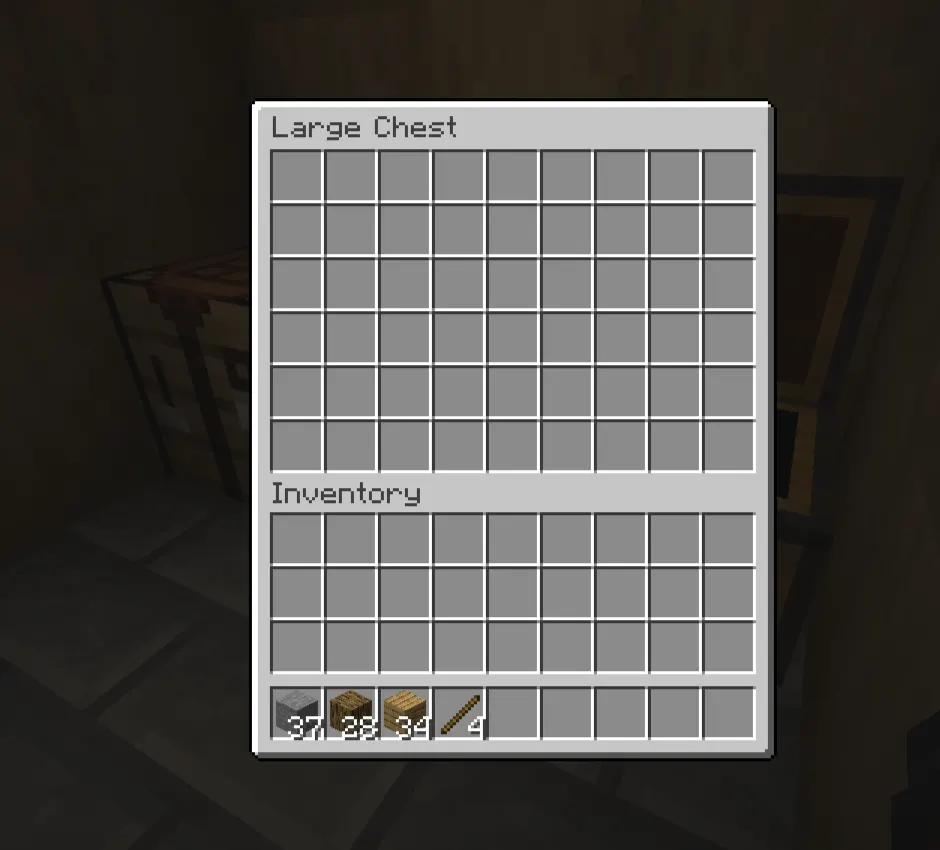
What it does: Stores up to 27 item stacks. Two chests placed next to each other make a large chest that holds 54 stacks.
Why it matters: Your inventory has 36 slots. That fills up extremely fast when mining. Without chests at your base, you will either start dropping valuable resources or cut mining trips short.
When to craft it: On day one, before you go on your first mining trip.
Mistake players make: Not crafting enough chests early and losing track of where they left important items.
Boat
What it does: Lets you cross water bodies quickly without swimming.
Why it matters: Minecraft worlds are huge. Rivers and oceans slow down early exploration significantly. A boat lets you scout the area around your base quickly and reach resources or Biomes you would otherwise miss.
When to craft it: When you need to cross water, usually on day two or three.
Mistake players make: Swimming everywhere, wasting time, and hunger. A boat costs five planks and takes thirty seconds to make.
7. Optimal Crafting Order: Day 1 to Day 3
Day 1, Morning:
-
Punch trees, collect 16+ wood logs
-
Open inventory, convert logs to planks
-
Craft a crafting table and place it
-
Craft a wooden pickaxe, sword, and axe
-
Mine cobblestone until you have 20+
-
Craft stone tools, then a furnace
-
Craft a chest for storage
-
Look for sheep and collect 3 wool for a bed
Day 1, Afternoon: 9. Find coal or smelt logs into charcoal 10. Craft torches and place them around your base 11. Craft a bed before nightfall 12. Cook any food you collected 13. Sleep through night one
Day 2: 14. Start a small wheat farm near water 15. Mine underground for iron ore 16. Smelt iron ingots 17. Craft a shield immediately with the first ingot 18. Craft an iron pickaxe and a sword when you have enough 19. Expand your base and add more storage
Day 3: 20. Explore caves with your shield and torches 21. Gather more iron for armor 22. Craft a bucket for water control 23. Start thinking about a boat if you need to explore
8. Common Beginner Mistakes
Crafting wooden tools and forgetting to upgrade. Stone tools are ready the moment you have cobblestone. Most beginners spend an extra five minutes with wooden tools because they are focused on other things. Upgrade the moment you can.
Not lighting the base perimeter. Most players light the inside of their shelter and leave the outside dark. Mobs spawn outside and then wander in through any opening. Light everything within a 15-block radius.
Skipping the bed because they feel safe. The night does not feel dangerous until a skeleton finds you in the dark. Craft your bed on day one, sleep every night until you have armor, and skip the gamble.
Hoarding iron ore without smelting it. Iron ore in your inventory does nothing. Smelt it as you go, even in small batches.
Eating raw chicken. It has a one-in-three chance of giving you food poisoning. Always cook it first.
9. Pro Tips That Save Real Time
Use your first log as charcoal fuel. You do not need to find coal to make torches. Smelt one wood log in your furnace using planks as fuel, and you get one charcoal. One charcoal and one stick make four torches. You can have full lighting before ever mining a single coal vein.
Keep sheep alive. Do not kill all the sheep near your base for wool. Kill three to get your bed, then leave the rest. Later, you can fence them in and breed them for more wool without having to search the entire map.
Place torches on the right wall going into the caves. When you go deeper, put torches on your right. When you come back up, they are on your left. This keeps you from getting lost in complex cave systems.
Always carry a water bucket when exploring. One bucket of water can stop a lava fire, break a fall from any height, and create an emergency escape route. It is the closest thing to a safety net you have in the early game.
Build your first base near trees, water, and animals. If your spawn has all three nearby, do not move. If it is missing two of them, consider relocating your base slightly on day one before you invest time in building.
Conclusion
Early Minecraft survival is really just about knowing the right order. You are not missing any special tricks. You are not supposed to memorize every recipe. You just need to understand why each item matters and when it fits into your progression.
Get the crafting table down in the first two minutes. Upgrade to stone tools before anything else. Build your furnace, make torches from charcoal, craft a bed before the sun sets, and sleep through your first few nights without thinking twice about it.
Do those things in that order, and the early game stops being stressful. You will have iron tools by day three, a working farm by day four, and a real base to build from. That is when Minecraft actually gets good.