The furnace is one of the first things any Minecraft player should build. Without it, you're stuck eating raw meat, unable to smelt ores into usable metals, and cut off from dozens of Crafting recipes that require processed materials. It's not just a tool — it's the gateway to real progression.
In this guide, you'll learn exactly how to craft a furnace in Minecraft, what materials you need, how to use it, the best fuels to use, and how it compares to the blast furnace and smoker. Whether you just started your first world or you're refreshing your knowledge, this covers everything.
What Is a Furnace in Minecraft?
A furnace is a utility block that lets you smelt raw materials and cook food using heat from a fuel source. It's one of the most essential blocks in the game — practically required to progress past the early game.
You'll use it to turn iron ore into iron ingots, cook raw chicken to avoid food poisoning, convert sand into glass for windows, and process dozens of other materials that aren't usable in their raw form.
Without a furnace, you can't make armor or tools from iron or gold, you can't cook food reliably, and you lose access to a huge chunk of Minecraft's crafting system. It's the second block most players build after a crafting table.
Materials Needed to Craft a Furnace
You only need 8 blocks of the same material — no mixing required. The game accepts three options:
-
Cobblestone — the most common choice, found by mining regular stone underground or on the surface
-
Blackstone — found in the Nether, works as a direct substitute
-
Cobbled Deepslate — found deep underground below Y=0 in the deepslate layer
Cobblestone is what most players use, especially in the early game. You'll naturally collect plenty of it just from digging down to find coal or iron. Eight pieces is all you need, so it takes less than a minute to gather.
Furnace Crafting Recipe in Minecraft
The furnace recipe uses a 3×3 crafting grid with cobblestone (or an equivalent block) placed in every slot except the center.
Here's how the grid looks:
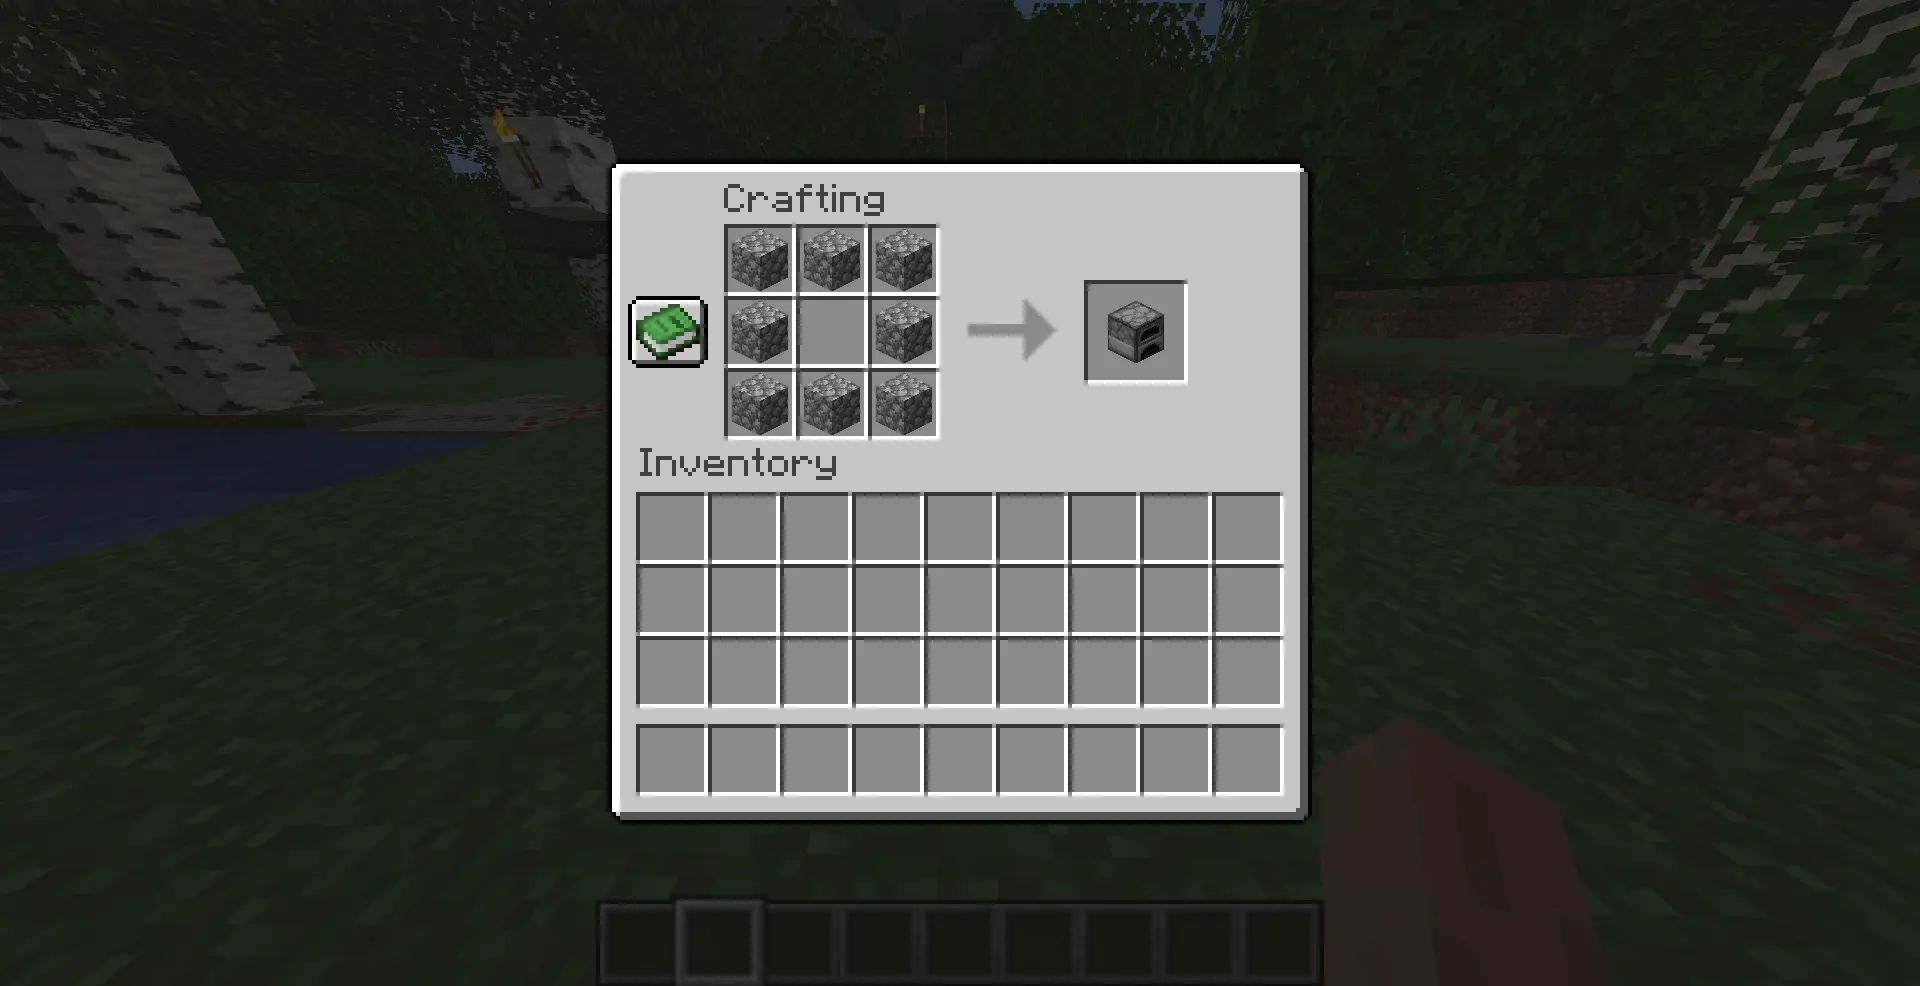
That's it. The center stays empty, and all eight surrounding slots get a cobblestone block. The furnace will appear in the result slot on the right side of your crafting table.
How to Craft a Furnace Step by Step
-
Gather 8 cobblestone blocks. Mine stone with any pickaxe — it drops as cobblestone automatically.
-
Open your crafting table. Right-click (or use your interact button) on a placed crafting table to open the 3×3 grid.
-
Fill the outer ring. Place cobblestone in all 8 outer slots of the grid, leaving only the center slot empty.
-
Collect your furnace. Click the furnace that appears in the result slot and drag it into your inventory.
-
Place it in your base. Select the furnace in your hotbar and right-click on the ground or a surface to place it.
That's the entire process. From punching your first tree to having a working furnace can take under five minutes.
How to Use a Furnace in Minecraft
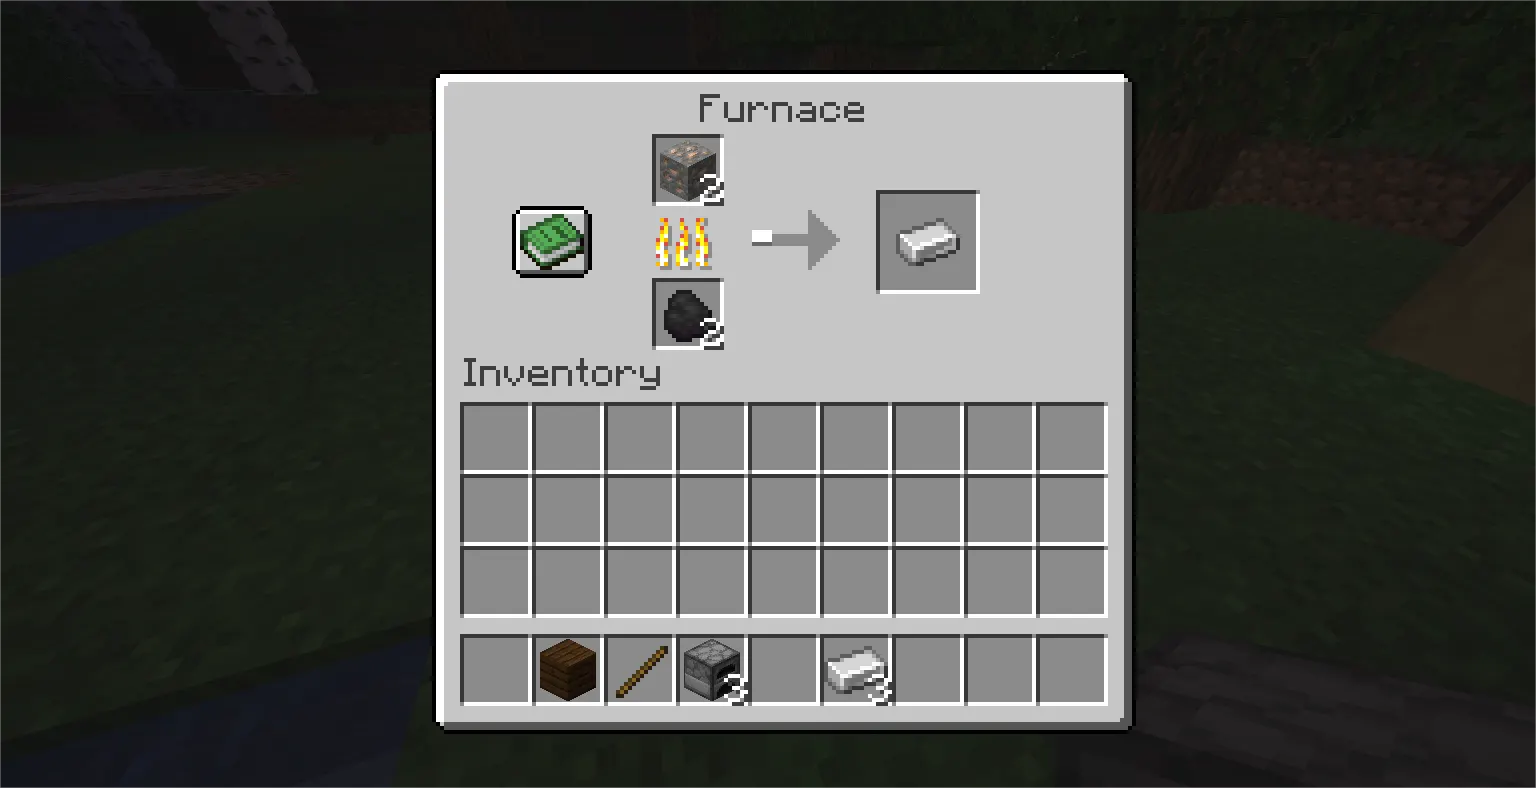
Right-click your placed furnace to open the smelting interface. You'll see three key slots:
-
Top slot (Input): This is where you place the item you want to smelt — iron ore, raw beef, sand, etc.
-
Bottom slot (Fuel): This is where you place your fuel source — coal, wood, charcoal, etc.
-
Right slot (Output): Once smelting is complete, your finished item appears here for you to collect.
When both an ingredient and a fuel are present, the furnace lights up and begins smelting. A progress arrow in the middle fills up as the item cooks. Each item takes a set amount of time — most ores take 10 seconds per item.
One important thing beginners miss: the furnace keeps burning fuel even if the input slot is empty. Pull out your fuel if you're done to avoid waste.
What Can You Smelt in a Furnace?
The furnace handles a wide variety of materials. Here are the most useful ones:
|
Input |
Output |
Why It Matters |
|
Iron Ore / Raw Iron |
Iron Ingot |
Essential for tools, armor, and dozens of recipes |
|
Gold Ore / Raw Gold |
Gold Ingot |
Needed for clocks, powered rails, and Nether gear |
|
Raw Beef / Pork / Chicken |
Cooked version |
Restores more hunger and avoids food poisoning |
|
Sand |
Glass |
Used for windows, bottles, and glass panes |
|
Cobblestone |
Stone |
Cleaner looks for building, also used in crafting |
|
Clay |
Terracotta |
A decorative building block |
|
Kelp |
Dried Kelp |
Stackable food and fuel source |
|
Cactus |
Green Dye |
Useful for dyeing wool and other items |
|
Netherrack |
Nether Brick |
For building Nether-themed structures |
|
Wood Logs |
Charcoal |
A renewable alternative to coal |
This list isn't exhaustive — there are over 40 smeltable items in Minecraft. When in doubt, just try putting something in the input slot and see if the furnace accepts it.
Best Fuel for a Furnace in Minecraft
Not all fuels are created equal. Here's how the most common ones compare:
Coal & Charcoal — The go-to options for most players. Each piece smelts 8 items. Coal comes from mining, while charcoal is crafted by smelting logs — making it the best renewable fuel early on.
Coal Block — Smelts 80 items per block (10 coal compressed into one). The most space-efficient fuel for large smelting sessions. Always worth switching to once you have a lot of coal.
Wooden items — Planks, logs, sticks, and crafting table scraps all work as fuel, but they're inefficient. A plank smelts only 1.5 items. Use them only when you have nothing else.
Blaze Rods — Smelts 12 items each, more efficient than coal. Available once you reach the Nether and farm Blazes.
Lava Bucket — Smelts 100 items per bucket, and the bucket is returned after use. Incredible for mass smelting once you can reach a lava source. One of the best fuels in the game.
Dried Kelp Block — Smelts 20 items per block and is fully renewable from ocean farming. A solid choice for mid-game players with a kelp farm.
Quick tip for survival players: Keep a stack of charcoal in a chest next to your furnace. It's always renewable, never runs out if you have trees, and saves your coal for torches and other uses.
Furnace Tips and Tricks
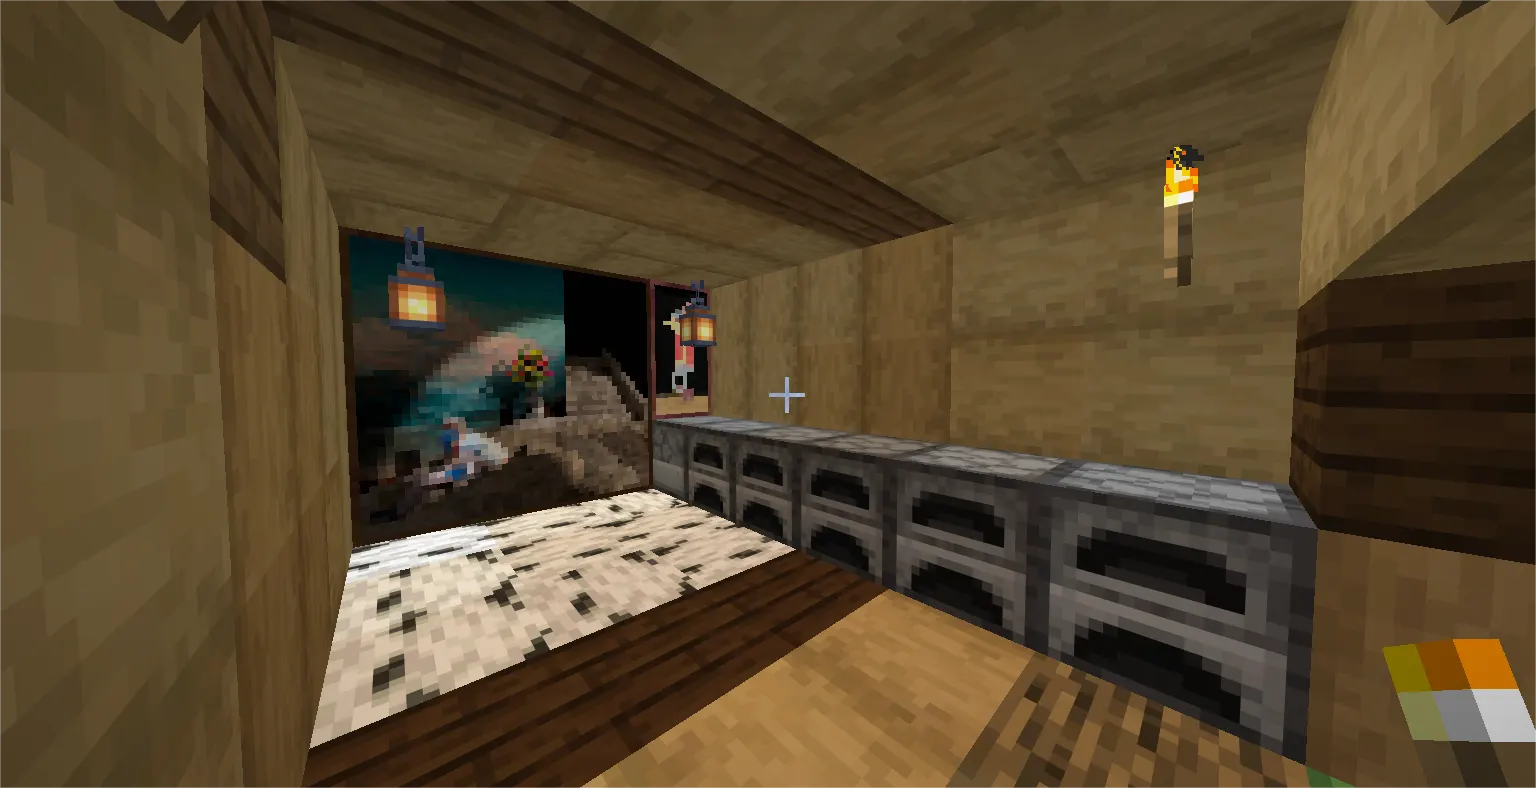
Load multiple furnaces at once. Instead of waiting on one furnace, build a bank of three to five and split your ores between them. They all process simultaneously, cutting your wait time dramatically.
Smelt logs into charcoal before a long trip. Before heading underground, use the furnace to make charcoal. One log in the input and one log as fuel gives you one charcoal, which then smelts 8 more items.
Use hoppers for automation. Connect hoppers above and below your furnace to feed items in automatically and collect outputs without manual interaction. This is game-changing for large-scale smelting operations.
Don't waste fuel. The furnace burns through one full fuel unit before checking if there's more input. If you smelt one iron ore with a coal piece, you'll waste 7 uses of that coal. Batch your smelting — fill the input slot fully before lighting the furnace.
Fortune doesn't help with raw ore smelting. If you want more ingots per ore vein, use Fortune on your pickaxe to get more raw ore drops, then smelt the extra raw ore. Fortune doesn't affect smelting yield.
Watch out for XP drops. Smelting generates experience points. If you leave finished items in the output slot and collect them all at once, you'll get a nice burst of XP — a useful trick when leveling for enchanting.
Furnace vs Blast Furnace vs Smoker
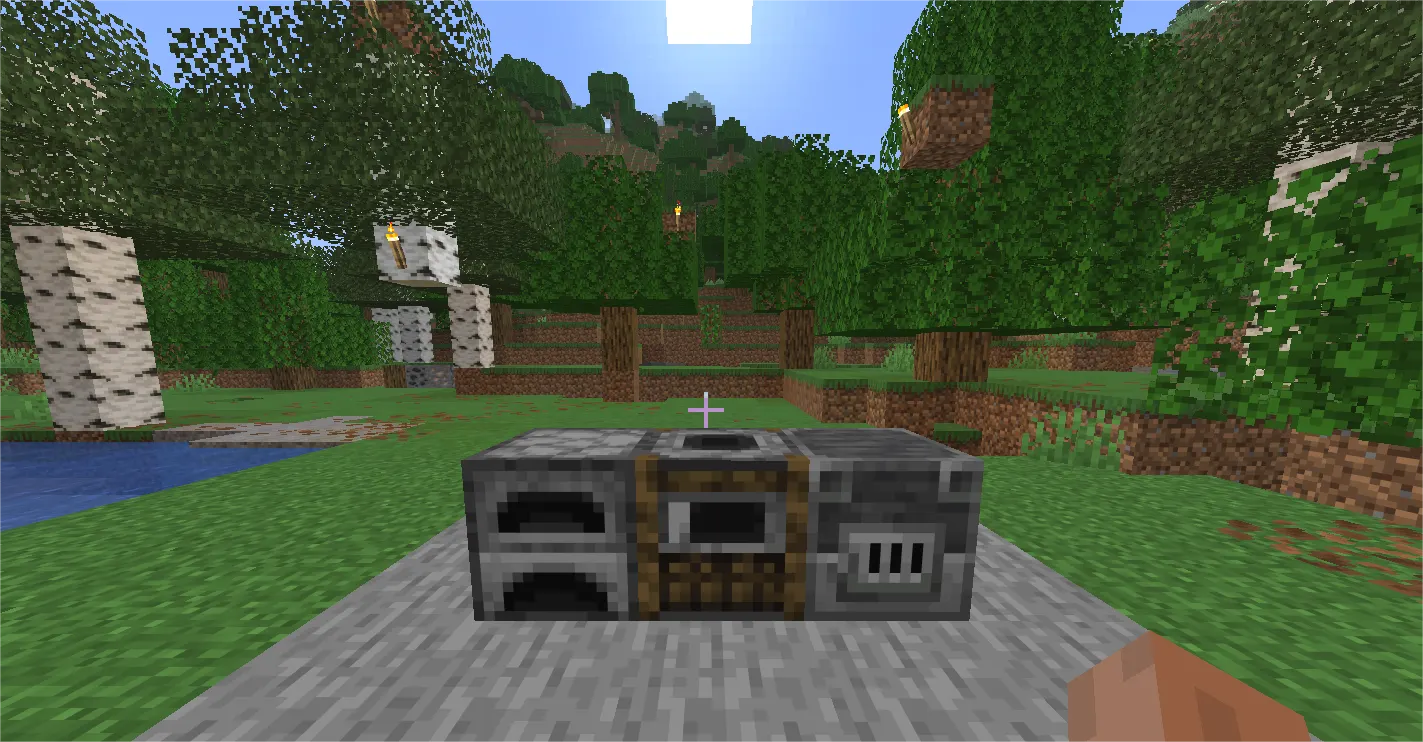
Once you're past the early game, you'll unlock two upgraded versions. Here's when to use each:
Standard Furnace
-
Smelts everything: ores, food, building materials, and more
-
Processes items at normal speed
-
Craftable from day one
-
Best for: General use, early game, smelting non-ore materials
Blast Furnace
-
Smelts ores and armor/tools only — it won't cook food
-
Processes items at 2× speed
-
Requires 5 iron ingots, 1 furnace, and 3 smooth stone to craft
-
Best for: Dedicated ore-smelting stations in mid to late game
Smoker
-
Cooks food only — it won't smell worse
-
Processes food at 2× speed
-
Requires 4 wood logs and 1 furnace to craft
-
Best for: Dedicated food-cooking setups, Survival bases
The smart play is to keep all three. Run a blast furnace for ore processing, a smoker in your kitchen area, and keep a regular furnace for everything else, like glass, terracotta, and charcoal production.
Conclusion
Knowing how to craft a furnace in Minecraft is one of those fundamentals that makes everything else possible. Eight cobblestone blocks, a crafting table, and thirty seconds is all it takes to unlock smelting, cooked food, processed ores, and a direct path to iron gear. From there, a blast furnace and smoker will speed things up as your base grows.
Build your furnace early, batch your smelting to save fuel, and automate with hoppers when you're ready to scale up. Once you've got that workflow down, you'll never be stuck waiting on materials again.