 Most Minecraft players ignore potions for way too long. They grind for diamonds, build fancy bases, and then walk into a boss fight completely unprepared and die. Every time. Sound familiar?
That's what happens when you skip alchemy.
This Minecraft alchemy guide covers everything beginners need to know about potion brewing: how the system works, which potions to make first, and how to stop dying in situations you could have easily survived.
What Is Alchemy in Minecraft
Alchemy in Minecraft is the potion brewing system. Using a brewing stand, water bottles, and specific ingredients, players create potions that grant temporary effects, items like healing, speed, fire resistance, or invisibility. Unlike regular Crafting, potions are not made at a Crafting table. The entire process runs through a dedicated brewing interface and follows a specific ingredient order.
In short: alchemy turns raw Nether ingredients into survival advantages.
Why Potions Actually Matter in Survival Mode
In Survival mode, you can technically beat Minecraft without ever touching a brewing stand. But you'll waste time, die more, and miss out on some of the most useful mechanics in the game.
Minecraft potions let you:
-
Survive underwater while looting ocean monuments
-
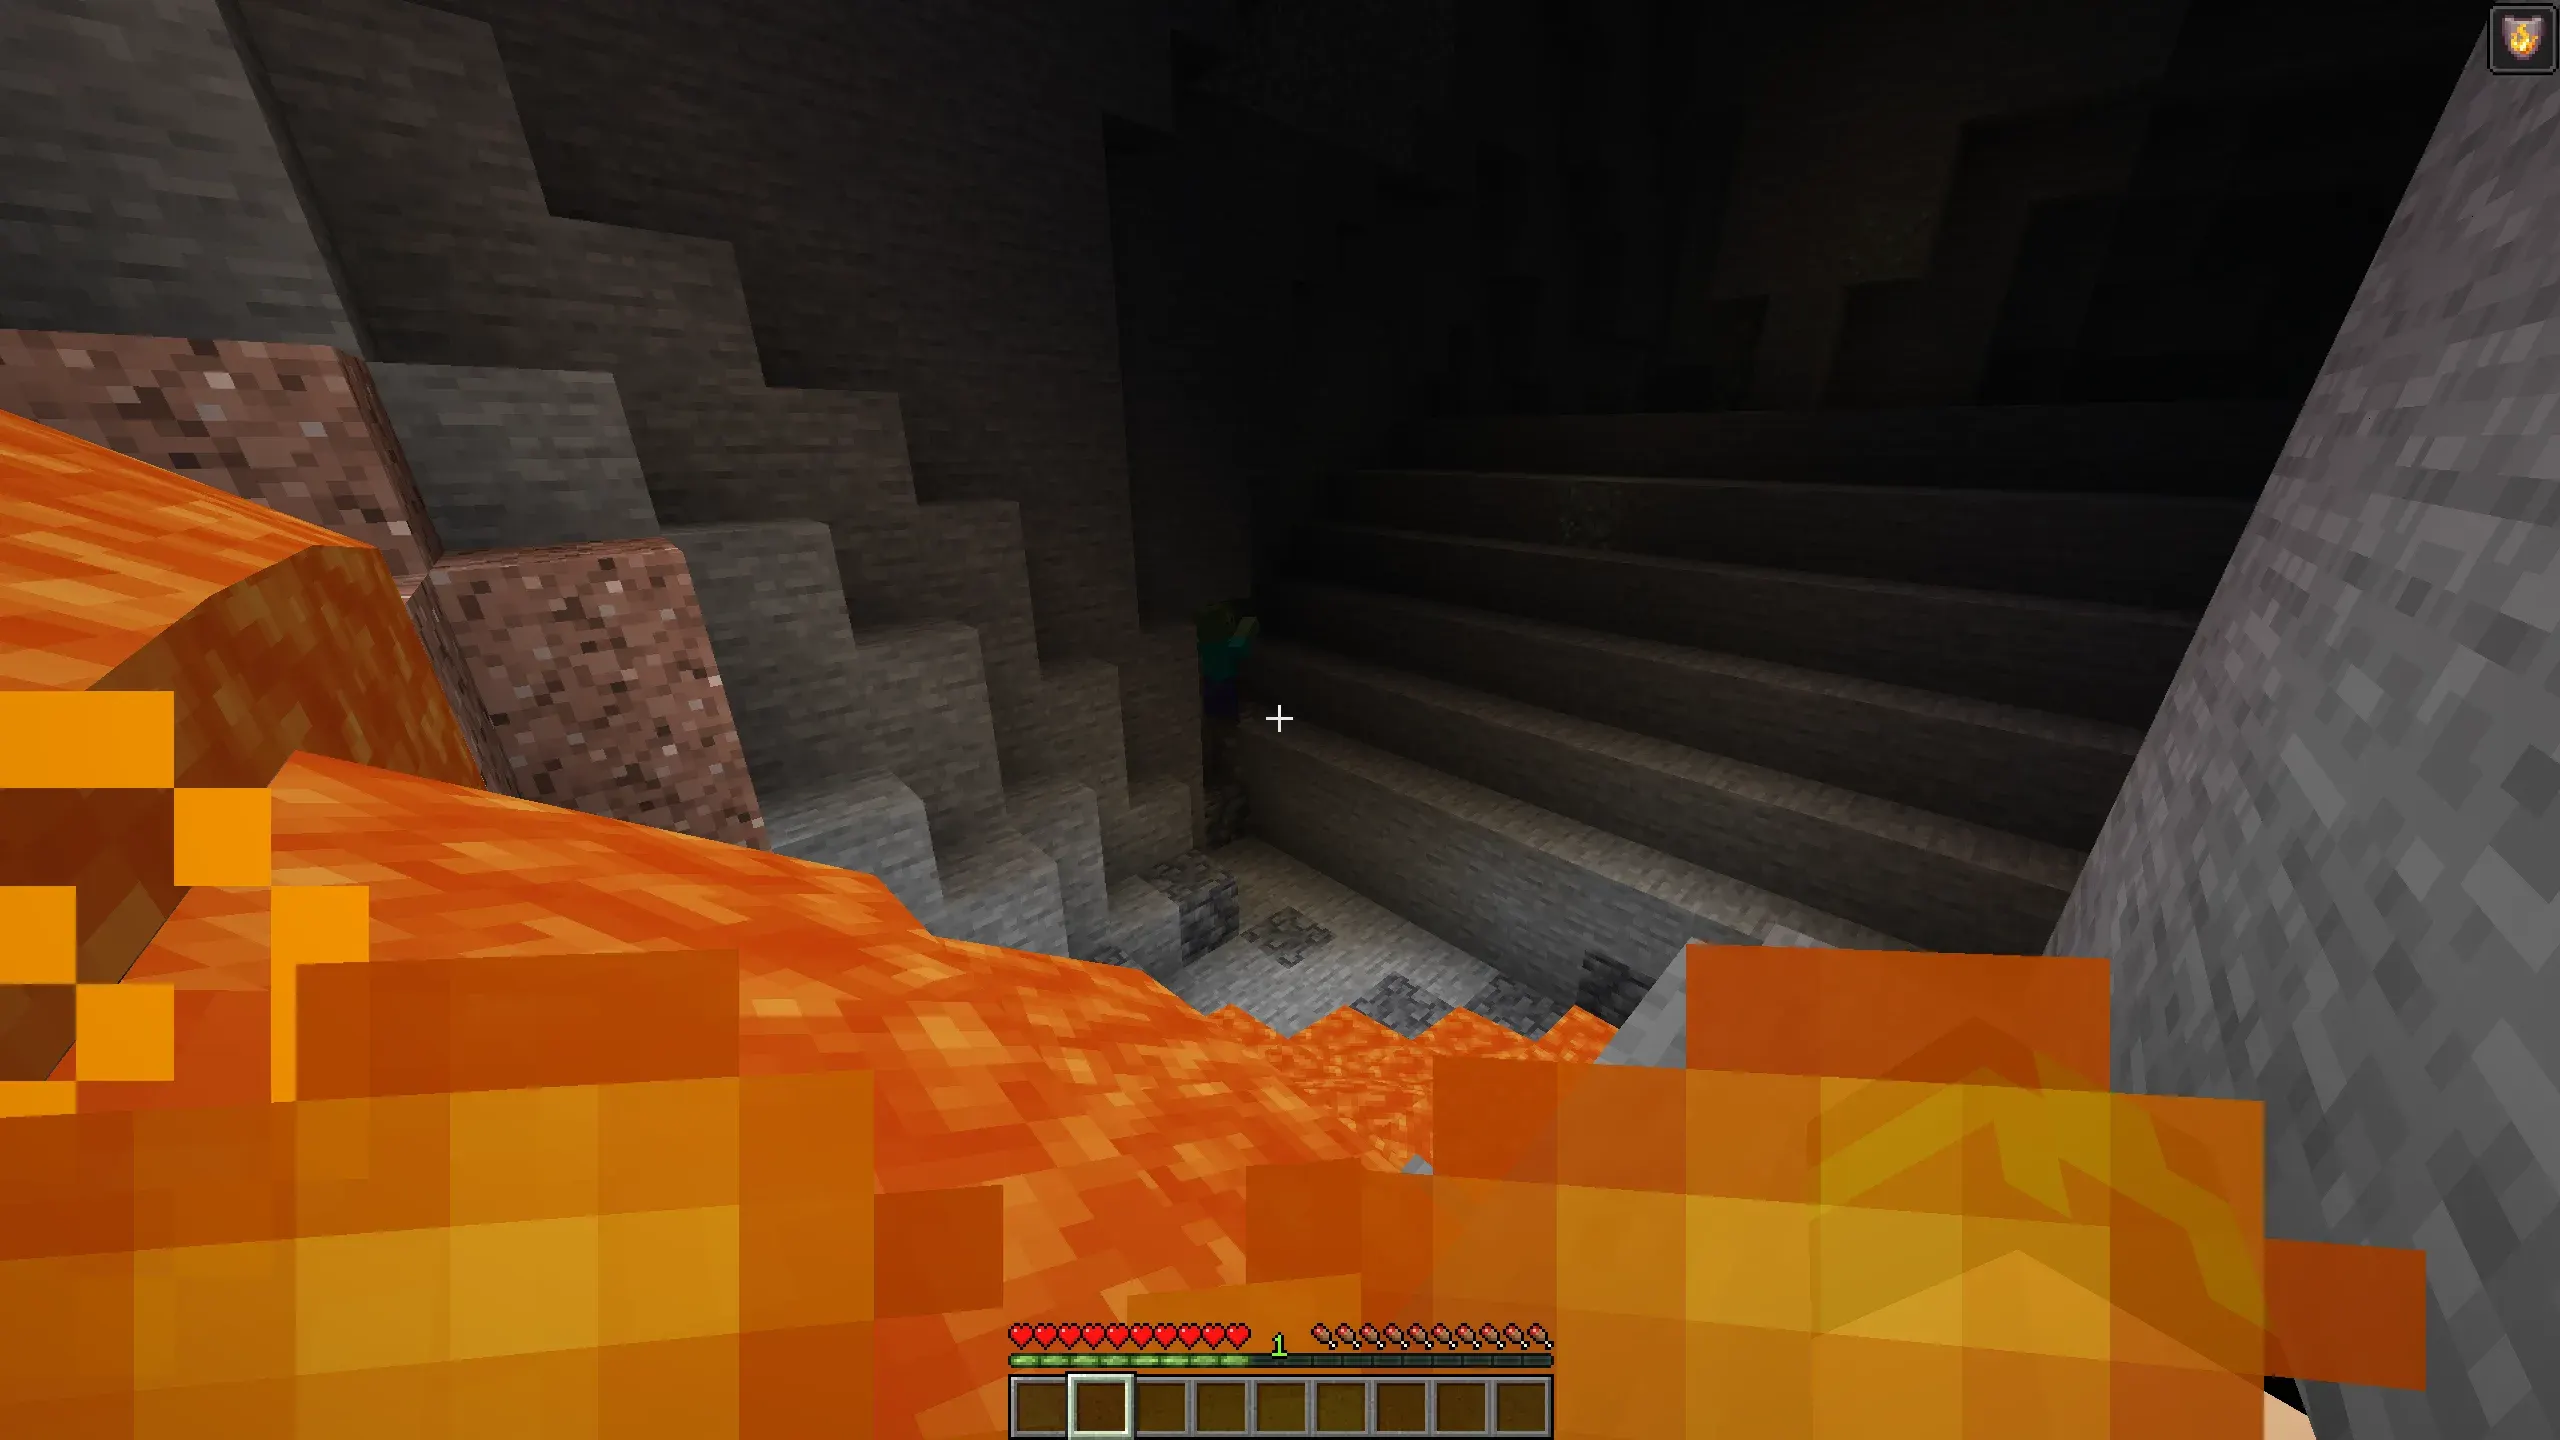
Walk through lava in the Nether without fire resistance armor
-
Heal instantly mid-combat instead of waiting on food regen
-
Run faster when you need to escape or cover ground
The players who find the game too hard are usually the ones who skip potions. Once you start brewing, the game genuinely feels different.
The Brewing Stand: Where Everything Starts
The brewing stand is the heart of potion brewing in Minecraft. Without one, none of this is possible.
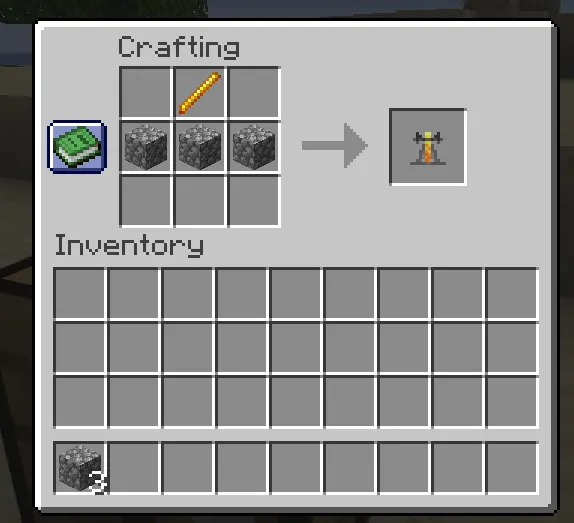
How to Craft a Brewing Stand
You need:
-
1 Blaze Rod (dropped by Blazes in Nether fortresses)
-
3 Cobblestone or Blackstone
Place the three cobblestone blocks across the bottom row of a crafting table with the blaze rod in the center. That's it.
How to Fuel It
The brewing stand runs on Blaze Powder, which you make by crafting a single Blaze Rod. One Blaze Powder fuels 20 brewing operations, so you don't need much to get started.
Open the brewing stand, drop Blaze Powder into the fuel slot on the left, and you're ready.
Potion Ingredients: What Does What
Before you start throwing random mushrooms and Spider eyes into the stand, it helps to understand the three ingredient categories.
Effect Ingredients
These are the ingredients that actually determine what a potion does. Nether Wart is the most important one it creates the Awkward Potion base that almost every useful recipe requires. Other effect ingredients include Magma Cream (Fire Resistance), Glistering Melon Slice (Healing), and Ghast Tear (Regeneration).
Modifier Ingredients
Modifiers change a finished potion's behavior without changing its effect. The two most common ones are:
-
Redstone Dust — extends potion duration
-
Glowstone Dust — increases potion potency (Level II effects)
You can only apply one modifier per potion. Using both cancels the benefit of each.
Conversion Ingredients
These turn a regular drinkable potion into a different delivery type:
-
Gunpowder — creates a Splash Potion (throwable, affects nearby mobs and players)
-
Dragon's Breath — creates a Lingering Potion (leaves a cloud that applies the effect over time)
Splash potions are especially useful in combat when you need to hit multiple targets at once.
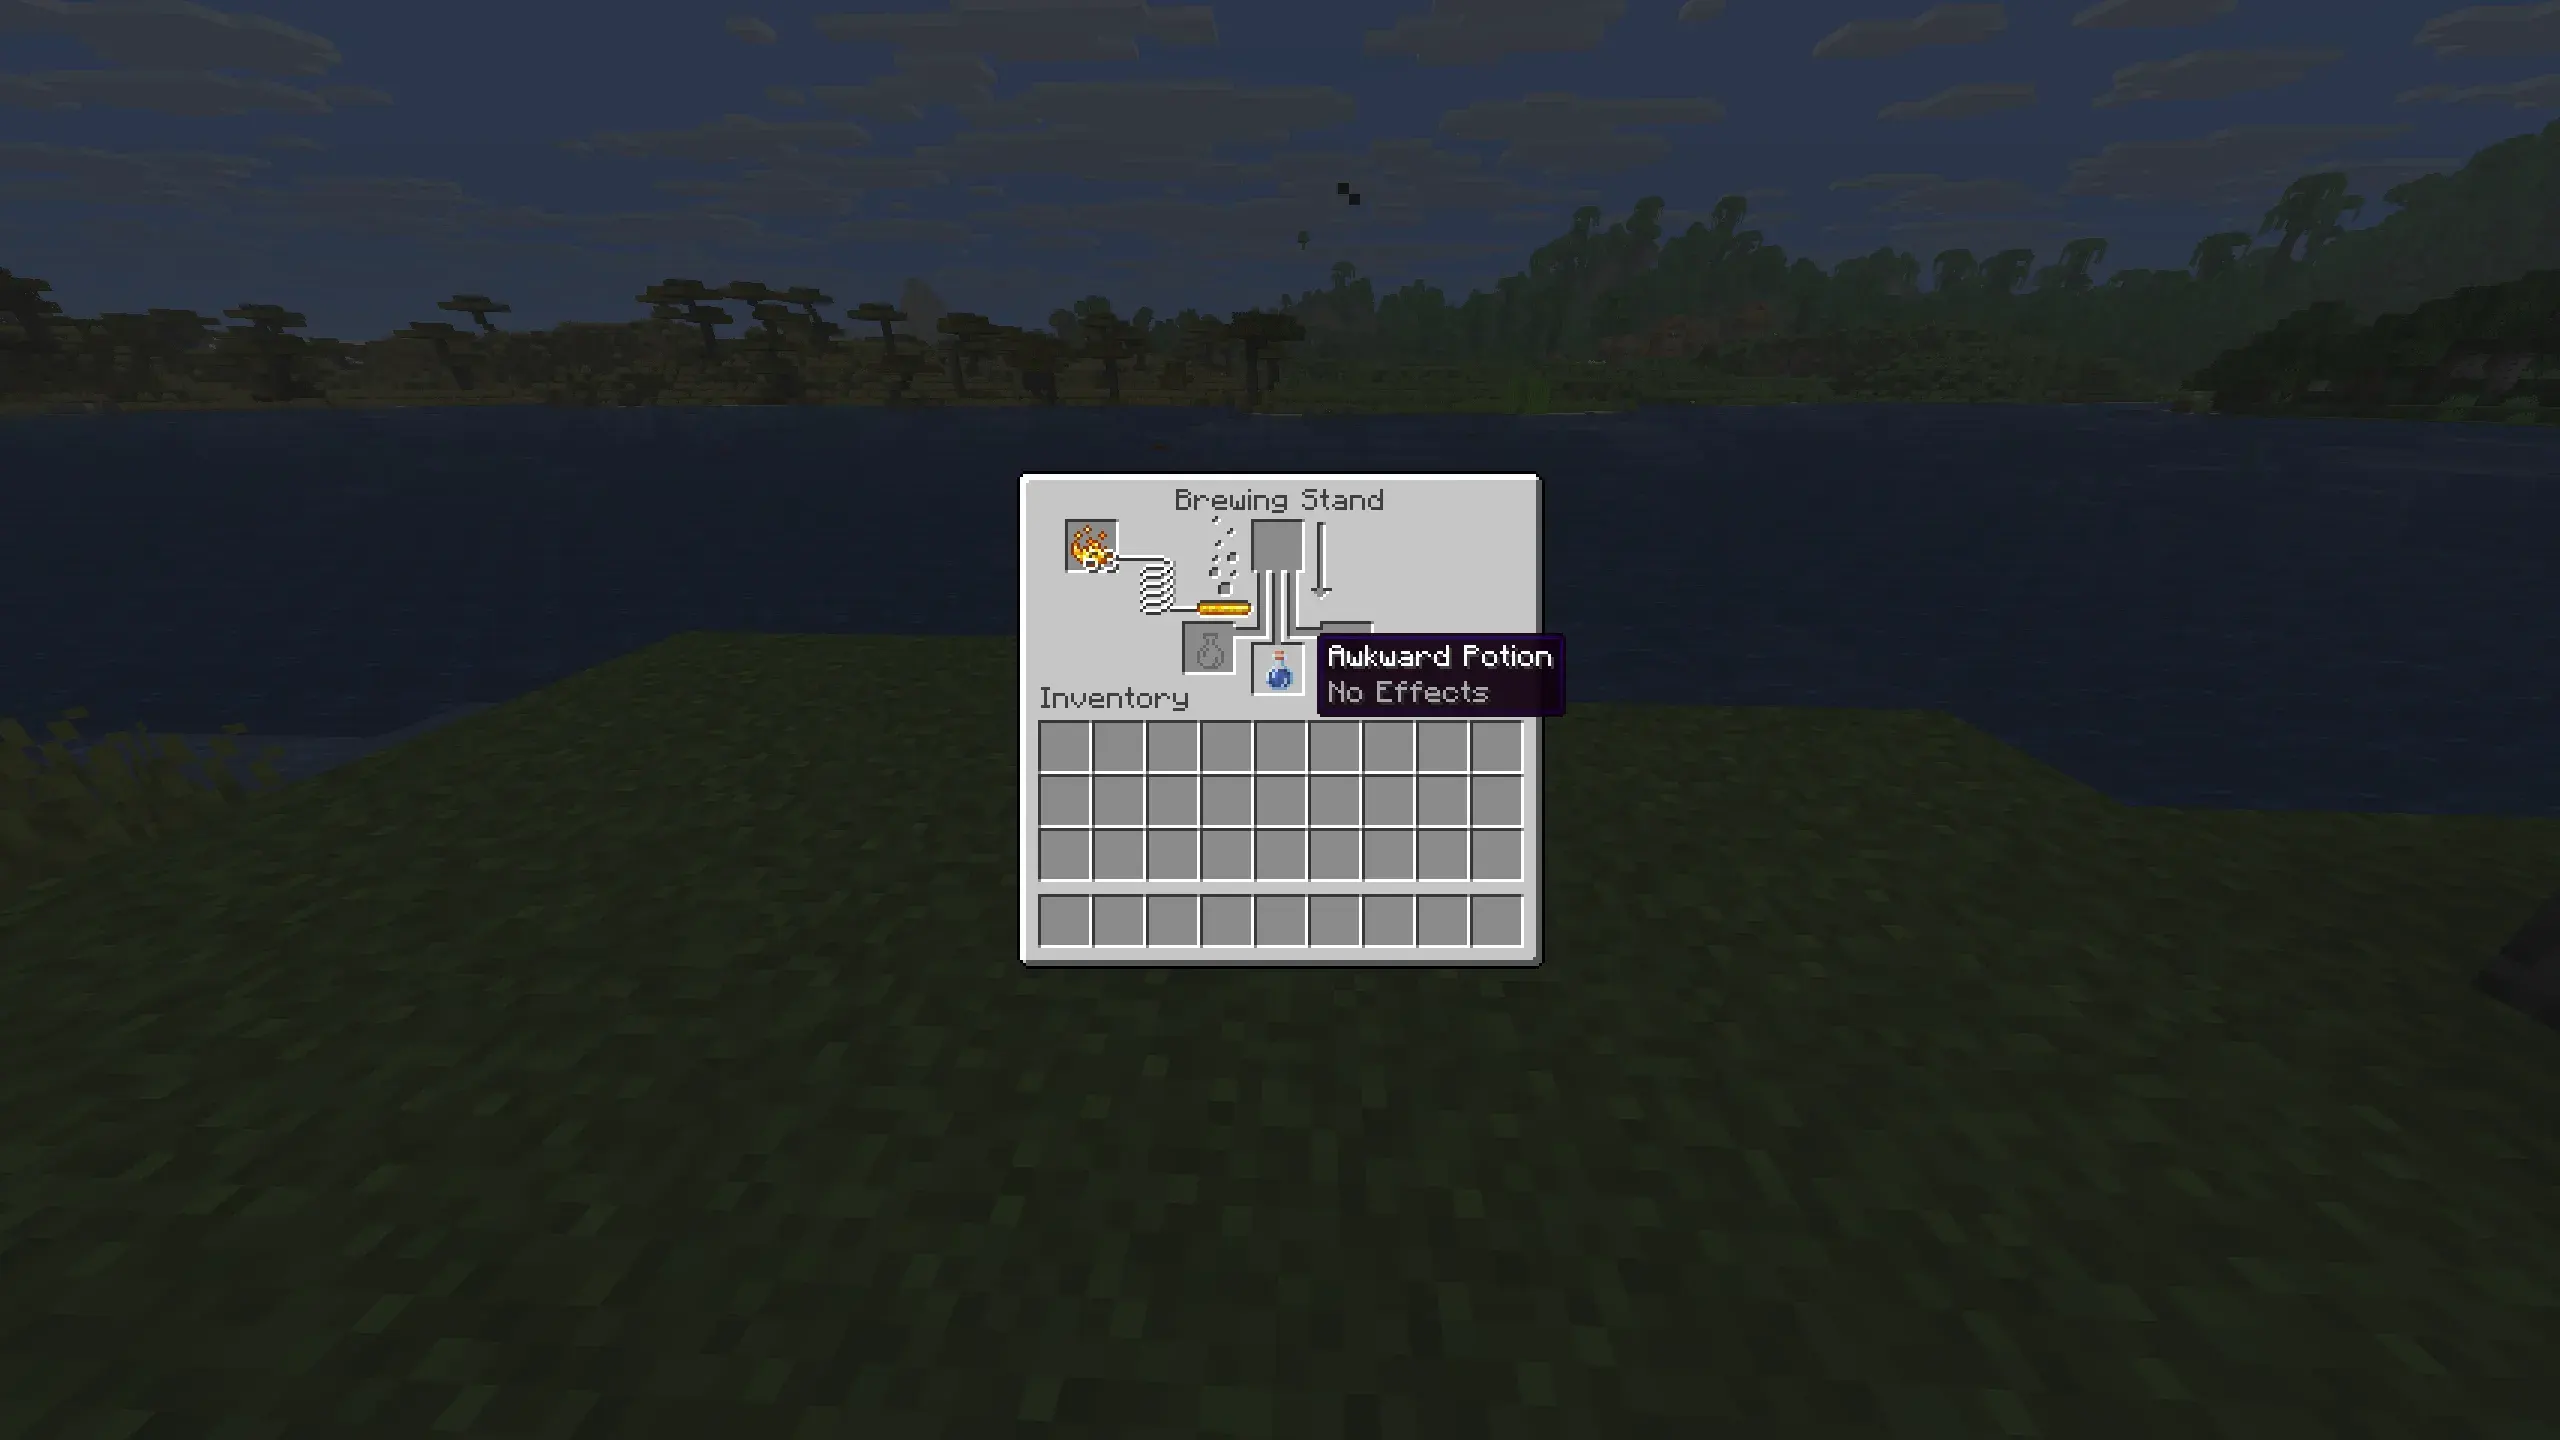
Awkward Potions Explained
Here is where beginners get confused. The first time most people brew something, they get an Awkward Potion, a potion with no effect. It feels useless. It isn't.
The Awkward Potion is the base for almost every useful potion in the game. You have to brew it first, then add an effect ingredient in a second pass. Think of it as the foundation that holds everything together.
How to make an Awkward Potion:
-
Fill glass bottles with water (right-click a water source)
-
Place up to 3 water bottles in the bottom slots of the brewing stand
-
Add Nether Wart in the top ingredient slot
-
Wait for the brewing cycle to finish
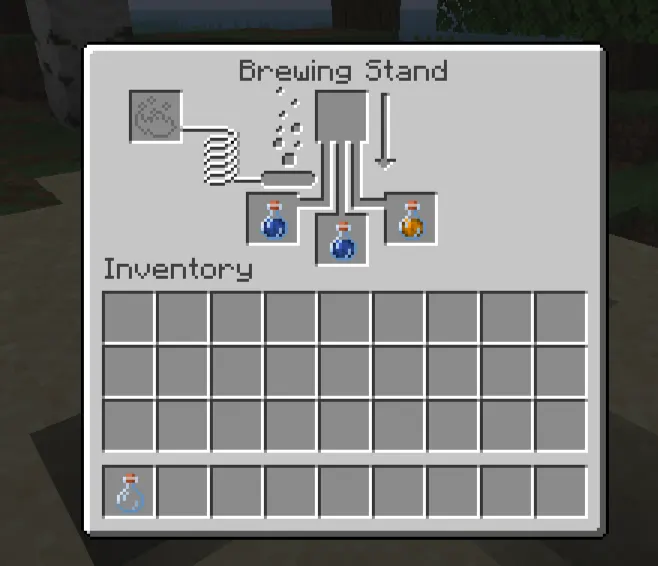
You now have 3 Awkward Potions. These don't do anything on their own, but every strong potion you'll ever make starts here.
How to Make Your First Potion: Step-by-Step
The best starter potion for beginners is the Potion of Healing. It's cheap, easy to make, and immediately useful.
What You Need:
-
1 Brewing Stand (fueled with Blaze Powder)
-
3 Glass Bottles
-
Water source
-
Nether Wart (found in Nether Fortress chests or growing on Soul Sand)
-
Glistering Melon Slice (craft a Melon Slice with 8 Gold Nuggets)
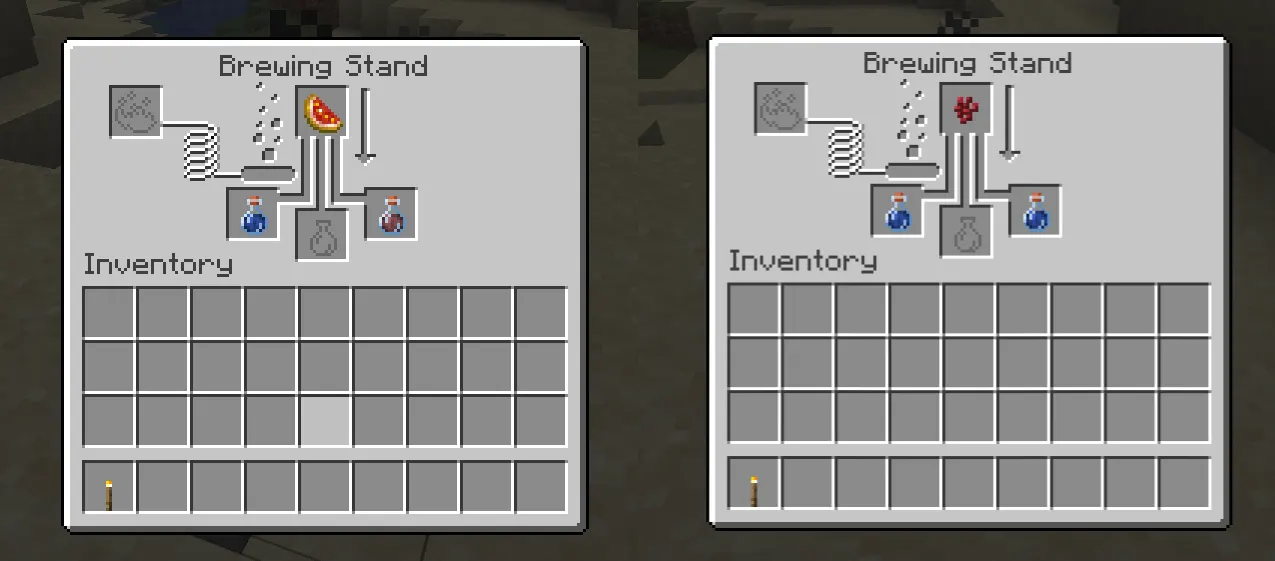
Step 1: Fill your glass bottles with water and place them in the three bottom slots of the brewing stand.
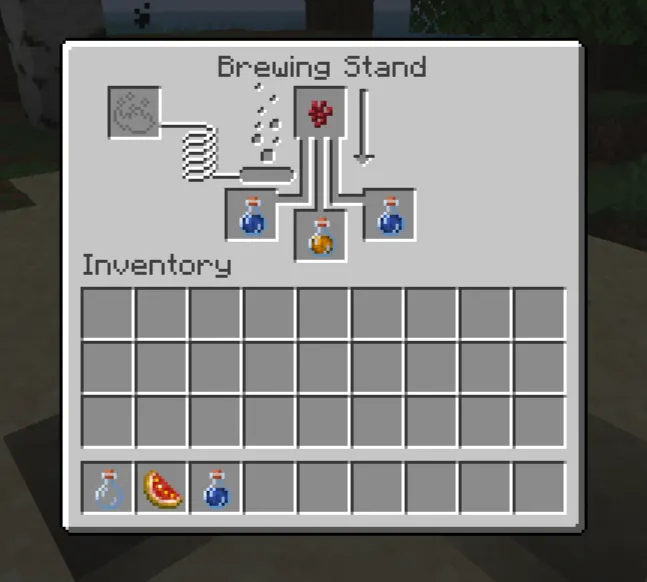
Step 2: Add Nether Wart to the top ingredient slot and wait for the brew to complete. Your water bottles are now Awkward Potions.
Step 3: Add a Glistering Melon Slice to the ingredient slot. Wait for the brew to complete.
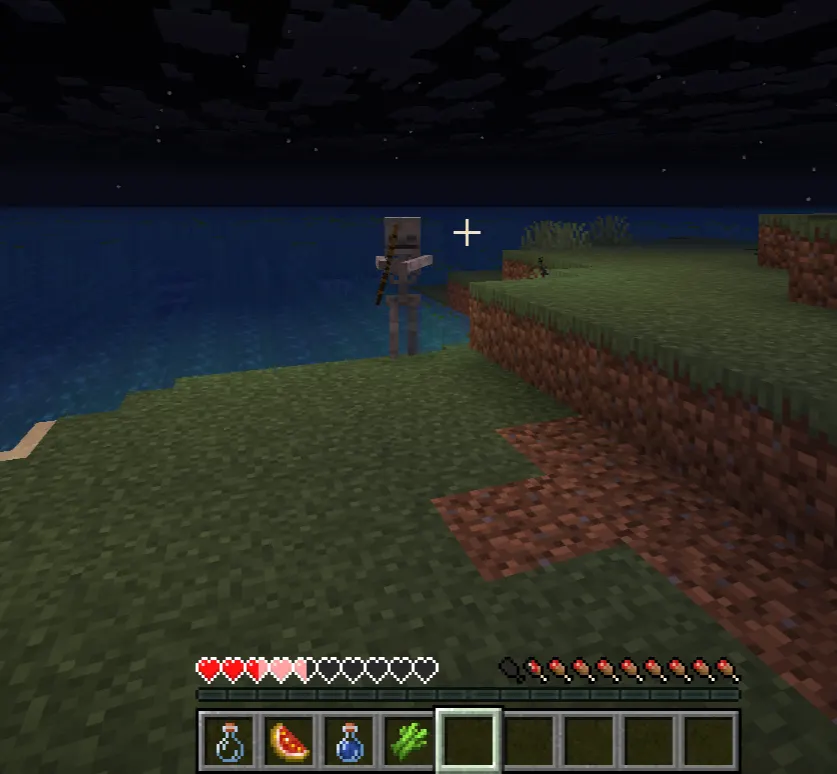
You now have 3 Potions of Healing. Each one restores 4 hearts instantly when consumed, no cooldown, no waiting.
Optional Step 4: Add Glowstone Dust to upgrade your Potions of Healing to Healing II, which restores 8 hearts per use.
That's it. Your first potion recipe in Minecraft is done.
Potion Recipes Every Beginner Should Know
Once you've brewed your first healing potion, these are the next ones worth learning:
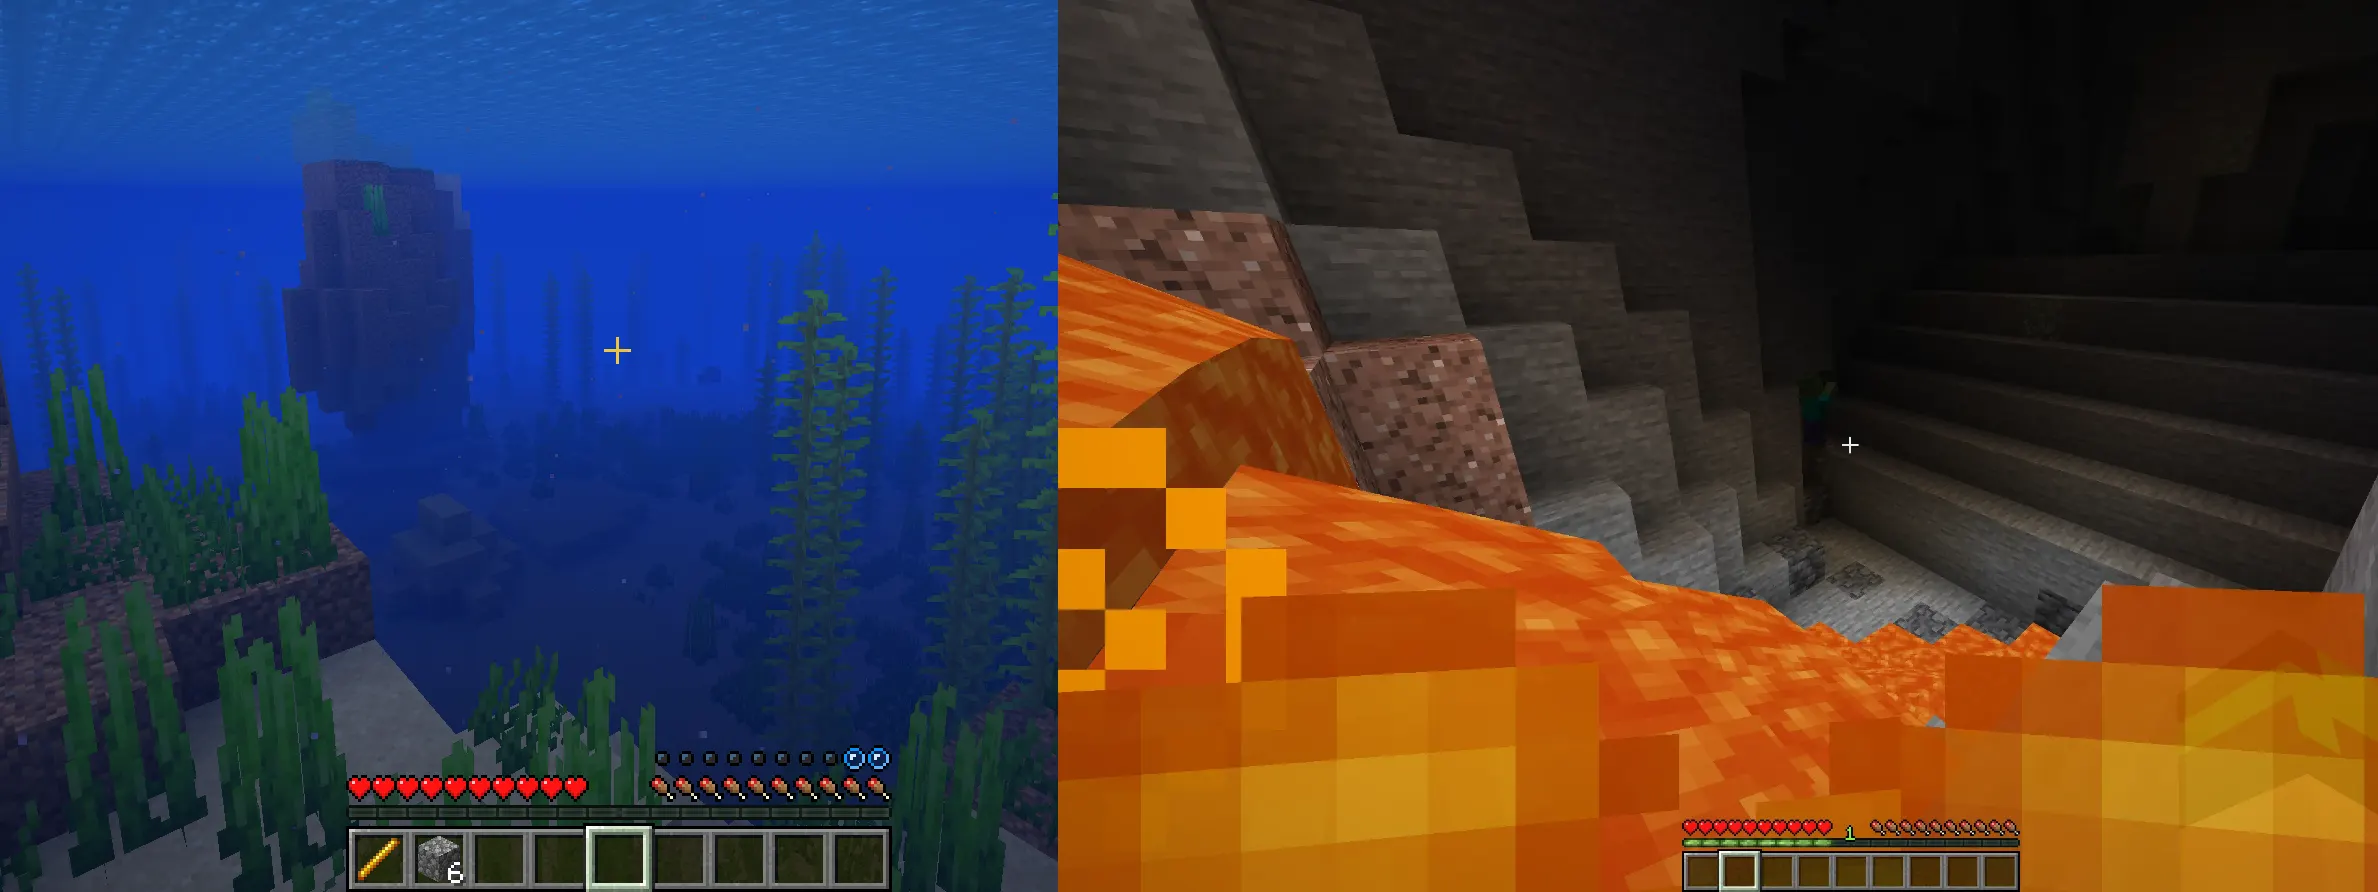
Potion of Fire Resistance Awkward Potion + Magma Cream Lasts 3 minutes. Complete immunity to fire and lava. Non-negotiable for Nether exploration.
Potion of Water Breathing Awkward Potion + Puffer Fish Lasts 3 minutes (8 with Redstone). Lets you breathe and see clearly underwater. Essential for ocean monuments and underwater ruins.
Potion of Strength Awkward Potion + Blaze Powder: I ncreases melee damage by 3 for 3 minutes. Use this before any difficult mob fight.
Potion of Swiftness Awkward Potion + Sugar: Increases movement speed by 20% for 3 minutes. Great for covering large distances or escaping.
Potion of Regeneration Awkward Potion + Ghast Tear Regenerates health over time. Useful during prolonged fights where you're taking consistent damage.
Splash Potions and Lingering Potions
Once you're comfortable with basic brewing, splash potions change how you fight.
A Splash Potion is made by adding Gunpowder to any finished potion. Instead of drinking it, you throw it like a snowball. It affects any entity in the splash radius, including mobs, other players, and you.
This is how you use Splash Potions of Healing tactically: throw them at your feet while taking damage, instead of stopping to open your inventory. It's much faster in a fight.
Splash Potions of Weakness are also critical for one specific mechanic: curing zombie villagers. Throw a weakness potion on a zombie villager, then give it a Golden Apple to turn it back into a villager. This is one of the most valuable trades in the game.
Lingering Potions are made by adding Dragon's Breath (collected by holding a glass bottle near the Ender Dragon's breath attack) to a Splash Potion. These leave a cloud that keeps applying the effect to anyone standing in it. Mostly useful for farms and group PvP situations.
Common Beginner Mistakes in Potion Brewing
Skipping Nether Wart entirely. If you're trying to brew effects without creating Awkward Potions first, nothing will work. Nether Wart is step one, every time.
Forgetting to refuel the stand. The fuel slot and the ingredient slot are different. If your potions aren't brewing, check whether you still have Blaze Powder in the fuel slot on the left side of the interface.
Stacking modifiers. Glowstone and Redstone both modify the same potion property (power vs. duration). Using both in sequence doesn't double the benefit; the second modifier overwrites the first.
Brewing directly from water bottles. Some ingredients, like Fermented Spider Eye, can be brewed into plain water bottles and produce a result, but most won't do what you expect. When something doesn't work, you've probably missed the Awkward Potion step.
Wasting high-tier ingredients on the wrong base. Ghast Tears, Glistering Melon, and Phantom Membranes all require an Awkward Potion base. Brewing them into plain water makes a Mundane Potion — which is useless.
When Should Beginners Start Learning Alchemy?
Realistically, you want to start once you have a stable base, basic armor, and tools, and have made your first trip into the Nether. You need the Blaze Rod for the brewing stand and Nether Wart to start brewing, both of which come from Nether Fortresses.
Starting before that makes it frustrating since you're blocked on ingredients. Starting much later means you've been dying in fights that Fire Resistance or Healing II could have easily fixed.
Once you have your Nether materials, set up a dedicated brewing room near your base. Keep a chest stocked with glass bottles, Blaze Powder, and your most-used ingredients. The setup takes maybe 30 minutes, and it pays off immediately.
Final Thoughts
Alchemy doesn't require mastery. You don't need to memorize every potion recipe in Minecraft or build elaborate brewing farms on day one. Start with healing potions, add fire resistance for Nether trips, and build from there.
The players who get the most out of alchemy are not the ones who memorize the most recipes. They're the ones who start brewing early, keep a stock of a few reliable potions, and reach for them before things go wrong instead of after.
That one habit will change the way you play Minecraft.