Survival Tips for Beginners in Minecraft (Complete Starter Guide)
Minecraft Survival mode is one of those games that feels completely obvious once you know what you're doing and completely merciless until you do. Most beginners die on their First night. A lot quit before they ever make Iron tools. The ones who stick around usually say the same thing: "I wish someone had just told me what actually to do first."
This guide is that. No vague advice about exploring biomes or "following your curiosity." Just a clear, practical breakdown of how to survive your first days, what to prioritize, and how to stop dying to the same five things every other new player dies to.
Quick Answer: What Should You Do First in Minecraft?
On Day 1, your three goals are: collect wood, build a Crafting table and Basic tools, then find or build shelter before nightfall. Everything else, farming, mining, and combat, comes after you've survived the First night.
The Minecraft day cycle lasts about 20 real-time minutes. You have roughly 10 minutes of daylight before dusk. Use every second.
Why Minecraft Survival Feels Hard for Beginners
The game doesn't explain itself. There's no tutorial in the traditional sense, no waypoint pointing you to the nearest shelter, no warning before the first creeper walks up behind you. What makes it click is understanding a few core systems:
-
Resources fuel everything. Wood → crafting table → tools → stone → iron → everything else. Skip a step, and you hit a wall.
-
Night is genuinely dangerous. Zombies, skeletons, and creepers don't just do damage — they can destroy an unsuspecting beginner in seconds.
-
Hunger matters more than most beginners realize. Once your food bar drops to zero, you stop healing. In hard mode, you take damage. Either way, you can't sprint.
Get those three things wrong, and Minecraft feels like it hates you. Get them right, and the game opens up completely.
Beginner Survival Checklist
Before your first night:
-
Collect at least 20 wood logs
-
Build a Crafting Table
-
Craft a wooden pickaxe, sword, and shovel
-
Mine 20–30 cobblestone
-
Craft stone tools (especially stone pickaxe and sword)
-
Collect coal or make charcoal
-
Craft torches
-
Build or find shelter
-
Cook food before sleep
What To Do in Your First 10 Minutes
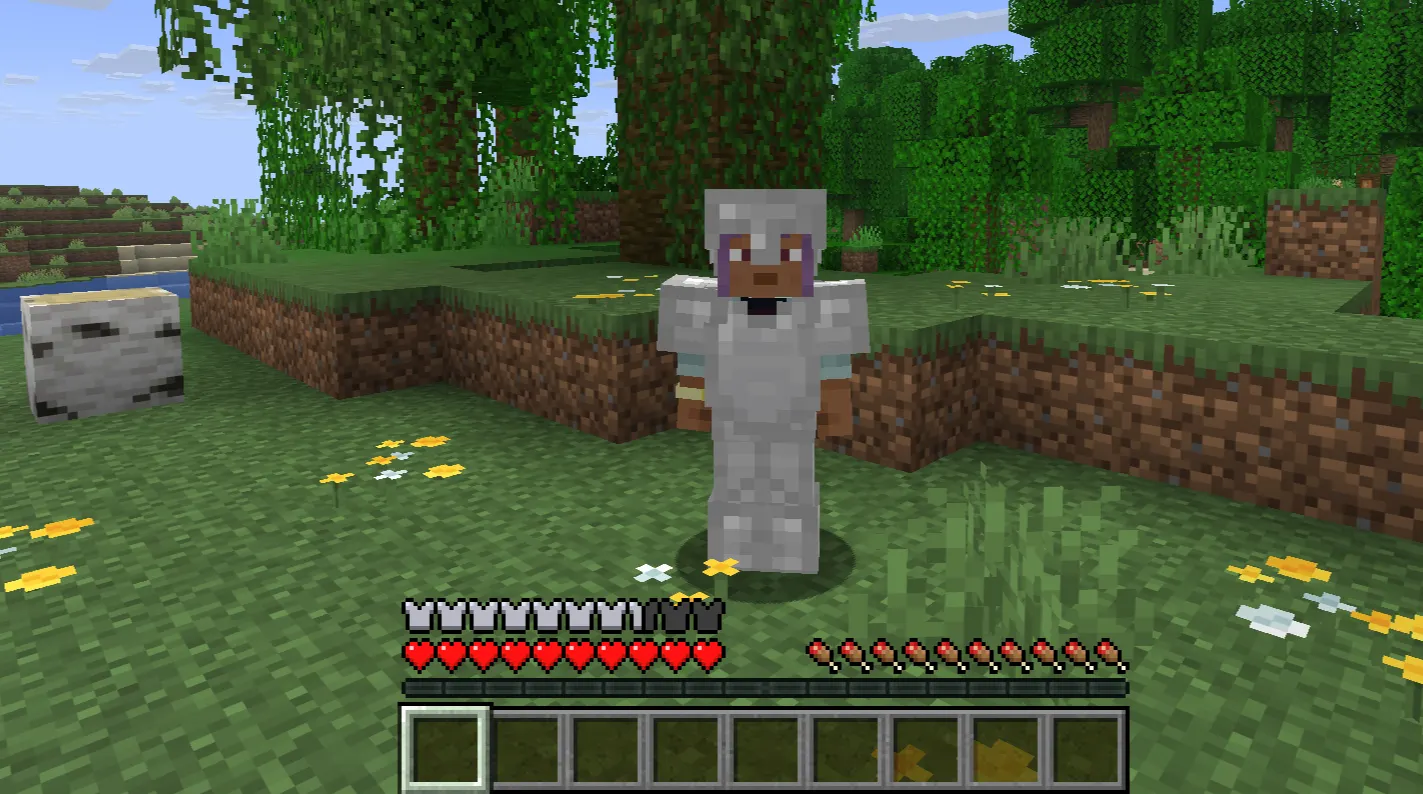
The moment you spawn, start punching trees. It's exactly right.
Every wood log you punch drops 4 wooden planks. You need planks for almost everything in the early game. Aim to collect 20+ logs before you do anything else. While you're doing it, keep moving — standing still in an open area is how you get ambushed.
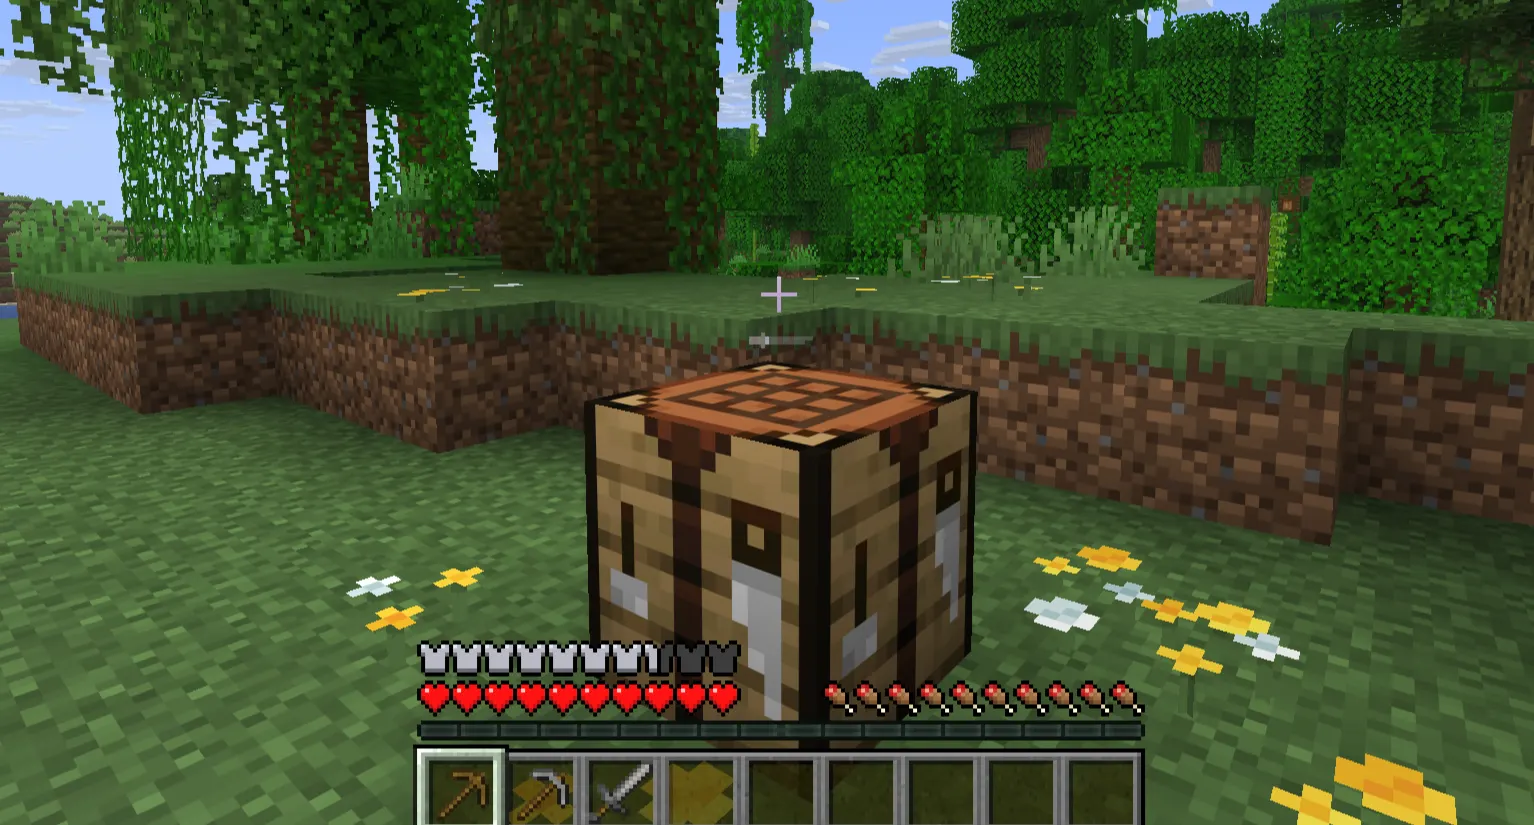
Once you have wood:
-
Open your inventory and craft a Crafting Table (4 planks in a 2×2 grid).
-
Place the Crafting Table on the ground.
-
Craft 2 sticks (2 planks stacked vertically).
-
Craft a wooden pickaxe (3 planks across the top row, 2 sticks below).
-
Use the wooden pickaxe to mine cobblestone from any stone surface.
-
Upgrade to a stone pickaxe immediately. Stone tools are twice as fast as wood.
While gathering stone, look for coal ore — it's stone with black flecks in it. Coal makes torches, and torches stop mobs from spawning in your shelter. If you can't find coal, you can make charcoal by smelting a wood log in a Furnace (which you'll also need to craft: 8 cobblestone in a ring).
At this point, you have: a crafting table, a furnace, stone tools, and either coal or a plan to make charcoal. You're doing well.
How to Survive Your First Day
Your Day 1 goal isn't to go exploring. It's to be ready for nightfall.
Kill animals as you find them. Cows, pigs, and chickens all drop raw meat. Sheep drop mutton. Don't just walk past them. You'll need food, and these are the easiest sources you'll ever have. Once you build your furnace, cook the meat — cooked food restores far more hunger than raw food, and raw chicken gives you a chance of food poisoning.
Don't go underground yet. Caves on Day 1 are a trap for beginners. You go in looking for iron, find yourself surrounded by mobs in the dark, and lose everything. Save caves for Day 2 or 3, when you have better tools, torches, and some armor.
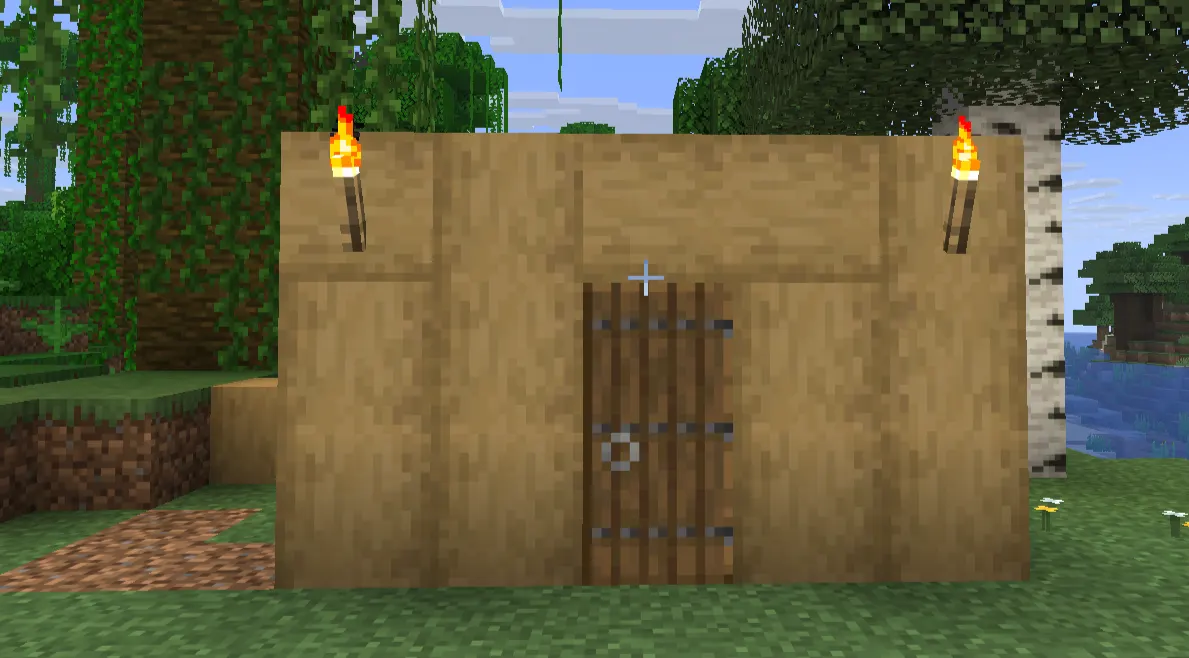
Start building a shelter as soon as you have cobblestone. It doesn't have to look good. A 5×5 box with a door and a couple of torches inside is enough. The game only needs two things from your shelter: a roof (so mobs can't get in from above) and enough light (so mobs don't spawn inside it). Torches prevent mob spawning anywhere they light up. Place them every 8 blocks or so inside your base.
If you find a village, go inside and sleep in a bed — it skips the night entirely and sets your spawn point. Villages are beginners' best luck in early Minecraft. They often have farms, chests with food and iron, and beds waiting to be used.
How to Survive Your First Night
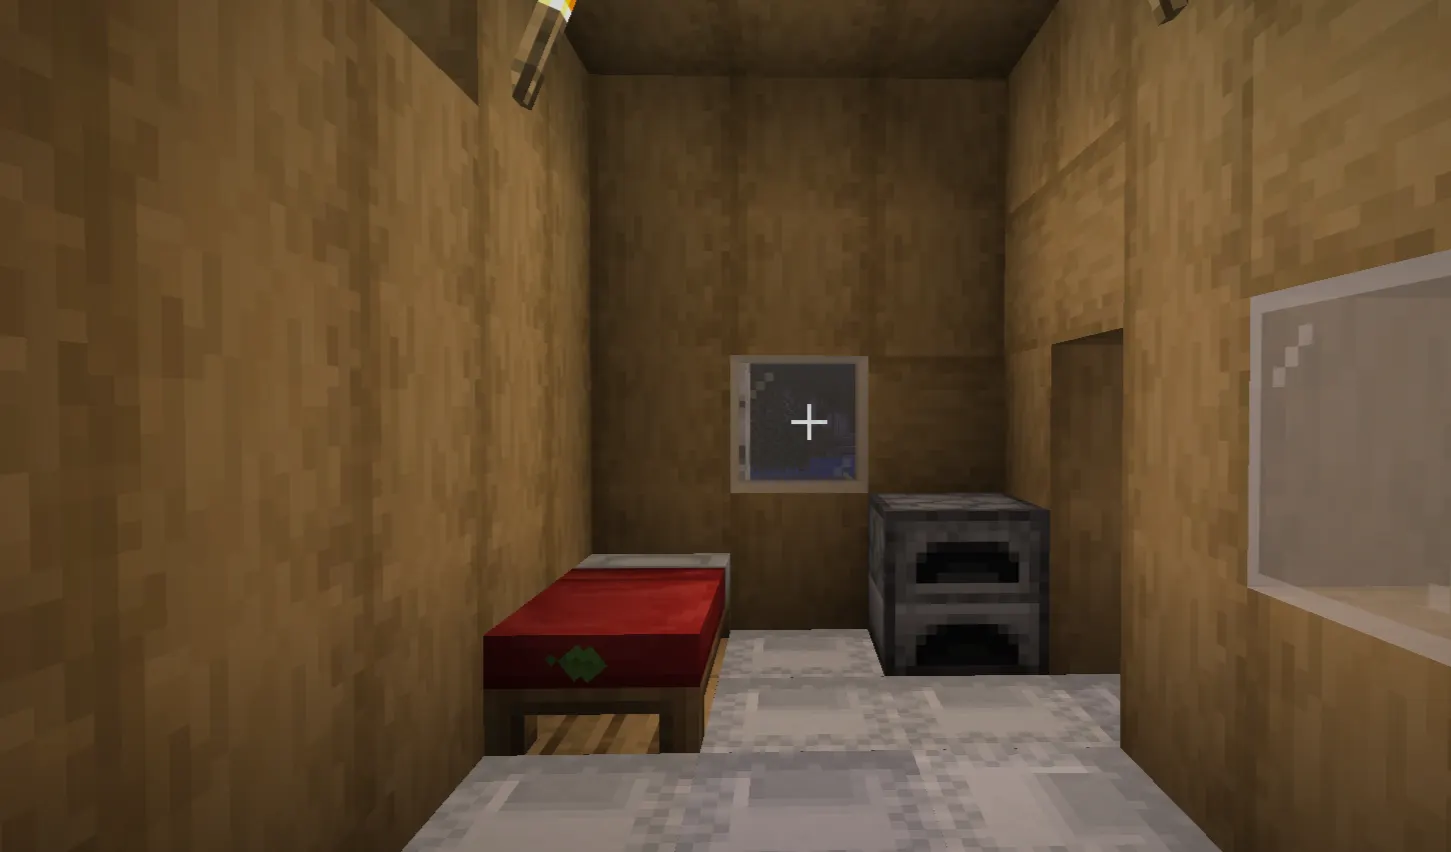
If nightfall arrives and your shelter isn't built — dig into a hillside. Seriously. A 3-block-deep hole in a dirt hill with a dirt block sealing the entrance is all you need. It's ugly, and it works.
Once you're inside:
-
Stay there. Don't go back outside to fight mobs. You'll lose.
-
Use the time. Craft a Furnace if you haven't. Smelt your raw meat. Smelt wood logs into charcoal if you're out of coal. Organize your inventory.
-
Sleep if you have a bed. Sleeping skips to dawn and prevents phantom spawning (yes, phantoms are a real threat if you go three in-game days without sleeping).
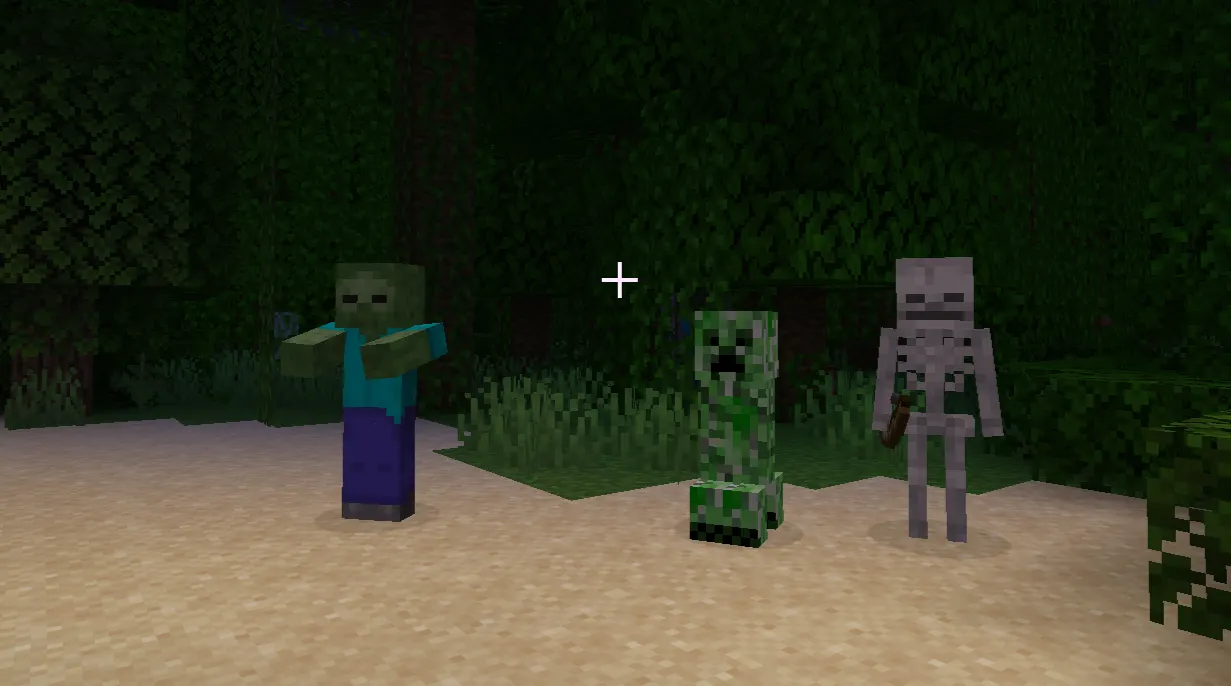
What spawns at night:
|
Mob |
Danger Level |
Beginner Tip |
|
Medium |
Slow pushes you back. Fight one at a time. |
|
|
High |
Shoots arrows from a distance. Stay behind cover. |
|
|
Very High |
Silent, explodes. Never let it get within 3 blocks. |
|
|
Low at night |
Aggressive in darkness, neutral in light. |
On your first night, don't fight anything. There's no upside. The experience points aren't worth the risk of dying and losing your inventory.
Essential Resources to Gather Early
In order of priority, the first few days come down to these resources:
Wood — You'll never stop needing it. Always collect more than you think you need.
Cobblestone — The material for stone tools, furnaces, and your first real shelter walls. Mine aggressively.
Coal — The fuel for your furnace and your source of torches. If you can't find coal ore, make charcoal by smelting logs.
Food — Cooked meat is the best early-game food. Hunt animals, cook everything, and eat before you drop below 5 hunger bars (the icons at the bottom of your screen).
Iron — The first real milestone. Iron lets you make a bucket, armor, and eventually a shield. Getting iron quickly is covered in detail below.
Wool — You need 3 wool to make a bed. Kill sheep or find a village. A bed is one of the most important items in the game — it skips nighttime and sets your respawn point.
Best Food Sources for Beginners
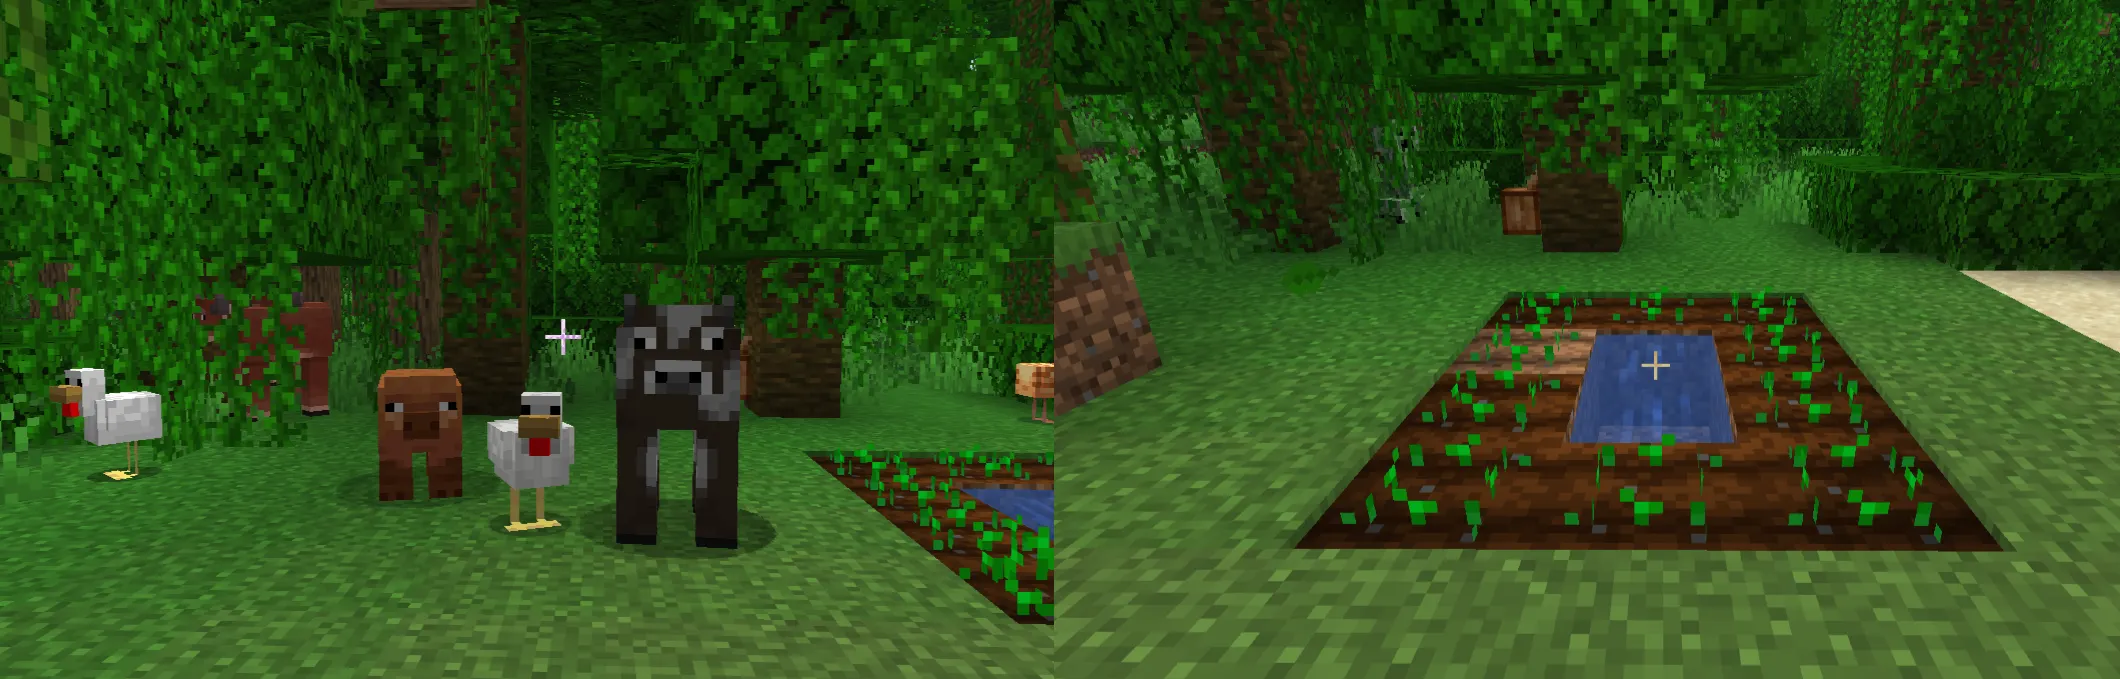
Food runs out faster than you expect, especially when you're sprinting everywhere or getting hit.
Best options in order:
-
Cooked meat — Cows, pigs, sheep, and chickens all drop raw meat. Cook it in a furnace. A cooked steak restores 4 hunger bars. Cooked chicken restores 3. Easy to get early, very efficient.
-
Bread — Found in village chests, or crafted from 3 wheat. Wheat grows naturally in villages and can be farmed once you find seeds. Bread restores 2.5 bars and stacks to 64 — meaning you can carry a lot at once.
-
Carrots and potatoes — Also found in villages. Plant them, harvest them, and you have infinite food that needs no furnace. Baked potatoes (cooked in a furnace) restore 2.5 bars.
-
Apples — Drop from oak and dark oak leaves when you break or strip the tree. Inconsistent but free.
Avoid raw chicken. It has a 30% chance of giving you food poisoning, which drains your hunger bar fast. Always cook it.
Set up a farm on Day 2 or 3. You need a water source within 4 blocks of tilled soil and seeds (break grass to find them). A small wheat farm takes about 3 in-game days to grow and gives you unlimited bread after that.
Tools You Should Craft First
New players often make the mistake of sticking with wooden tools for too long. The progression is fast — don't wait.
Crafting order:
-
Wooden pickaxe — Only for getting your first cobblestone.
-
Stone sword — Better damage than a wooden. Craft this before nightfall, Day 1.
-
Stone pickaxe — For mining iron ore, which needs stone or better to mine.
-
Furnace — To smelt iron ore and cook food.
-
Iron pickaxe — Can mine gold, diamonds, and redstone. Required for progression.
-
Iron sword — A big damage upgrade. An iron sword does 3.5 hearts per hit (7 damage).
-
Shield — Covered in its own section below. Craft this as soon as you have iron.
Don't bother with a full wooden or stone armor set. Leather armor barely helps, and cobblestone armor isn't a thing. Wait for iron — it's worth it. If you desperately need protection before iron, even two or three pieces of leather armor help more than none.
Axes do more damage than swords per hit, but they have a cooldown in Java Edition and don't sweep (hit multiple mobs at once the way swords do in Java). Use a sword as your main weapon unless you're on Bedrock Edition, where the distinction matters less.
Why a Shield Changes Everything
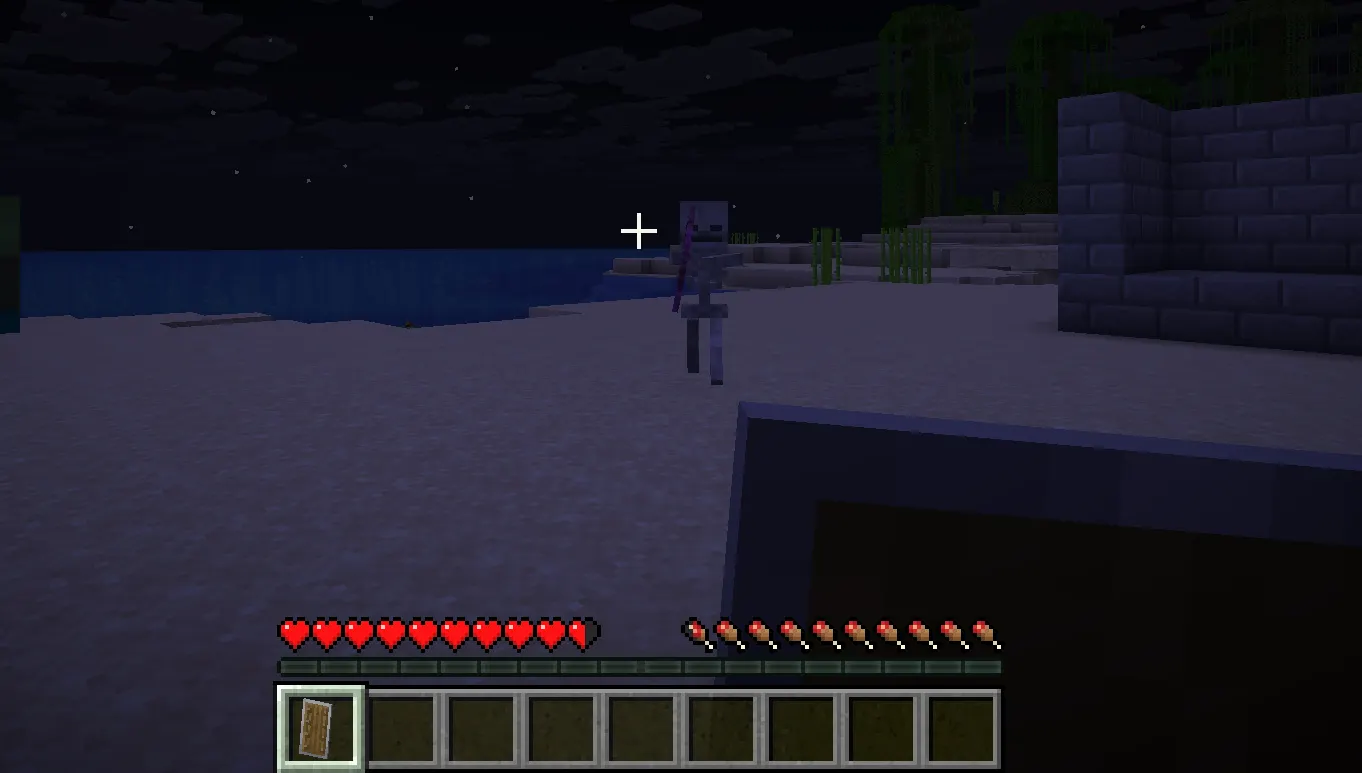
Most beginner guides mention the shield briefly. This one won't, because the shield deserves real attention.
A shield blocks almost everything: arrows from skeletons, melee hits from zombies, and even explosions from creepers. Once you have a shield in your off-hand, combat goes from terrifying to manageable.
How to craft a shield: You need 6 wooden planks and 1 iron ingot. Arrange them in a crafting table like this:
-
Top row: plank, iron ingot, plank
-
Middle row: plank, plank, plank
-
Bottom row: empty, plank, empty
How to use it:
-
Java Edition: Hold right-click to raise the shield.
-
Bedrock Edition: Crouch/sneak to raise the shield.
After 0.25 seconds of raising it, the shield blocks attacks from the front. Against skeletons specifically, this is a game-changer. You can just walk toward a skeleton with your shield raised and close the distance without taking a single arrow. Then hit it.
One caveat: Axes can temporarily disable your shield for 5 seconds. In PvP, this matters. In survival against mobs, it rarely comes up.
You only need one iron ingot to craft a shield. That means if you've found iron but haven't made a full set of armor yet, make a shield first. The protection-per-iron-ingot ratio is absurd.
Building Your First Starter House
Forget aesthetics for now. Your first shelter needs three things: a door, a roof, and light.
Minimum viable shelter:
-
5×5 footprint (gives you room to place a crafting table, furnace, and chest without feeling like a coffin)
-
3 blocks tall (you can jump without hitting the ceiling)
-
Wooden door (mobs in vanilla Minecraft can't open doors unless they're zombies, which can rarely break them on Hard difficulty)
-
Torches on every wall
-
A chest to store resources (8 planks in a ring on the crafting table)
Where to build:
-
Against a hillside, you save materials by using existing stone walls.
-
Near your spawn point — so you can find it again after dying.
-
On flat ground with good visibility — so you can see mobs approaching before they reach you.
Upgrade your shelter on Day 2. Replace dirt and sand walls with cobblestone. Cobblestone is blast-resistant, meaning a creeper explosion won't destroy it. Dirt walls do not stop creepers from blowing a hole in your house.
Once you're past Day 3, consider building a second perimeter wall around your base. Mobs can't spawn within 24 blocks of you when you're awake, but they can spawn in the dark outside your base and wander in.
Mining Basics Every Beginner Should Know
The most dangerous beginner mistake in mining: never dig straight down. If you mine directly below your feet, you might fall into a cave, into lava, or off a ledge. Always mine at an angle, or use the "2-wide staircase" method — mine forward and down in alternating steps.
Safe mining method (staircase): Dig one block forward, then one block down, alternating. This gives you a ramp you can walk back up and prevents you from falling into unknown drops.
Strip mining for iron: Once you have a stone pickaxe, head underground to around Y=16 (press F3 on Java, or check coordinates in Bedrock) and mine horizontal tunnels. Iron ore is generated in large veins throughout this depth. Mine 3 blocks wide tunnels and leave 2 blocks between them to cover more ground efficiently.
Torch placement: As you mine, place torches on one side of your tunnels only — always the left side or always the right. This way, you always know which direction leads home. Follow torches on your right wall when going out, your left wall when coming back.
Light up everything. Mobs spawn in any area with a light level of 0. A single torch lights a 12-block radius. Keep your tunnels lit.
Never mine iron or higher without a stone pickaxe or better. A wooden pickaxe breaks iron ore but doesn't drop anything useful. Use stone to mine iron. Use iron to mine gold, diamonds, and redstone.
How to Find Iron Quickly
Iron is the biggest early-game bottleneck. Here's how to get it fast.
Method 1: Cave exploration (fastest, most dangerous). Open caves visible on the surface often have iron ore exposed on the walls within the first 20 blocks. Go in with torches, grab what's visible on the walls, and come back out. Don't go deep.
Method 2: Strip mining at Y=16. The most reliable but most time-consuming method. Dig a staircase down to Y=16 and mine horizontal 1×2 tunnels. Iron is generated everywhere between Y=-64 and Y=320, but concentrations are good between Y=8 and Y=60.
Method 3: Villages. Village blacksmith chests frequently contain iron ingots, iron armor pieces, and iron tools. If you spawned near a village, check the blacksmith building (stone with a chest inside) before mining anything.
How much iron do you need for the early game?
|
Item |
Iron Cost |
|
Shield |
1 ingot |
|
Iron sword |
2 ingots |
|
Iron pickaxe |
3 ingots |
|
Full iron armor |
24 ingots |
|
Bucket |
3 ingots |
|
Iron shovel |
2 ingots |
Aim for at least 30 iron ingots before you feel comfortable. Your priority after getting iron: craft a shield, then an iron pickaxe, then work toward full armor.
Common Beginner Mistakes
Digging straight down — Already covered. Don't do it. Ever. Lava at Y=10 will delete your entire inventory.
Skipping the bed — If you die without a bed, you respawn at the world spawn point, which might be hundreds of blocks from your base. You'll spend more time trying to find your stuff than actually playing. Always make a bed before the end of Day 1.
Ignoring food — Many new players notice their hunger bar drop and ignore it. The moment it hits zero, your health stops regenerating. Sprint less when you're low on food, and always keep cooked meat in your hotbar.
Fighting creepers up close — Creepers need about 1.5 seconds to detonate after they start hissing. Your job: hear the hiss, back up fast. If you're more than 3 blocks away when it explodes, you take minimal damage. If you're closer, you're probably dead. The best technique is to sprint toward a creeper, hit it once, and sprint back. The knock-back resets its fuse timer.
Going to the Nether too early — The Nether has fire, lava oceans, Ghasts that shoot fireballs, and Blaze enemies that'll kill an unarmored player in seconds. Don't go there until you have a full set of iron armor and a shield.
Not labeling or marking your base — Minecraft worlds are procedurally generated and huge. It's genuinely easy to get lost 200 blocks from home. Place tall pillars of dirt or sand as markers. Write down your spawn coordinates (press F3 in Java Edition to see X/Y/Z position). Don't assume you'll find your way back.
Punching everything with your fists — Tools break faster when used for the wrong tasks, and your fists break blocks at a fraction of tool speed. Use your pickaxe for stone, your axe for wood, your shovel for dirt.
Wasting wooden tools — One wooden pickaxe is all you need. Get enough cobblestone for stone tools, then move on. There's no need for a full wooden toolset.
Smart Progression Path: Day 1 to Day 10
Here's a realistic timeline for a new player doing things in roughly the right order:
|
Day |
Goals |
|
Day 1 |
Collect wood, build a crafting table, make stone tools, find food, and build a basic shelter |
|
Day 2 |
Mine iron (at least 10 ingots), craft a shield and an iron pickaxe, and upgrade the shelter to cobblestone |
|
Day 3 |
Set up a wheat/carrot farm, start torching the area around your base, craft iron armor pieces |
|
Day 4–5 |
Explore caves safely (with torches and food), mine more iron and coal, and consider getting full iron armor |
|
Day 6–7 |
Start looking for diamonds at Y=-59 (or Y=11 in older versions), build an Enchanting Table setup |
|
Day 8–10 |
Gear up with enchanted iron or diamond gear, locate a Nether fortress, and prepare for the Nether |
This isn't a rigid checklist — Minecraft is an open-world game, and part of the fun is exploring on your own terms. But this order minimizes unnecessary deaths and makes each step feel achievable.
When to Visit the Nether
The Nether is Minecraft's first "other dimension" and a major progression milestone. But going too early is one of the most common ways new players lose everything.
Wait until you have:
-
Full iron armor (at minimum)
-
A shield
-
At least a stack of food (64 cooked meat or bread)
-
Plenty of torches
-
A water bucket (water doesn't work in the Nether, but bring it anyway for Overworld emergencies)
-
A Flint and Steel (to relight your Nether portal if it goes out)
How to build a Nether portal: You need 10 obsidian blocks (mined with a diamond pickaxe, or created by pouring water over lava). Arrange them in a 4-wide, 5-tall frame (hollow rectangle), then light the inside with Flint and Steel. The portal activates and glows purple.
What to do first in the Nether: Your primary goal on your first Nether visit is to find a Nether Fortress — a massive dark stone structure home to Blaze enemies and Nether Wart. Both are required to brew potions (which you'll need for the Endgame). Kill Blazes, collect Blaze Rods. Collect Nether Wart from the fortress stairwells. Then get out.
Beginner Combat Tips
Combat in Minecraft isn't as hard as it first seems, but there's a real skill gap between mashing the attack button and actually fighting well.
Java Edition: There's an attack cooldown. Hitting too fast reduces damage. Wait for the attack indicator (a small sword icon at the bottom of your screen) to fully charge before swinging. A fully charged attack does full damage.
Bedrock Edition: No cooldown — you can hit as fast as you click or tap.
General combat rules:
-
Fight one mob at a time. If you're surrounded, run and pick them off individually.
-
Use terrain. Stand on top of a block to gain height advantage. Mobs can't easily hit you if you're 2 blocks above them.
-
Hit, then step back. Most beginners stand still and trade hits. Instead: hit, step back to avoid retaliation, step in and hit again.
-
Block with your shield. Against skeletons, especially, raise the shield, close the gap, then switch to sword. You don't take a single arrow.
-
Critical hits deal 50% extra damage in Java Edition. You get a critical hit by falling when you attack — jump, swing at the peak of your fall.
How to Avoid Creeper Deaths
Creepers are responsible for more beginner deaths than any other mob. Here's the exact playbook:
Recognition: Creepers are green, have four stubby legs, and make no footstep sounds. The only warning is a short hissing sound right before detonation.
Prevention:
-
Keep your base well-lit. Creepers spawn in darkness.
-
Always look around before mining or building. Creepers are silent walkers.
-
In caves, place torches constantly to prevent spawns.
Combat:
-
Stand 3 or more blocks away and shoot with a bow if you have one.
-
If no bow: sprint toward the creeper, hit once (knocking it back), sprint away immediately. Repeat. The trick is that hitting a creeper resets its detonation timer. If you keep knocking it back before the timer runs out, it never explodes.
-
If a creeper does start hissing, don't try to fight it. Just run. Get 4+ blocks away in 1.5 seconds.
Creeper drops: Killing a creeper with a bow or sword drops 5 experience. If a skeleton arrow kills a creeper, it drops a music disc — one of the rarer early-game items.
Best Early-Game Goals
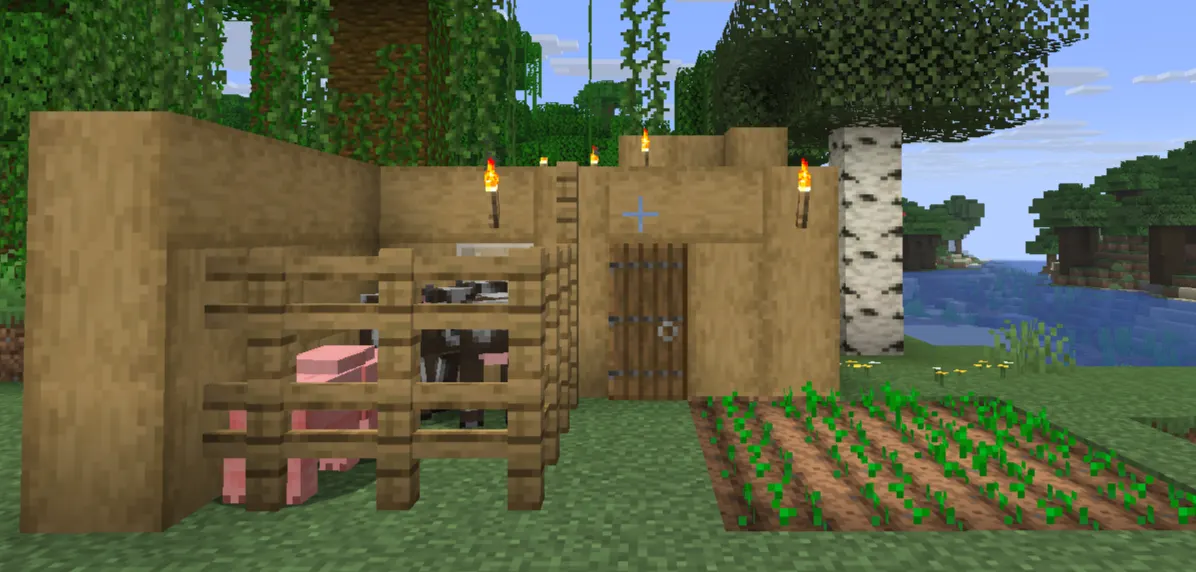
Once you've survived the first few nights and have basic iron gear, these are the goals that matter most:
-
Get a bed and sleep every night. Phantoms spawn if you go 3+ nights without sleeping. They're annoying and deal real damage.
-
Find or grow a reliable food farm. Wheat, carrots, or potatoes. Once you have a farm, food stops being a concern.
-
Light up your base and the surrounding area. Torches every 8 blocks prevent mobs from spawning near your home. You'll stop getting surprised by zombies at your door.
-
Build an Enchanting Table. You need: 1 Book, 2 Diamonds, 4 Obsidian. Books require leather (from cows) and paper (from sugar cane, which grows near water). Surround your Enchanting Table with Bookshelves (15 of them for max-level enchantments) for stronger enchants.
-
Get at least 24 iron for a full set of iron armor. Iron armor before you do any serious cave diving.
-
Find diamonds at Y=-59. Below Y=0 (negative heights, accessible by digging deep), diamonds generate most commonly around Y=-59. Bring a full inventory of torches and food.
Pro Tips Most Beginners Don't Know
Water bucket = emergency parachute. Fall damage kills beginners constantly. If you fall from a height, place a water bucket on the ground right before impact — the water cancels fall damage entirely. Takes practice, but it's worth learning.
F3 shows your coordinates (Java Edition). Press F3 to open the debug screen. It shows your X/Y/Z coordinates. Write down your base coordinates when you first build it. This is the most reliable way to not lose your home.
Phantoms are real. After 3 in-game nights without sleeping, Phantoms start spawning. They're flying undead creatures that dive-bomb you. Sleep every night in your bed to prevent them.
Torches don't block mob spawns in Bedrock the same way. On Bedrock Edition, use more torches and consider placing them on the floor rather than walls for better light coverage.
You can sprint-jump to move faster. Sprint (double-tap W on Java, or run button on Bedrock) while jumping in the direction you want to go. Your horizontal movement while sprinting and jumping is significantly faster than walking or even just sprinting. It burns more food, but it's faster.
Smelt gravel to get flint more reliably. If you need flint (for arrows or tools), you can smelt gravel — but actually, just dig gravel and use the Fortune enchantment. Early game, just drop and re-pick up gravel repeatedly for a chance at flint.
Never sprint in caves. Sprinting into an unlit cave is how you run off a ledge into lava. Walk slowly, place torches, and look down regularly.
Trade with villagers. Once you find a village, villagers are one of the best resource systems in the game. Farmers trade food, librarians trade enchanted books, and armorers trade iron and diamond gear. A well-developed village trading network can get you diamond-equivalent gear before you've found a single diamond.
Smelt the iron armor you find. If you find old iron armor (from chests or mob drops) that's too damaged to use, smelt it in a furnace for iron nuggets. 9 nuggets = 1 iron ingot.
Conclusion
Minecraft survival mode has a steep learning curve, but it's not random. Every death has a cause, and most of those causes are the same for every new player: no shelter, no food, no light, wrong order of operations.
Get your wood. Build a shelter. Make a bed. Get iron. Make a shield. Light everything up.
That's really the whole early game in one sentence. Everything after that — diamonds, enchanting, the Nether, the End — is just more of the same pattern: gather the right resources in the right order, build the right defenses, and explore when you're ready.
You'll still die. Probably often, at first. That's the game working exactly as intended. But with a clear understanding of what matters and in what order, surviving in Minecraft goes from feeling impossible to feeling inevitable.