
Bogged Mob in Minecraft: Behavior, Drops & How to Beat It
If you've spent any time wading through a swamp in Minecraft, you already know the sound. That dry, rattling arrow-nock right before something green and mossy steps out from behind a mangrove root and puts a poisoned arrow in your shoulder. That's the Bogged, and it's one of the few mobs in this game that punishes you for not paying attention, even on Normal difficulty.
I've fought dozens of these things while grinding trial chambers and clearing out swamp villages for bases, and the Bogged has a nasty habit of humbling players who treat it like a regular skeleton. It isn't one. It hits differently, it plays differently, and if you walk in expecting a stray with a paint job, you're going to eat more poison than you'd like.
This guide covers everything you need: what the Bogged actually is, where it spawns, exactly how dangerous it is at each stage of the game, the weapons and tactics that consistently beat it, what it drops, whether it's worth farming, and the differences between Java and Bedrock that trip people up. No fluff, no guesswork — just what works.
What Is the Bogged in Minecraft?
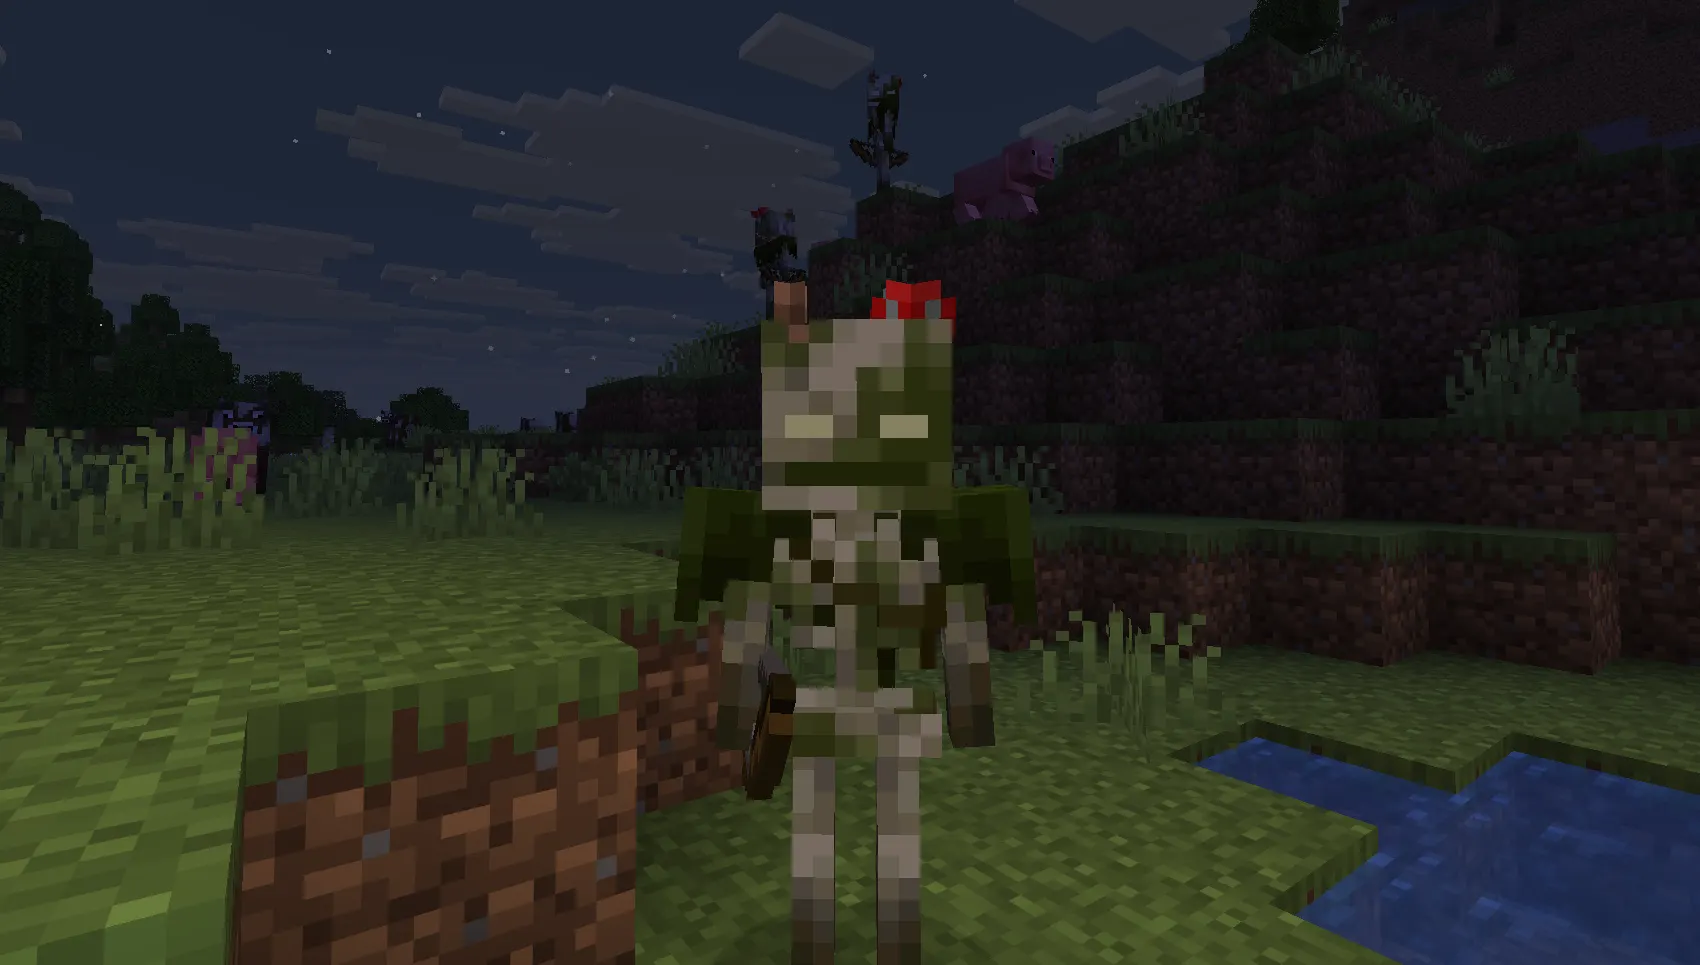
The Bogged is a hostile, undead skeleton variant that spawns in swamp biomes and fires poison-tipped arrows instead of regular ones. Mojang added it in the Minecraft 1.21 "Tricky Trials" update alongside trial chambers, and it's available on both Java and Bedrock Edition.
Visually, it's unmistakable. Where a regular skeleton is bone-white, the Bogged looks like it's been sitting in a bog for a hundred years — mottled green skin, tattered clothing, and actual mushrooms growing out of its head and shoulders. It's a small detail, but it tells you exactly what kind of mob you're dealing with before it even fires an arrow.
Mojang built the Bogged to fill a gap. Before 1.21, swamps didn't have a signature hostile mob the way snowy biomes have the stray or deserts have the husk. The Bogged gives swamps their own identity and gives trial chambers a ranged enemy that behaves differently from the melee-focused breeze and other trial mobs.
A few things make it unique among skeleton variants:
-
It can be sheared for mushrooms, which no other skeleton type allows
-
It doesn't convert into a stray when exposed to powder snow — it just takes freezing damage instead
-
Its bow has a noticeably slower reload than a normal skeleton's
Where Does the Bogged Spawn?
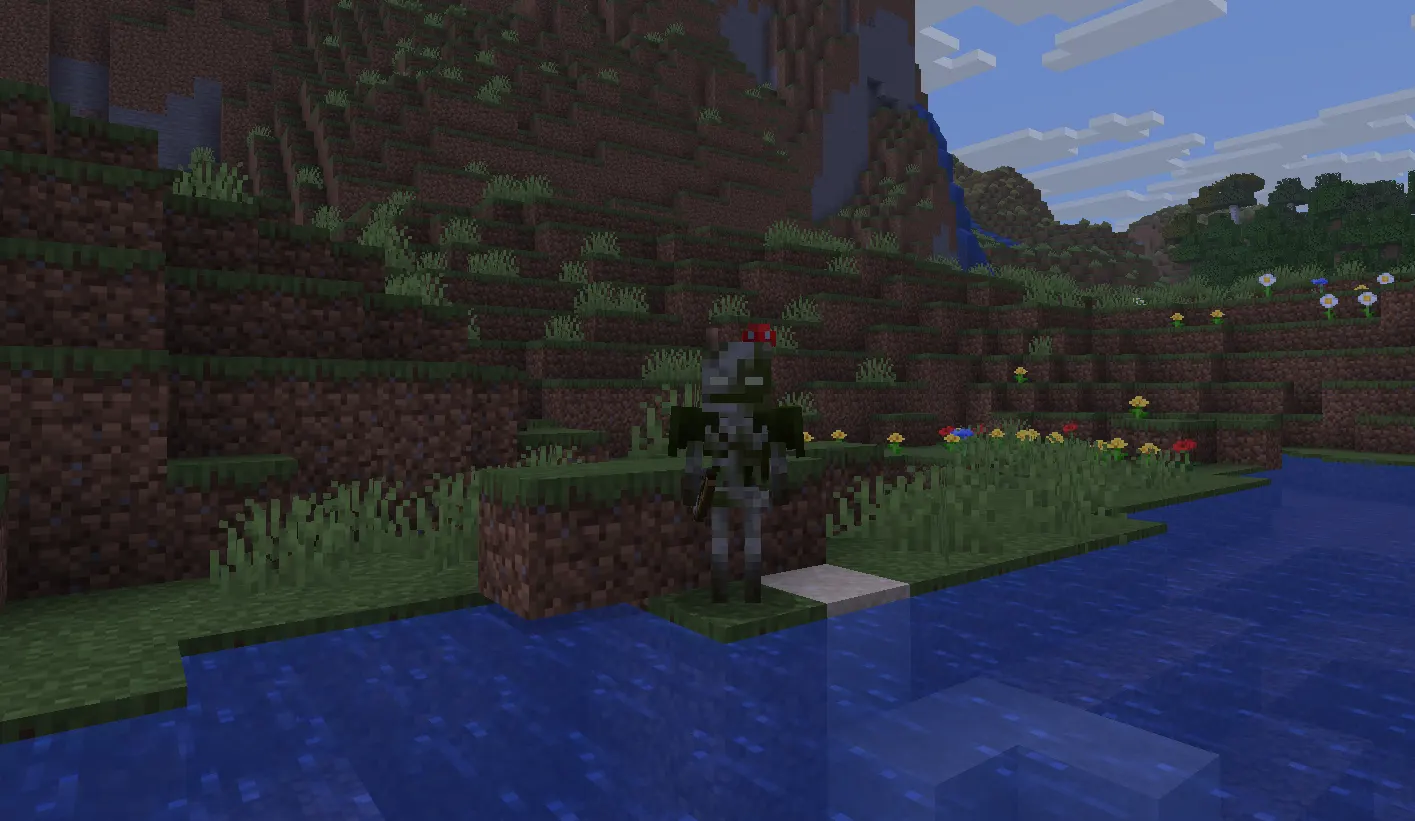
The Bogged spawns naturally in two places: swamp biomes (including mangrove swamps) and trial chambers.
Natural spawning in swamps. The Bogged replaces roughly 30% of what would otherwise be regular skeleton spawns in swamp and mangrove swamp biomes. This happens at night or in dark areas, same as most hostile mobs, but the exact light-level rules differ between Java and Bedrock (more on that below).
Trial chambers. Ranged mob trial spawners in trial chambers have a 1-in-3 chance of producing Bogged instead of a regular skeleton. If you're running trial chambers for loot, you'll fight these constantly, often in tight vault rooms where dodging arrows is much harder than out in the open.
Spawn conditions by edition:
|
Detail |
Java Edition |
Bedrock Edition |
|
Group size |
Groups of 4 |
Groups of 1–2 |
|
Light level |
0 only |
0 through 7 |
|
Underground spawning |
Yes |
No |
|
Daytime spawning |
Effectively no |
Possible under dense canopy |
That Bedrock light-level range matters more than it sounds like it should. A mangrove swamp with a thick canopy can get dark enough under the leaves to hit light level 7 even at noon, which means Bedrock players can get ambushed by a Bogged in broad daylight if they're not watching their surroundings.
There's also a Bedrock-exclusive quirk worth knowing: spiders and cave spiders spawned in swamps have a small chance of spawning as a spider jockey, and when that happens, there's an 80% chance the rider is a Bogged rather than a regular skeleton. It's rare, but a poison-shooting archer riding a spider is exactly as annoying as it sounds.
Bogged Stats
|
Stat |
Value |
|
Health |
16 HP (8 hearts) |
|
Attack type |
Ranged (bow), occasional melee |
|
Weapon |
Bow, fires Arrows of Poison |
|
Arrow reload time |
3.5s (Easy/Normal), 2.5s (Hard) |
|
Melee damage |
2 (Easy/Normal), 3 (Hard) |
|
Poison effect |
4 seconds, roughly 3 HP total damage |
|
Detection range |
Standard hostile mob range (~16 blocks) |
|
Drops |
Bones, arrows, arrows of poison, bows, mushrooms (if sheared) |
|
XP dropped |
5, plus 1–3 per piece of equipment not dropped |
|
Hostility |
Always hostile, no provocation needed |
That 16 HP figure is the detail most players underestimate. A Bogged has four fewer hit points than a regular skeleton's 20, which means it actually dies faster once you close the gap. The danger isn't its health pool — it's what happens while you're closing that gap.
Bogged Behavior Explained
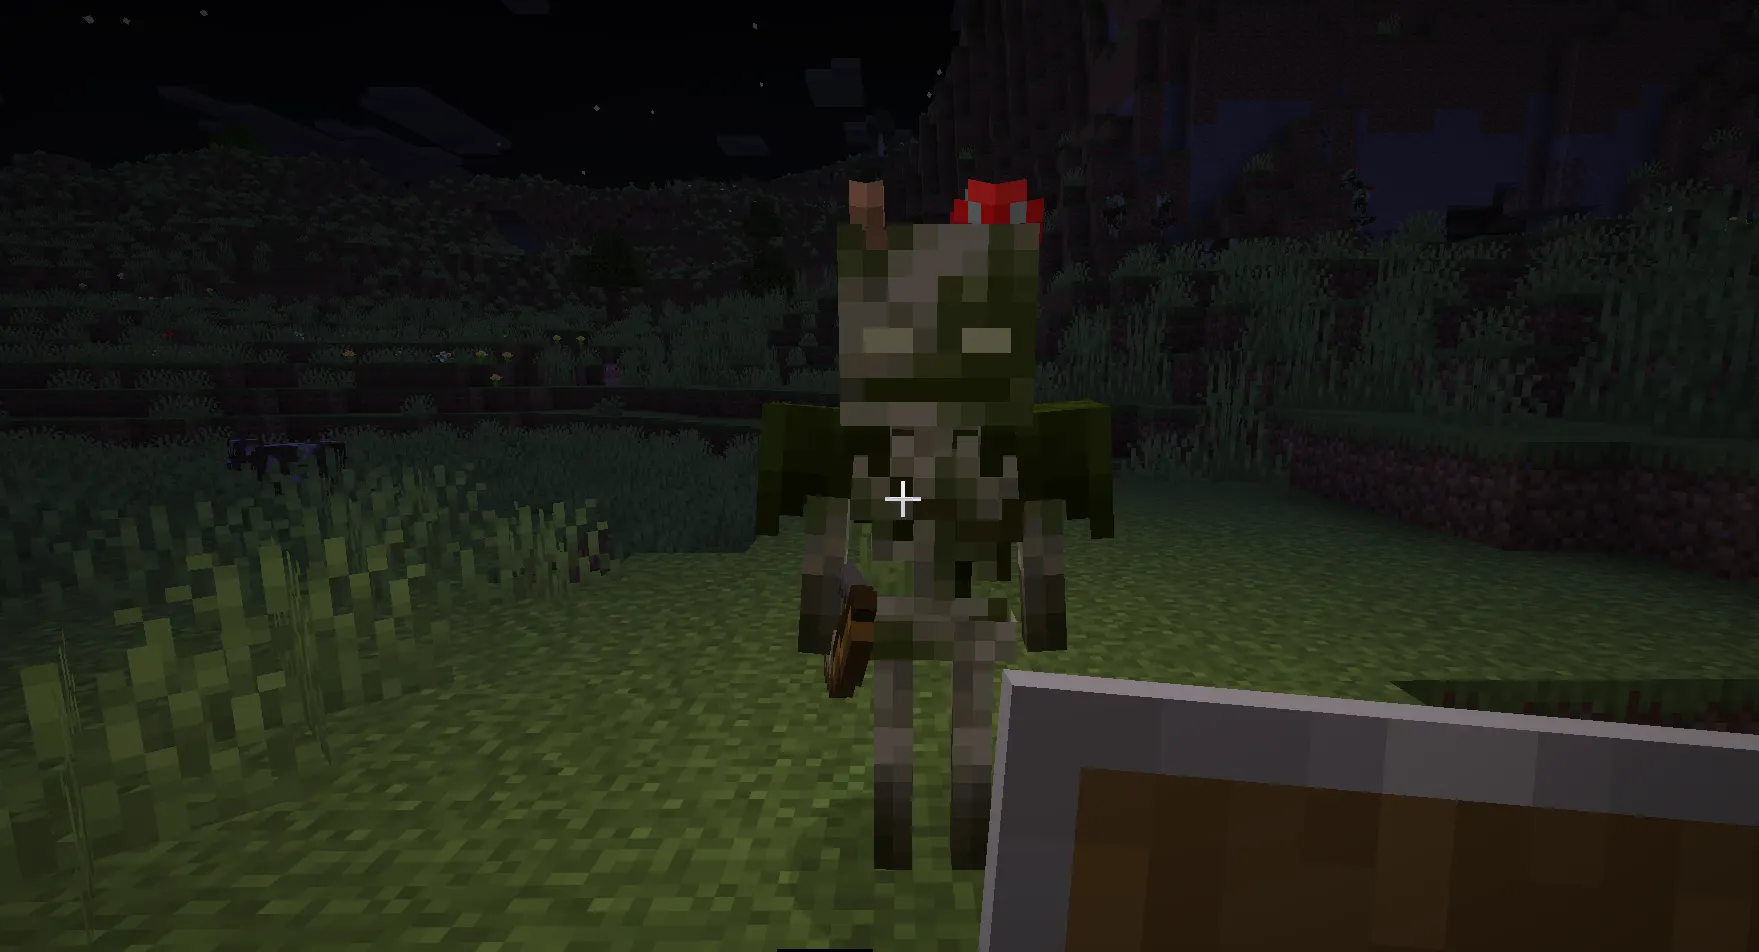
The Bogged behaves like a skeleton in almost every way that matters, with a handful of important exceptions.
Movement and targeting. It tries to keep distance from the player, backing away when you get close so it can keep shooting. It has the same pathfinding as other skeletons — it'll climb ladders, cross bridges, and navigate around obstacles to line up a shot.
Ranged attacks and reload speed. This is the big behavioral difference. A regular skeleton fires roughly every 2 seconds. The Bogged takes 3.5 seconds between shots on Easy and Normal, dropping to 2.5 seconds on Hard difficulty. That's a full 1.5 seconds slower than a standard skeleton on the easier difficulties. In practice, this gives you a real window to close distance or duck behind cover between shots, which is the single biggest thing to keep in mind when fighting one.
Poison effect. Getting hit applies Poison for 4 seconds, dealing roughly 3 HP of damage over that time on top of the arrow's direct hit. It's not devastating on its own, but it stacks with regular arrow damage and chips away at your health regen, which matters if you're already low or fighting more than one hostile mob at once.
Line of sight and cover. Like other skeletons, the Bogged needs a clear line of sight to shoot. Breaking line of sight — ducking behind a tree, a wall, or even a well-placed dirt block — stops the attack cold. Swamps are full of trees and tall grass, and using that terrain is one of the most reliable ways to survive an encounter.
Burning in sunlight. The Bogged is an undead mob and does burn in direct sunlight, same as a regular skeleton. This is one reason natural daytime encounters are rare on Java, though Bedrock's canopy-shade spawning rule can let them survive under tree cover during the day.
Powder snow interaction. Regular skeletons that stand in powder snow eventually convert into strays. Bogged don't get that conversion — they just take ongoing freezing damage instead. It's a minor detail, but it explains why you'll never run into a "converted" Bogged variant.
Behavior in water. Bogged can't swim and won't voluntarily enter deep water, though they don't take drowning damage if they end up submerged. This makes water a legitimate defensive tool if you're being chased near a swamp's many ponds.
Around other mobs. The Bogged doesn't coordinate with other hostiles in any special way, but because swamps also spawn regular skeletons, witches, and slimes, you'll often end up fighting a Bogged alongside something else. That combination is where most deaths actually happen — not from the Bogged alone.
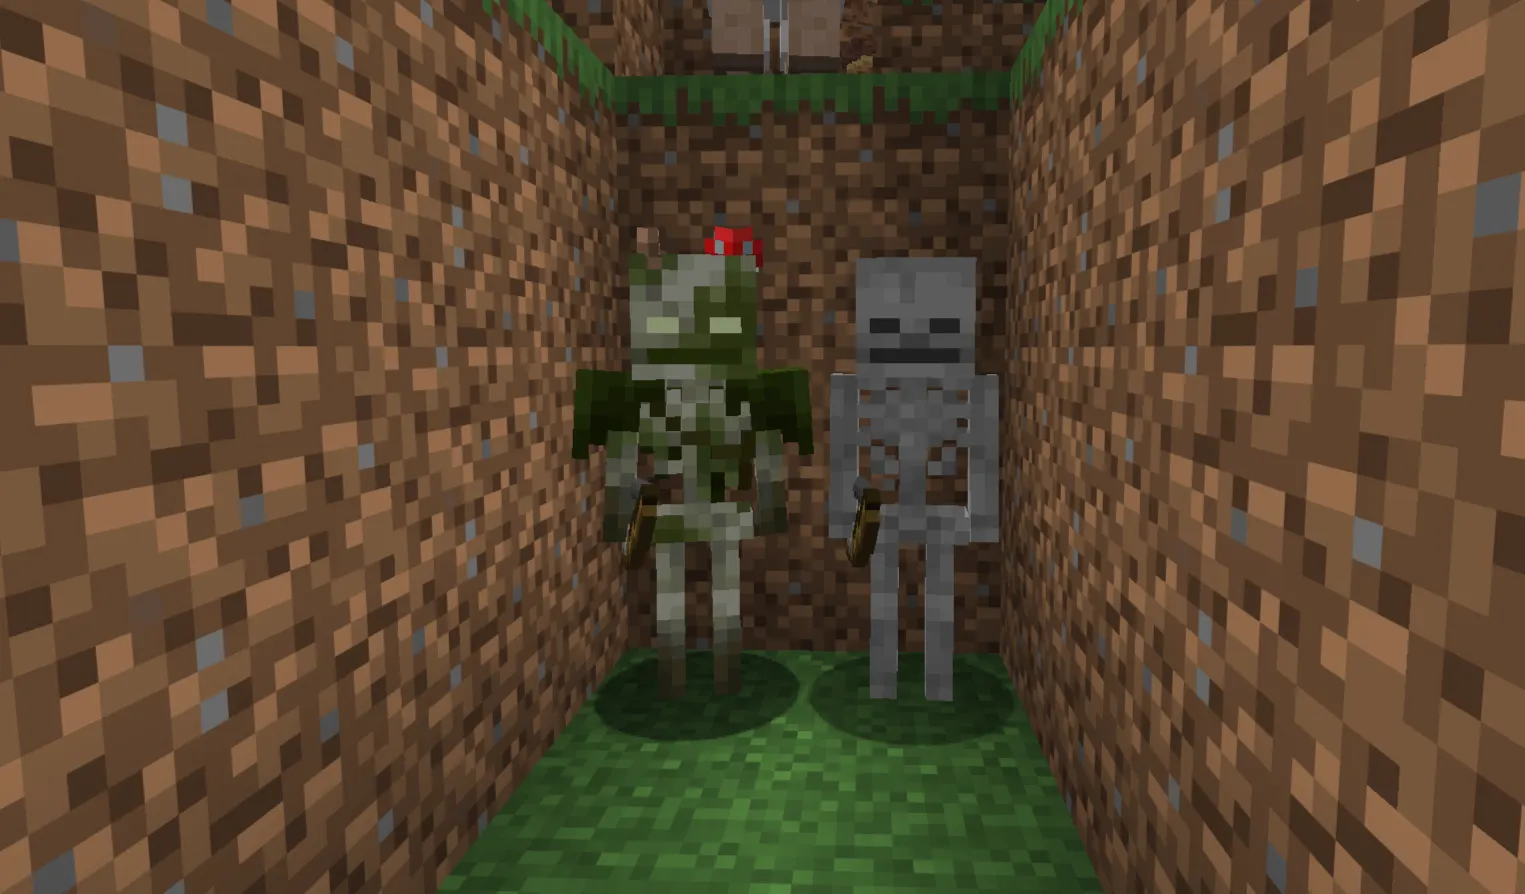
Bogged vs Skeleton
|
Category |
Bogged |
Skeleton |
|
Health |
16 HP |
20 HP |
|
Arrow type |
Poison-tipped |
Regular |
|
Reload speed |
3.5s (Easy/Normal), 2.5s (Hard) |
~2.0s |
|
Drops |
Bones, arrows, poison arrows, bows, mushrooms |
Bones, arrows, bows |
|
Spawn location |
Swamps, mangrove swamps, trial chambers |
Most dark biomes and caves |
|
Danger level |
Higher per-hit, slower fire rate |
Lower per-hit, faster fire rate |
|
Combat style |
Ranged, keeps distance |
Ranged, keeps distance |
|
Best strategy |
Close distance during reload gaps, block with shield |
Close distance, block with shield |
The core trade-off is simple: the Bogged hits harder per successful shot because of the poison, but gives you more time to react between shots. A regular skeleton is more of a constant drip of damage; a Bogged is fewer, nastier hits.
How Dangerous Is the Bogged?
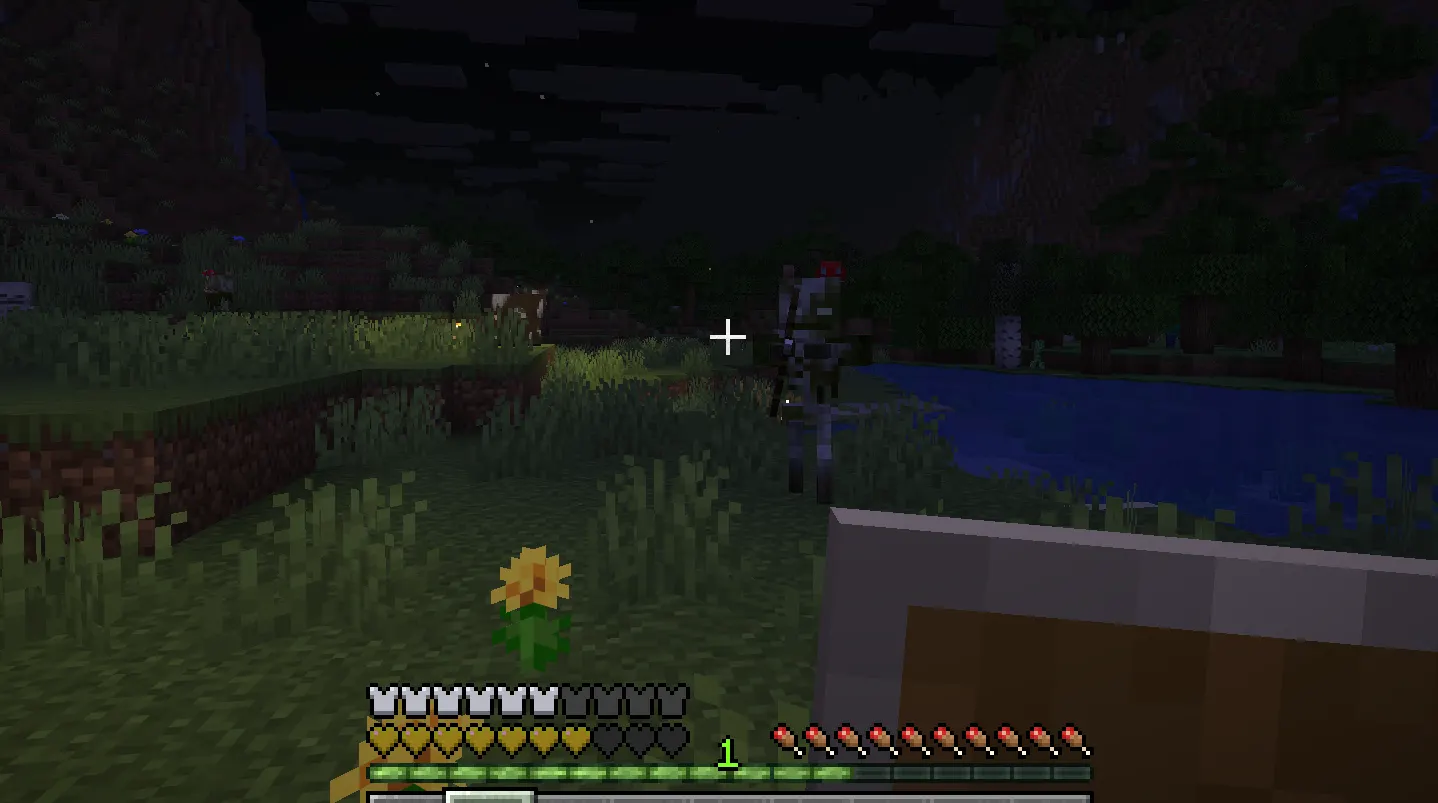
Early game. This is where the Bogged actually hurts. If you're exploring a swamp with no armor and no shield, a poison arrow on top of the base damage can eat a huge chunk of your health bar, and the poison tick keeps going even after you've broken contact. Early-game deaths to Bogged almost always come from getting hit two or three times while trying to close the gap without a shield.
Mid game. Once you have Iron armor and a shield, the Bogged drops from "genuinely scary" to "mildly annoying." The bigger risk at this stage is fighting one in a group — swamps love to throw multiple hostiles at you at once — or getting caught in a trial chamber vault room with no room to maneuver.
Late game. With diamond or netherite gear, a Bogged is barely a threat one-on-one. The poison tick is irrelevant when your health regen and armor toughness are that high. The only real late-game danger is volume: trial chamber runs can throw several Bogged at you back to back, and getting greedy with loot while ignoring your health bar is how experienced players still die to them.
Hardcore mode. Treat every Bogged encounter with full respect in Hardcore. The poison effect combined with a bad positioning mistake — say, getting cornered near a cliff edge or deep water — can turn a survivable fight into a permanent death. Always fight with an escape route in mind.
Multiplayer. Bogged aggro onto whichever player is closest or has done the most damage, so in a group, coordinate who's tanking hits and who's flanking. A shield-holder drawing arrows while a second player closes in from the side is a clean, low-risk way to clear them.
Poison makes the Bogged dangerous less because of raw damage and more because of the accumulation effect. It's a mob that punishes sloppy positioning far more than it punishes low gear.
How to Beat the Bogged
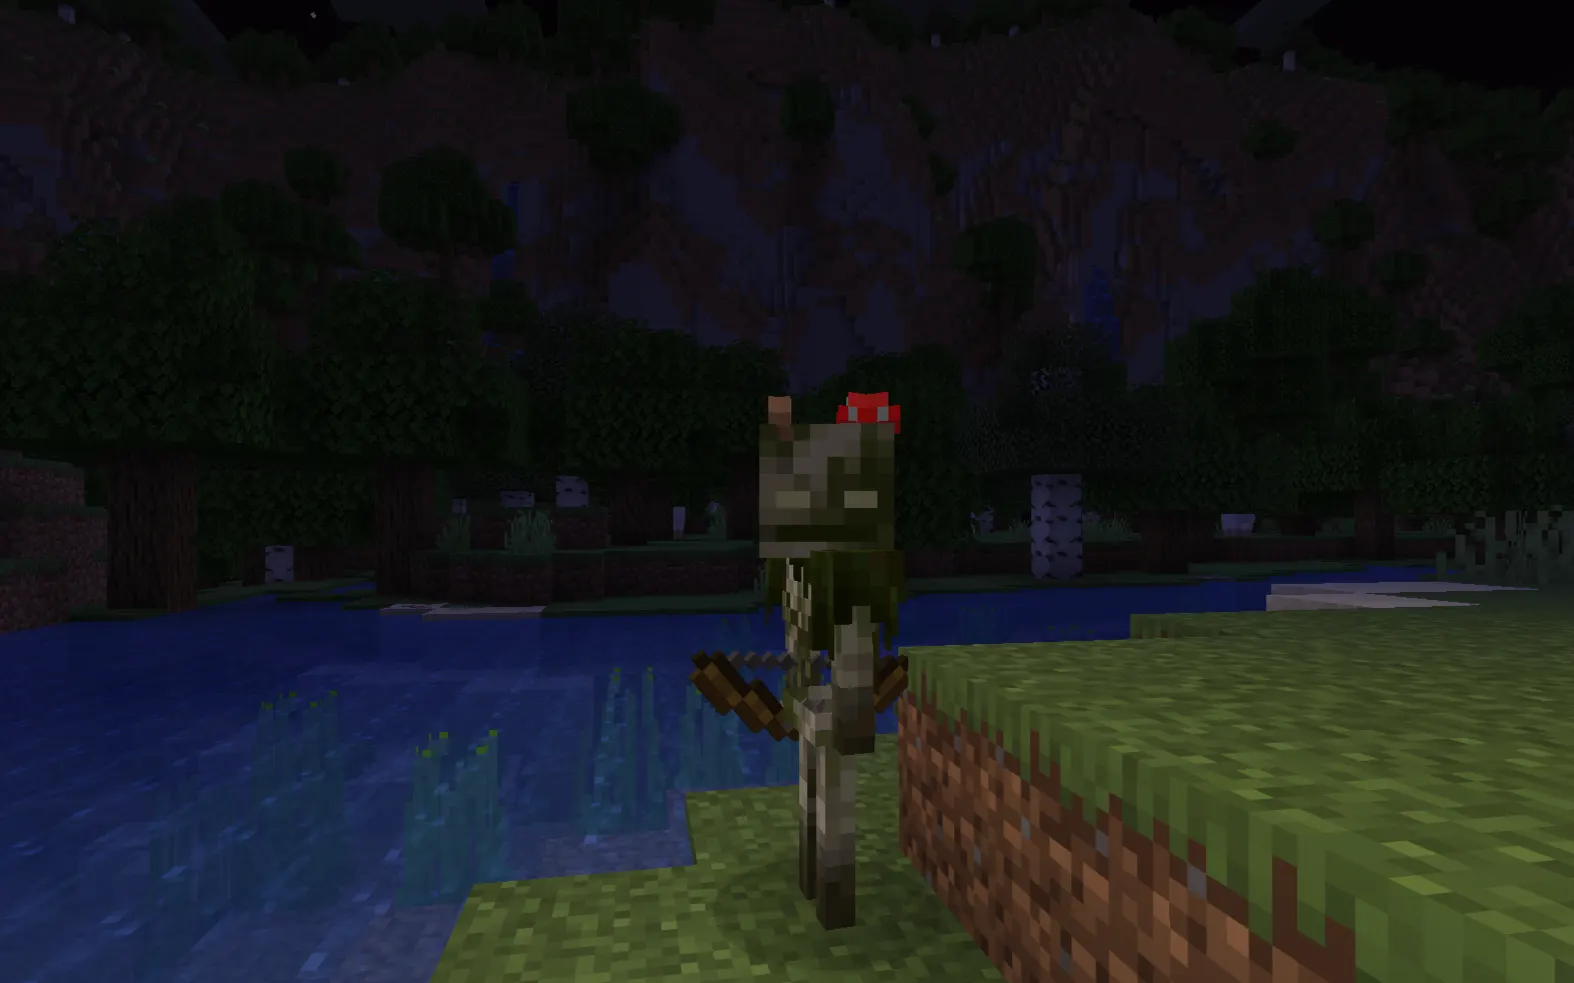
Here's the actual step-by-step approach that works consistently:
-
Spot it before it spots you. Bogged are slow to reload, so the ideal fight starts with you seeing it first and choosing the engagement, not the other way around.
-
Use cover to close distance. Move tree to tree, or duck behind terrain, timing your movement for the gaps between its shots.
-
Raise your shield the moment it's about to fire. You'll see the bow draw back. Block on the draw, not after the arrow's already in the air.
-
Close to melee range. Once you're inside about 3 blocks, most Bogged will keep trying to back away and shoot rather than switch to melee, which gives you free hits.
-
Land your combo. A sword or axe with Smite will drop it in two to three hits once you're in range, since it's an undead mob.
-
Watch your flanks. Swamps rarely have just one hostile mob nearby. Clear your peripheral vision before committing fully to the fight.
Weapon-specific notes:
-
A shield is the single most important item here. It blocks the arrow entirely, poison and all, and costs you nothing but a half-second of attention.
-
Swords are the fastest way to finish a Bogged once you're in melee range, especially with Smite for the undead damage bonus.
-
Bows and crossbows let you fight at range too, but you're now in a reload race against a mob that's actually slower than you if you're using a bow — lean into that advantage.
-
Tridents work fine in melee but don't offer anything the sword doesn't already do better against a single Bogged.
-
Wolves are genuinely useful here. A tamed wolf will chase down and melee a Bogged without caring about the poison arrows nearly as much as you should, and it counts as a valid kill for XP and drops if it lands the final hit.
Terrain and preparation:
-
Fight near natural cover (trees, mangrove roots) rather than open water, where you have nowhere to break line of sight.
-
Placing a single block to interrupt its sightline mid-fight is a legitimate, low-cost tactic if you're caught in the open.
-
Milk buckets cure the poison instantly if you get tagged and don't want to wait it out.
-
Regeneration or Fire Resistance potions aren't necessary for a single Bogged, but they help a lot if you're clearing a trial chamber room with several at once.
-
If a fight goes badly, retreating into deep water is a legitimate escape — Bogged won't follow you in.
Best Weapons Against the Bogged
Sword. The default best choice. Fast attack speed, good against a fleeing target once you've closed distance, and Smite makes short work of it. No real downside.
Axe. Hits harder per swing than a sword and still benefits from Smite, but the slower swing speed matters less here since you're usually only landing two or three hits total. Good if you're already running an axe as your main weapon.
Bow. Turns the fight into a pure reload race that you'll usually win, since your draw-and-release is faster than the Bogged's 3.5-second cooldown. The downside is you need a clean sightline the whole time, which swamps don't always give you.
Crossbow. Hits harder per shot than a bow but reloads slower, which somewhat cancels out the Bogged's own slow reload. Fine as a finisher from range, less ideal as your main approach.
Trident. Works, but doesn't add anything over a sword unless you're already committed to a trident build for other reasons, like fighting near or in water.
Mace. Effective if you can set up a fall-damage smash attack on approach, since the burst damage will often one- or two-shot a 16 HP target. Overkill for a lone Bogged, but efficient if you're clearing several at once and want fast kills.
What Does the Bogged Drop?
-
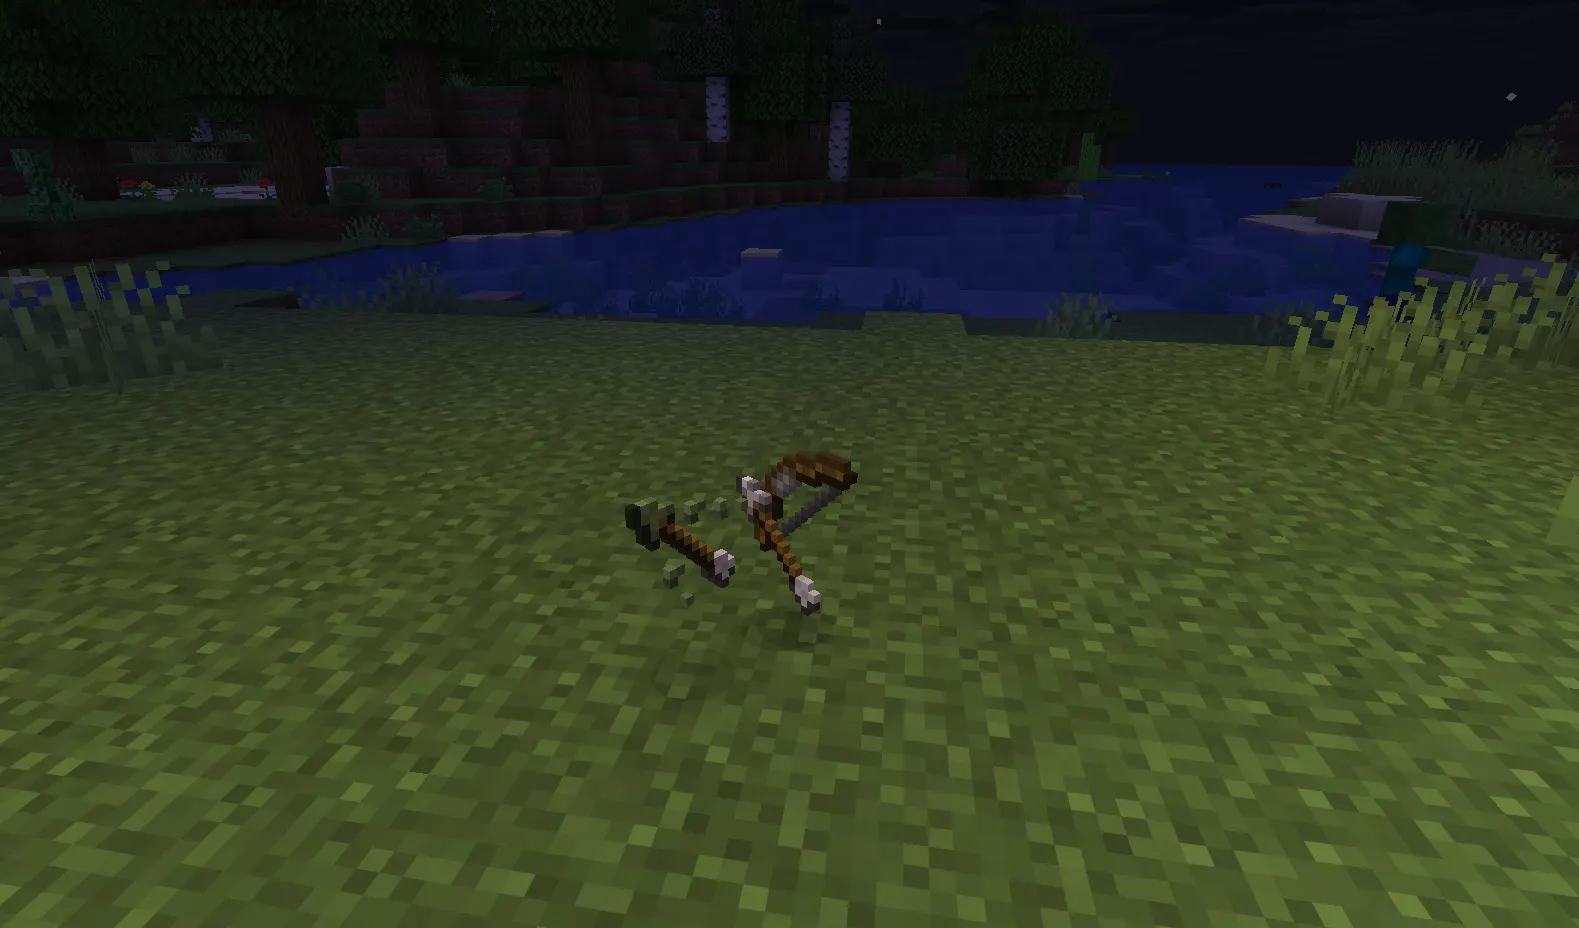
Bones: 0–2, increased by Looting
-
Arrows: 0–2, increased by Looting
-
Arrows of Poison: a chance to drop one on death, with the odds improving under Looting — this is actually one of the easiest renewable sources of poison arrows in the game
-
Bows: occasionally drops its bow, damaged, with a small chance of it being enchanted (higher with Looting)
-
Experience: 5 XP on a player or tamed-wolf kill, plus 1–3 more for each piece of natural equipment that doesn't drop
-
Mushrooms: if you shear a live Bogged instead of killing it, it drops 2 mushrooms (a random mix of red and brown) and can't be sheared again afterward
Looting matters more here than on a lot of mobs, since it boosts both your bone/arrow yield and your odds of getting that poison arrow drop, which is otherwise a slow item to farm any other way.
If you're after mushrooms specifically, shearing is strictly better than killing — you get guaranteed drops instead of gambling on a kill, and you don't lose the fight's worth of arrows and bones since the Bogged survives the shearing and you can still kill it afterward for its normal loot.
Can You Farm the Bogged?
Yes, though it's not as clean as farming something like Zombies or Skeletons in a spawner room, because Bogged only spawn in two specific contexts.
Swamp-based farms. You can build a traditional dark-room mob farm inside a swamp or mangrove swamp biome, and roughly 30% of the skeleton-type spawns will be Bogged. This gives you a mixed farm of skeletons and Bogged rather than a pure Bogged farm, but it still produces a steady trickle of poison arrows alongside normal skeleton drops.
Trial chamber farming. Since ranged trial spawners have a 1-in-3 chance of spawning Bogged, repeatedly triggering a ranged spawner (by leaving and re-entering its activation range, or resetting it with an ominous bottle) will net you a mix of skeletons and Bogged. This isn't a true automatic farm in the traditional sense, since trial spawners have activation and cooldown mechanics rather than continuous spawning, but it's a reliable way to stockpile poison arrows over repeated runs.
Limitations. There's no way to get a 100% pure Bogged spawner, since both spawn contexts share the pool with regular skeletons. If your goal is specifically poison arrows, a mixed swamp farm with a Looting-enchanted killing mechanism is your most consistent long-term option. For XP grinding, a Bogged farm isn't meaningfully better than any other skeleton-type farm, since the XP values are close.
Java vs Bedrock Differences
|
Feature |
Java Edition |
Bedrock Edition |
|
Spawn group size |
4 |
1–2 |
|
Spawn light level |
0 only |
0–7 |
|
Underground spawning |
Allowed |
Not allowed |
|
Daytime spawning |
Essentially none |
Possible under dense canopy |
|
Arrow damage (proximity-based) |
2–4 (Easy), 3–4 (Normal), 4–5 (Hard) |
1–4 (Easy/Normal), 1–5 (Hard) |
|
Spider jockey with Bogged rider |
Not present |
Possible (rare) |
|
Combat feel |
More predictable spawn windows |
More surprise encounters due to daylight spawning |
The daytime-spawning quirk on Bedrock is the one that catches people off guard the most. If you're building near a mangrove swamp on Bedrock, don't assume you're safe from Bogged just because the sun's up — check the actual light level under any dense canopy nearby.
Common Mistakes Players Make
-
Ignoring the poison and fighting through it. The tick damage adds up fast if you're already trading hits with something else. Break contact or drink milk if you're stacking poison on top of other damage.
-
Not carrying milk buckets. A single milk bucket cures poison instantly and takes up one inventory slot. There's no good reason to skip it when exploring swamps.
-
Poor positioning near water or cliffs. Getting knocked back or forced to retreat near a hazard turns a manageable fight into a real risk.
-
Fighting multiple Bogged at once without cover. Swamps can spawn several hostile mobs close together. Pulling one at a time using terrain is much safer than standing in the open.
-
Skipping the shield. This is the single biggest self-inflicted mistake. A shield turns the Bogged's entire ranged advantage into nothing.
-
Underestimating the reload window. Some players stay defensive the whole fight instead of using the 3.5-second gap to close distance. That gap exists specifically so you can advance.
Pro GAMQO Tips
-
Time your shield block to the bow's draw animation, not the arrow's flight — you'll block more consistently.
-
Keep a stack of milk buckets in your hotbar specifically for swamp exploration.
-
Use mangrove roots and trees as moving cover rather than standing still behind one block.
-
A tamed wolf pack will tank Bogged fights for you almost entirely if you're farming a swamp village.
-
Smite outperforms Sharpness here since the Bogged is undead — enchant a dedicated sword if you fight a lot of them.
-
In trial chambers, listen for the arrow-nock sound before entering a new room — it tells you a ranged mob, possibly a Bogged, is already active.
-
Shear Bogged you don't need to kill immediately if you want guaranteed mushrooms without spending combat resources.
-
Fighting in shallow water slows your own movement too, so don't retreat into it expecting an easy escape — deep water is what actually stops a Bogged from following.
-
If you're building a swamp base, place Torches liberally; Bogged still need darkness to spawn on Java.
-
On Bedrock, check light levels under dense mangrove canopy before assuming daytime safety.
-
Arrows of Poison you collect from Bogged can be reused against other players or mobs, making them worth actively collecting.
-
A Looting III weapon roughly triples your odds of a poison arrow drop compared to no enchantment, so it's worth the enchanting investment if you're farming them.
-
Don't melee a Bogged while standing in open water — you can't dodge effectively and it can still land shots.
-
Fire Resistance potions make a room full of Bogged and other undead trivial if you're clearing a swamp structure quickly.
-
Bring a stack of dirt or cobblestone when fighting in open swamp — a single placed block can break line of sight instantly.
-
If a Bogged is chasing you and you're low on health, cutting toward deep water is often your fastest safe exit.
-
Remember that killed-by-wolf Bogged still drop full loot, so let your wolves do the dangerous part.
-
In multiplayer, call out which player is tanking arrows so the rest of the group can flank freely.
Final Thoughts
The Bogged isn't the hardest mob in Minecraft, but it's a great example of a fight that rewards good habits over good gear. A shield, a bit of terrain awareness, and knowing that 3.5-second reload window is really all you need to make these fights trivial, even in a swamp full of other hostiles. Carry milk, keep your wolves close if you're farming a swamp for loot, and don't underestimate how much a single poison tick can matter when you're already fighting something else. Once you've fought a handful of them, they stop being scary and start being a reliable source of free poison arrows and mushrooms.