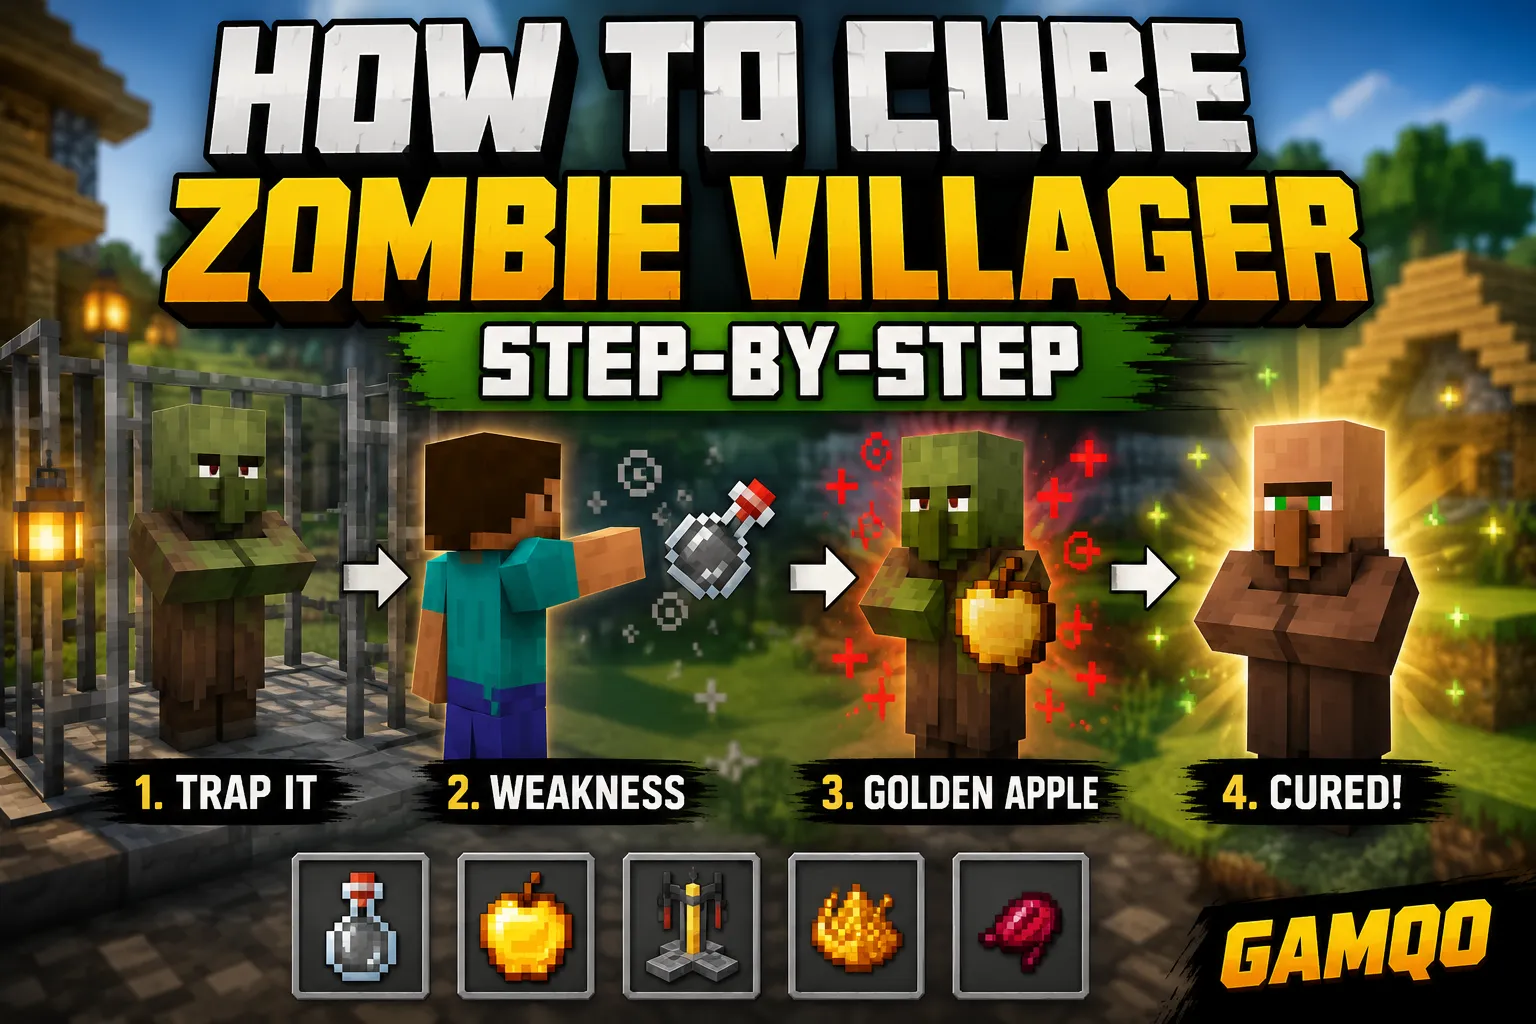
How to Cure a Zombie Villager Step-by-Step (2026 Guide)
You found a Zombie villager. Maybe it wandered into your base at night, maybe you spotted one groaning in an igloo basement, or maybe you're the reason it exists because a zombie got past your walls during a raid. Either way, you're looking at a green, torn-up villager and wondering if it's worth saving.
It is. A cured zombie villager isn't just a normal villager with a new coat of paint; it's the cheapest path to enchanted books, diamond gear, and emeralds you'll find without hitting a dungeon. But the process trips people up constantly. The potion doesn't land, the golden apple gets wasted, sunlight kills the thing mid-cure, or the discount everyone talks about just doesn't show up.
This guide walks through the entire process from start to finish, using current mechanics for both Java and Bedrock. No outdated 2020 tricks, no "cure it five times for infinite discounts" advice that stopped working years ago.
Quick Answer:
To cure a zombie villager, hit it with a Splash Potion of Weakness, then immediately feed it an unenchanted golden apple. It'll shake and glow red for 3–5 minutes on Java (about 100 seconds on Bedrock) before turning back into a regular villager with a permanent trade discount just for you. </div>
What Is a Zombie Villager?
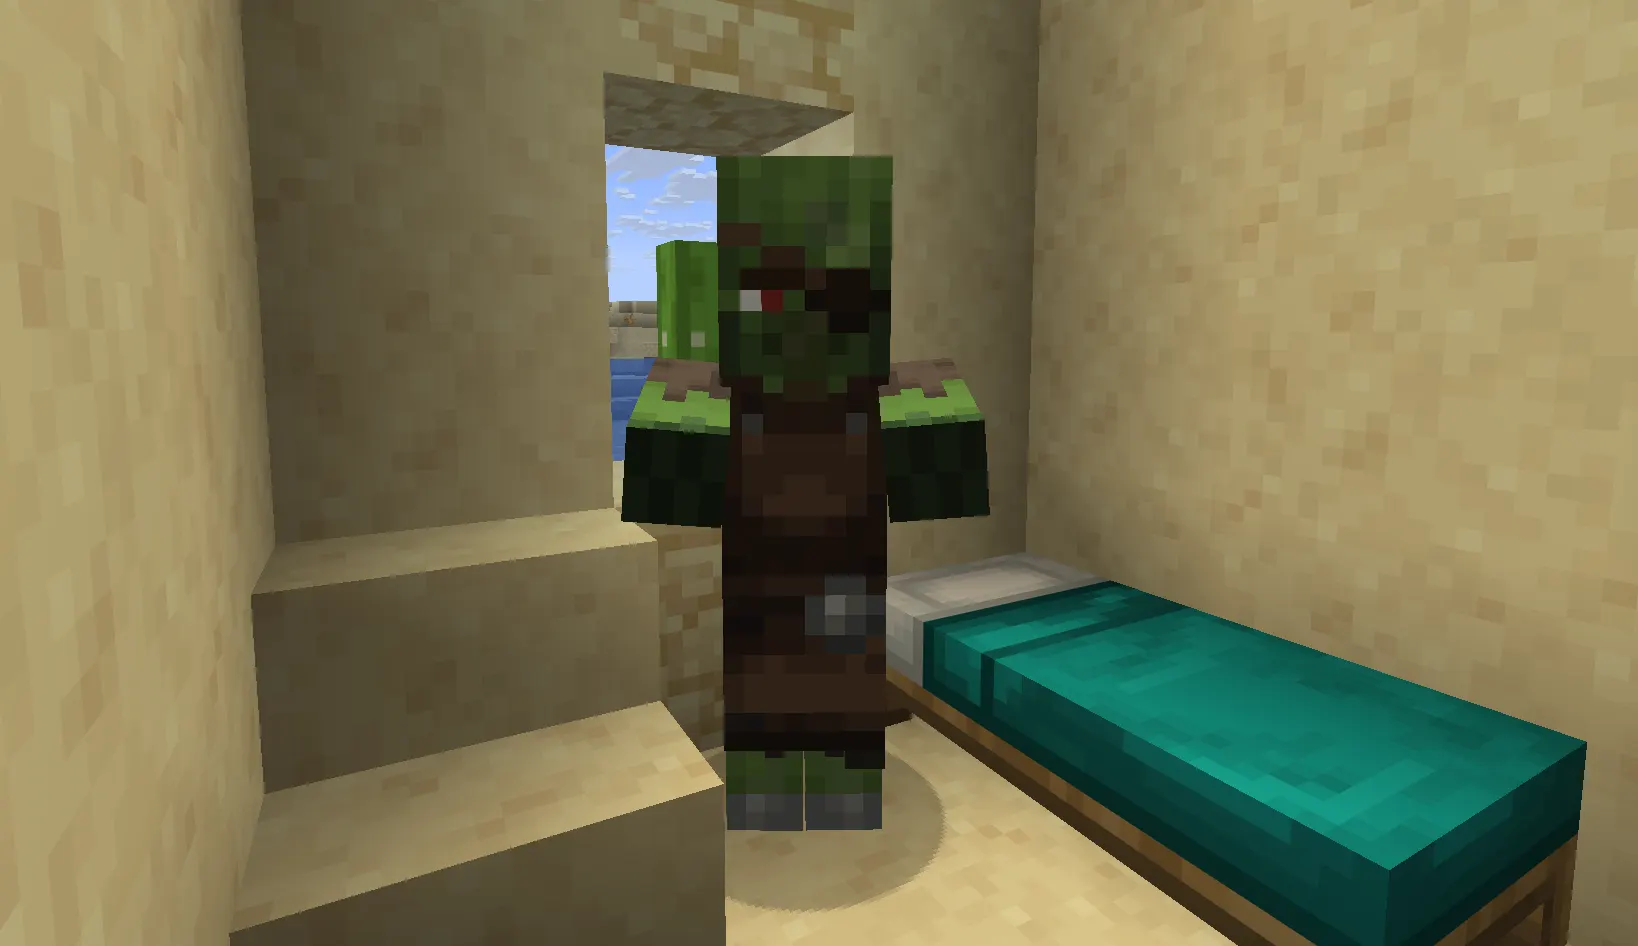
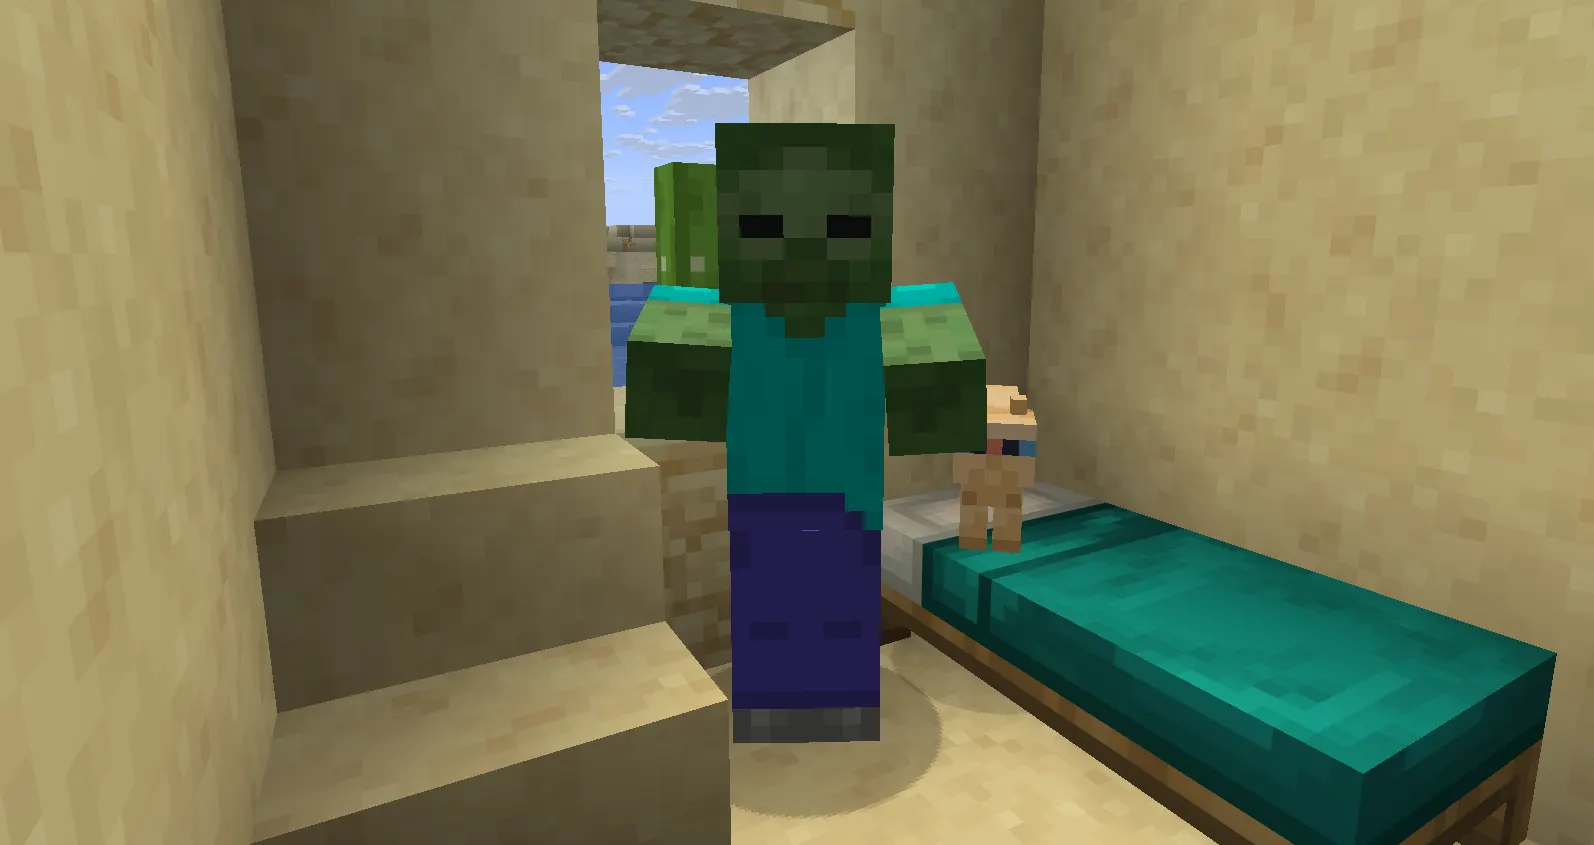
A zombie villager is exactly what it looks like: a villager that got infected instead of killed. It happens in two ways. Either one spawns naturally in place of a regular zombie (a small chance on any difficulty), or an existing villager gets hit by a zombie and survives the initial attack instead of dying outright.
On Normal difficulty, an infected villager has roughly a 50% chance of turning into a zombie villager instead of just dying. On Hard difficulty, that chance jumps to 100% — every villager a zombie manages to hit will convert instead of dying, assuming the zombie doesn't finish it off with a killing blow first. That's actually useful information if you're trying to farm zombie villagers on purpose: playing on Hard makes the whole process far more reliable.
Visually, a zombie villager keeps some trace of what it used to be. On Java Edition, one that was already a librarian or farmer before infection keeps its profession's clothing, just tattered and grimy. On Bedrock, all zombie villagers look identical regardless of their old job — you won't know their profession until after they're cured.
They act like ordinary zombies in every other way. They burn in sunlight, they attack you on sight, and they hate cats, iron golems, and daylight just as much as any other zombie. The only reason to treat one differently is that a golden apple and a potion can turn it back into something worth having.
Why Cure Zombie Villagers?
Curing isn't just a nice thing to do for a pixelated NPC. It's one of the strongest early- and mid-game economic moves in the entire survival experience.
Here's what you actually get out of it:
-
A personal trade discount. The moment you cure a zombie villager, that specific villager starts offering you noticeably lower prices — and only you. Anyone else who trades with them pays the normal rate.
-
A profession lock-in opportunity. Cured villagers are unemployed until you give them a job site block, which means you get to decide what they become. Want a librarian instead of a random farmer? Place a lectern near them the moment they wake up.
-
Village reputation. Successfully curing a villager boosts your standing with the surrounding village, which reduces how likely Iron golems are to turn hostile toward you and slightly improves prices across the board.
-
A shortcut to rare enchanted books. Combine a cheap librarian discount with enough emerald trading, and you can fish for Mending, Silk Touch, or Fortune III books far faster than grinding an enchanting table.
-
Foundation for a trading hall. Once you understand the cure loop, it becomes trivial to build a small setup that processes multiple zombie villagers, giving you a roster of discounted specialists.
None of this requires killing the Ender Dragon or clearing a stronghold. You need a brewing stand, some gold, and patience.
Items Needed to Cure a Zombie Villager
Two items make up the actual cure. A few more make the process safer and faster.
|
Item |
Purpose |
How to Obtain |
|
Splash Potion of Weakness |
Applies the Weakness effect required before healing |
Brew at a brewing stand (see next section) |
|
Golden Apple (unenchanted) |
Completes the cure once Weakness is active |
Craft with 8 gold ingots + 1 apple |
|
Brewing Stand |
Needed to brew the potion |
Craft with 3 cobblestone + 1 blaze rod |
|
Blaze Powder |
Fuels the brewing stand |
Craft from a blaze rod |
|
Fermented Spider Eye |
Turns a regular potion into Weakness |
Craft with a Spider eye, sugar, and a brown mushroom |
|
Gunpowder |
Converts the potion into a splash form |
Drops from creepers, ghosts, and witches |
A couple of alternatives are worth knowing. If you'd rather not brew at all, an Arrow of Weakness does the same job when shot at the target — useful if you're nervous about splashing yourself by accident. Witches also have a 25% chance of throwing a Splash Potion of Weakness at you if you stand within 3 blocks of one and aren't already affected; you can then redirect that weakness onto a nearby zombie villager instead of wasting it on yourself, though this is more of a last-resort trick than a real strategy.
How to Make a Splash Potion of Weakness
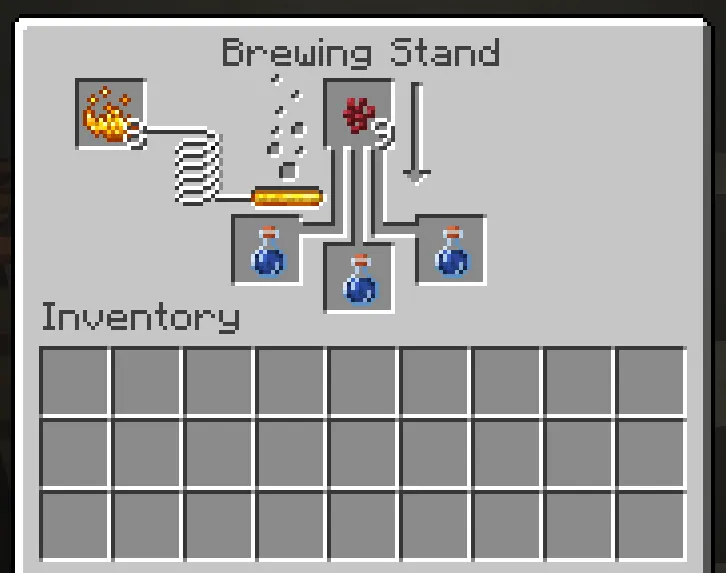
Brewing Weakness is one of the few potions in the game that doesn't need Nether Wart, so it's actually one of the cheaper potions to mass-produce.
-
Place a water bottle in the brewing stand. You can brew up to three at once if you fill all three slots.
-
Add a Fermented Spider Eye. Drop it into the top slot. This turns your plain water bottles into Potions of Weakness directly — no base potion step required first.
-
Add Blaze Powder as fuel. This powers the brewing stand, letting it process ingredients. One piece of blaze powder lasts for 20 brewing operations.
-
Wait for the brew to finish. You'll see the potions bubble as they process.
-
Add Gunpowder. Drop it in the top slot again once your Potions of Weakness are ready. This converts them into Splash Potions of Weakness, which you can throw.
The most common mistake here is grabbing a regular Spider Eye instead of a Fermented one. A plain Spider Eye brewed with water makes Poison, not Weakness — and Poison won't do anything for curing a zombie villager; it'll just look mean while you figure out what went wrong. Fermented Spider Eyes are crafted separately: combine a Spider Eye, Sugar, and a Brown Mushroom at a Crafting table.
If you want to cure several zombie villagers in one trip, brew a Lingering Potion of Weakness instead by adding Dragon's Breath to a Splash Potion. The lingering cloud affects anything that walks through it, which is handy for a trading hall setup with multiple candidates lined up.
How to Craft a Golden Apple
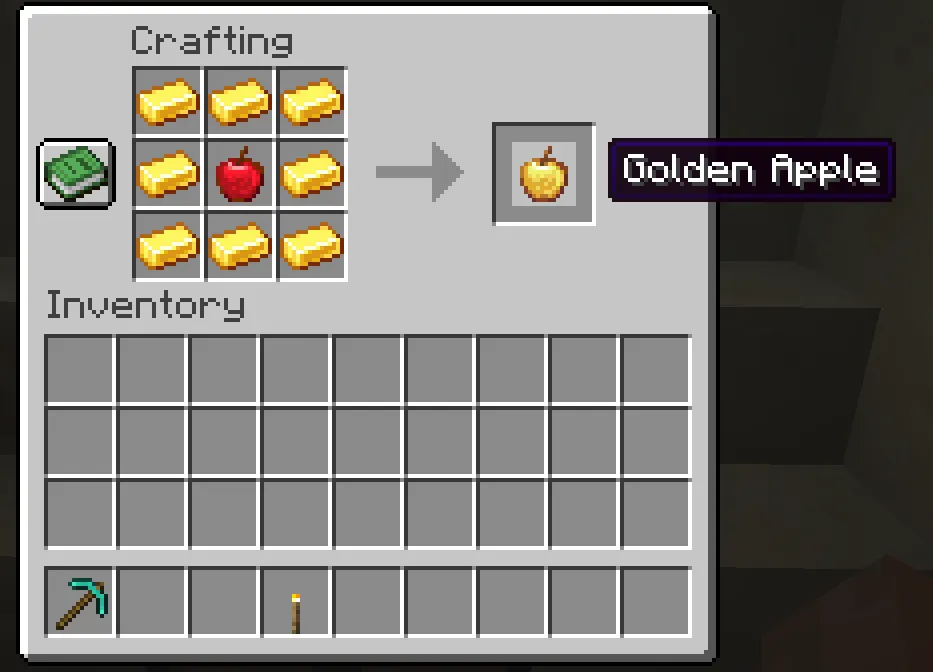
The regular golden apple, not the enchanted one, is what cures a zombie villager. Enchanted golden apples don't work for this and are far too valuable to waste on it anyway.
Recipe: Surround one apple with 8 gold ingots on a crafting table.
That means you need a full stack of gold — smelt raw gold ore in a Furnace if you're mining it yourself, or trade with a Wandering Trader who occasionally sells gold ingots. Apples can be found in village chests, dungeon loot, or by breaking oak and dark oak leaves (a slim chance, so don't count on it).
A useful habit: craft two or three golden apples ahead of time and keep them in the same hotbar slot you use for splash potions. Nothing is more frustrating than weakening a zombie villager successfully, then digging through your inventory for thirty seconds while the Weakness effect ticks down and expires.
How to Cure a Zombie Villager (Step-by-Step)
Here's the full process, start to finish.
-
Trap the zombie villager safely. Use blocks, fence gates, a boat, or a minecart to pin it in place without killing it. If it's outdoors, build a temporary roof or wall to block sunlight — zombie villagers burn just like regular zombies once the sun comes up.
-
Clear the area of hostile mobs and threats. Iron golems, wolves, and other players' arrows can all kill your zombie villager before you finish the job. Move golems away and keep wolves sitting.
-
Remove anything that could accidentally hurt it. Take off Thorns-enchanted Armor if you're wearing any, since that damage can reflect onto nearby mobs. Put away instant healing splash potions too — healing potions damage undead mobs instead of helping them, so a well-meaning throw can kill the zombie villager outright.
-
Throw the Splash Potion of Weakness at it. Right-click (or the equivalent action button on console) while aiming at the zombie villager. You'll see gray swirling particles appear around it if the potion landed correctly.
-
Immediately feed it the golden apple. While the Weakness effect is still active, right-click the zombie villager with the golden apple selected. Timing matters here — Weakness only lasts 90 seconds from a splash potion, so don't wander off looking for the apple after throwing the potion.
-
Watch for the curing animation. A successful feed triggers red particles and a visible shaking animation. This is your confirmation that curing has started.
-
Protect it and wait. Keep the area safe from mobs and sunlight for the next several minutes. Don't attack it, don't let raiders near it, and don't let it wander into open sky.
-
Confirm the cure. Once the timer finishes, the zombie villager transforms into a regular villager with a small cloud of particles. It'll be unemployed at first — place a job site block nearby if you want to control its profession.
How Long Does Curing Take?
This is one of the biggest differences between platforms, so pay attention if you play both.
-
Java Edition: Curing takes a random amount of time between 3 and 5 minutes (3,600 to 6,000 ticks). It's random every single time, so don't panic if one villager cures noticeably faster than the last one.
-
Bedrock Edition: Curing takes a fixed 100 seconds (2,000 ticks), which is considerably shorter and doesn't have the same random range.
On both platforms, you can speed things up. Placing iron bars around the zombie villager and putting a bed within a couple of blocks reduces the curing time. This isn't a huge reduction — don't expect it to finish in seconds — but it does noticeably shorten the wait, and there's no reason not to set this up if you're building a permanent curing station anyway.
Java vs. Bedrock Differences
|
Feature |
Java Edition |
Bedrock Edition |
|
Base curing time |
3–5 minutes (random) |
100 seconds (fixed) |
|
Zombie villager appearance |
Keeps original profession's clothing |
All look the same (unemployed style) until cured |
|
Profession after cure |
Not retained; becomes unemployed |
Retained if it had one before infection |
|
Creeper explosion weakness |
Can apply Weakness via area cloud |
Not available this way |
|
Weakness arrows from fletchers |
Available with Hero of the Village |
Not the same trade mechanic |
|
Trade discount stacking |
Fixed since version 1.20.2 |
Fixed since the equivalent Bedrock update |
The profession difference is worth calling out specifically because it trips a lot of players up. On Java, whatever job the villager had before it got infected doesn't carry over — you're starting fresh and get to pick the new profession yourself by placing a job site block. On Bedrock, the original profession sticks around after curing, though it isn't locked, so the villager can still switch jobs later if a different workstation is nearby.
Best Villagers to Cure First
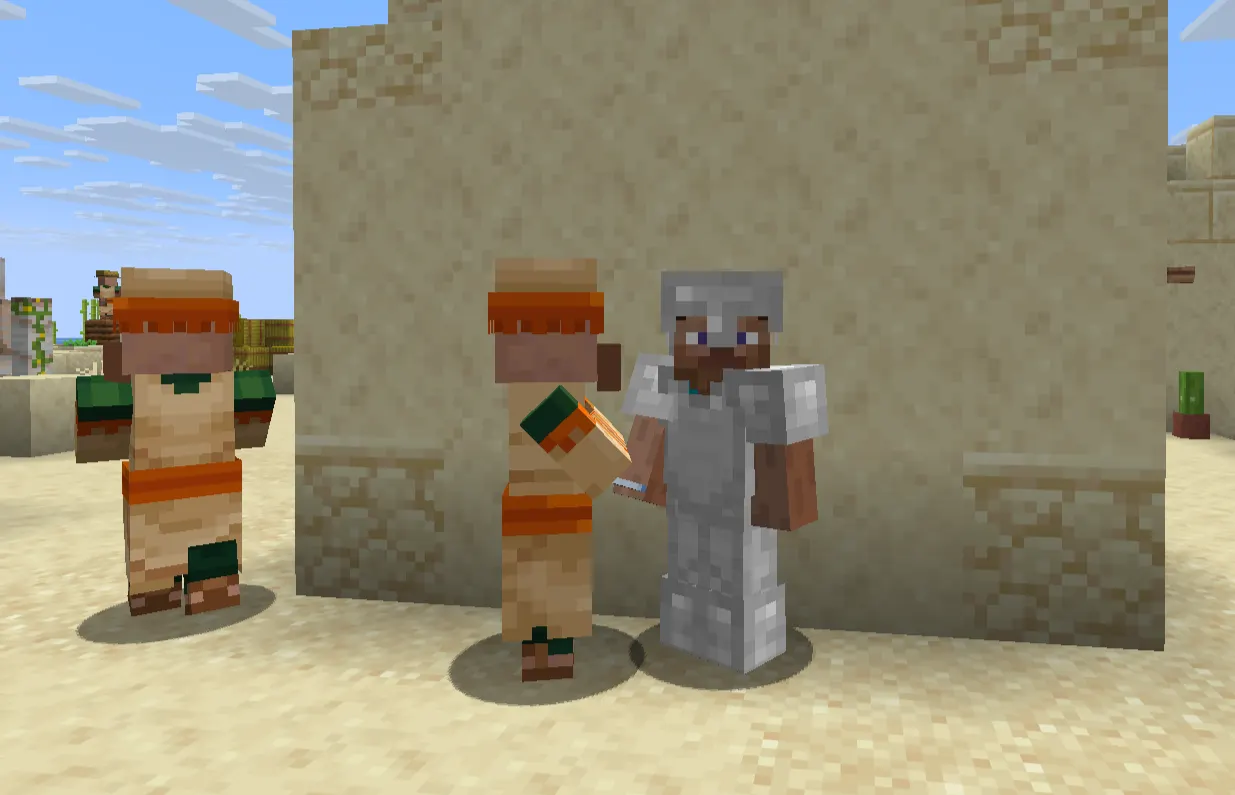
Not every profession is worth the same effort. If you're choosing which zombie villager to prioritize, here's a rough ranking based on trade value.
-
Librarian. The single best profession to cure. Discounted access to Mending, Efficiency, Unbreaking, and other high-value enchanted books makes this the top priority every time.
-
Cleric. Sells Redstone, Lapis, Ender Pearls, and bottles o' enchanting for emeralds, which is a great way to convert farmed materials into experience and rare items.
-
Toolsmith. Diamond tools and axes at a discount save you a mining trip or two, especially early on.
-
Armorer. Discounted diamond chest plates and shields are hard to say no to if you're gearing up for the Nether or the End.
-
Fletcher. Cheap arrows, bows, and crossbows, plus a chance at Weakness arrows if you've earned Hero of the Village status.
-
Farmer. Not exciting, but reliable. Cheap bread and stew trades are handy if you need emergency food or emerald income from surplus crops.
If you only have time to cure one villager before nightfall, make it a librarian.
Zombie Villager Trading Discounts Explained
This is where a lot of outdated guides get people into trouble, so let's be precise about how it actually works right now.
How it used to work: In older versions, curing a villager, letting it get reinfected, and curing it again would stack the trade discount every single time. Enough cycles could push item prices all the way down to 1 emerald regardless of what you were buying.
How it works now: Since the 1.20.2 update, that stacking loop was patched as an unintended bug. You get a strong, meaningful discount the first time a villager is cured, and re-curing the same villager afterward doesn't lower prices any further. The first cure is what matters — it's the whole reward, not the starting point of a longer grind.
That discount is also personal to you specifically. Java Edition ties it to your player profile, meaning a friend on the same server will still see the villager's normal, full-price trades even though you're getting a bargain. This is worth knowing before you build a shared trading hall expecting everyone to benefit equally.
Reputation matters here too. Successfully curing a villager gives you a reputation boost with the local village on top of the discount, which is separate from the trade price itself but stacks nicely with it — better reputation generally means iron golems leave you alone and prices trend a little friendlier across the board.
Key takeaway: Cure once, get your discount, move on. Trying to milk more value out of repeat cures on the same villager just wastes potions and golden apples at this point.
Common Problems and Fixes
|
Problem |
Likely Cause |
Fix |
|
Zombie villager won't cure |
Weakness effect expired before golden apple was used |
Re-throw the potion and feed the apple within 90 seconds this time |
|
Potion doesn't seem to work |
Missed the throw, or used a regular potion instead of splash |
Aim carefully; confirm you're holding a Splash Potion of Weakness, not a lingering or normal one |
|
Golden apple won't apply |
Used an enchanted golden apple, or Weakness wasn't active yet |
Craft a regular golden apple and apply Weakness first |
|
Zombie despawned before curing |
Wasn't tagged or contained, and wandered too far |
Name tag it, or keep it fully enclosed until you're ready |
|
Burned in sunlight mid-process |
No roof or shade over the curing area |
Build a solid ceiling or move the setup indoors |
|
Killed by other mobs |
Iron golems, wolves, or other zombies got to it |
Clear the area and use fences or glass to isolate the villager |
|
Villager disappeared entirely after curing |
Wandered off before you could contain it |
Fence in the area before starting the cure, not after |
|
No discount showing up after curing |
Trading with a villager someone else cured, or checking on a different account |
Confirm you personally performed the cure; the discount doesn't transfer to other players |
|
Used the wrong potion |
Brewed with a regular Spider Eye instead of a Fermented one |
Craft a Fermented Spider Eye and rebrew |
|
Grabbed the wrong apple type |
Confused a regular golden apple with an enchanted one in the hotbar |
Label your inventory or double-check the item tooltip before using it |
Pro Tips
-
Keep your golden apple in the same hotbar slot as your splash potion so you never fumble the timing.
-
Play on Hard difficulty if you're farming zombie villagers on purpose — the infection rate is guaranteed instead of a coin flip.
-
Build a small enclosed curing chamber near your Base so you're never scrambling to trap a wandering zombie villager outdoors.
-
Use iron bars and a bed near the curing spot to shave time off the wait.
-
Always double-check for a "fermented" tag on your spider eye before brewing — it's an easy item to grab by mistake.
-
Bring a shield if you plan to fight past other mobs to reach a trapped zombie villager; better half-durability protection than none.
-
Remove Thorns-enchanted gear before interacting with the zombie villager during combat setup, since reflected damage can kill it.
-
Name tag any zombie villager you find in an igloo basement or a zombie village before transporting it — this prevents despawning during the trip.
-
Use boats or minecarts to move a zombie villager across long distances without letting it attack you.
-
Prioritize librarians and clerics if you can only cure a couple of villagers early on.
-
Don't cure a villager mid-raid — the discount is meaningless if a pillager kills them thirty seconds later.
-
Stock multiple golden apples ahead of a big curing session so a shortage doesn't stall your progress.
-
If you're not confident in your aim, use a Lingering Potion of Weakness instead of a splash — the cloud gives you more room for error.
-
Set up a permanent lectern, blast furnace, and other job site blocks near your curing chamber so you can lock in professions the instant a cure finishes.
-
Remember that a witch's splash potion can be redirected onto a nearby zombie villager if you happen to be standing close to both.
-
If you're playing on a server, tell your teammates the discount won't apply to them — save the confusion before it happens.
-
Track which villagers you've already cured with name tags so you don't waste resources trying to "improve" a discount that's already maxed out.
Mistakes Beginners Make
Forgetting the golden apple has to be unenchanted. The enchanted version doesn't work for curing and is worth saving for combat instead.
Throwing the potion, then walking away to craft the apple. By the time you're back, the Weakness effect has worn off, and you've wasted the potion. Prepare both items before you start.
Curing a villager without a roof over the area. A sunny morning can undo minutes of progress in seconds if the villager catches fire mid-cure.
Expecting the discount to stack with repeat cures. This hasn't worked since 1.20.2. One good cure is the entire reward — plan your effort around that instead of chasing a loop that no longer exists.
Skipping the reputation angle. Some players cure a villager purely for the discount and ignore the fact that it also improves standing with the whole village, which has knock-on benefits for other trades nearby.
Bringing combat gear that accidentally hurts the target. Thorns armor and instant healing potions are common culprits. Check your loadout before engaging.
Final Thoughts
Curing a zombie villager rewards patience more than skill. Once you've brewed one batch of Weakness potions and crafted a few golden apples, the process becomes routine — trap it, weaken it, feed it, wait it out. The permanent discount you get from that first cure is worth the setup, especially if you land a librarian and start fishing for Mending books at a fraction of the usual cost.
Skip the old advice about cycling a villager through infection five times for a bigger discount. That loop closed years ago, and chasing it now burns through potions and gold for nothing. Cure once, cure well, and put your saved emeralds toward the next thing on your list.