
Breeze Mob in Minecraft 1.26: Complete Combat & Drops Guide
The first time a Breeze locks onto you in a Trial Chamber, it doesn't feel like fighting a normal mob. It feels like getting shoved around by an invisible hand while something that looks like a floating tornado watches from across the room. No melee range, no predictable pattern, and if you panic and get knocked into a pit, that's on you, not the Breeze.
This guide covers what the Breeze actually does, how its wind charges work, what gear makes the fight manageable, and what it drops when you finally corner it. Everything below reflects the current behavior in both Java and Bedrock, including a change to how close the Breeze will let you get before it stops attacking. A detail a lot of older guides still get wrong.
What Is the Breeze?
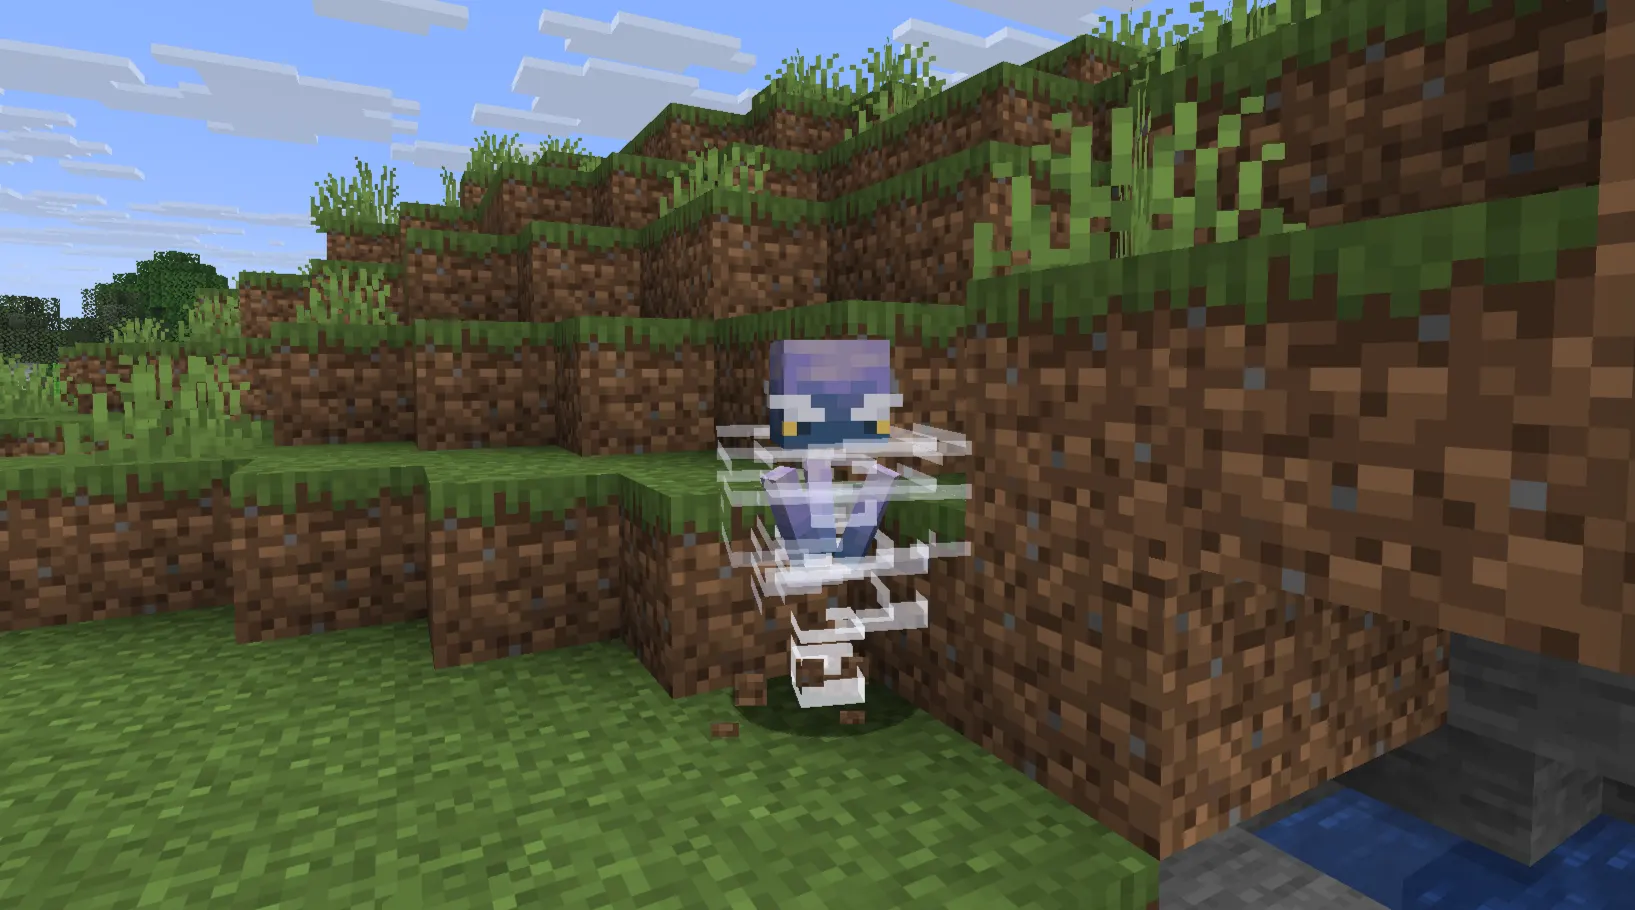
Short answer: The Breeze is a hostile flying mob added in the Tricky Trials update (Minecraft 1.26). It only spawns inside Trial Chambers, attacks exclusively at range with wind charges, and drops breeze rods, the only source of that item in the game.
Mojang built the Breeze specifically to solve a problem the game didn't really have a good answer for: a ranged enemy that can't be cheesed by standing behind a wall of blocks or facetanked with a Shield. Skeletons shoot arrows you can block. Blazes throw fireballs you can dodge or reflect with a sword. The Breeze does something different. Its wind charges knock you around, mess with the terrain, and can trigger traps in the room around you, so even a "safe" corner can turn into a hazard if a wind burst hits a lever or a trapdoor near you.
It's classified as a Monster-type mob, meaning it counts toward the Monster Hunter and Monsters Hunted advancements, and it's one of 41 monsters tracked by those achievements.
Where Does the Breeze Spawn?
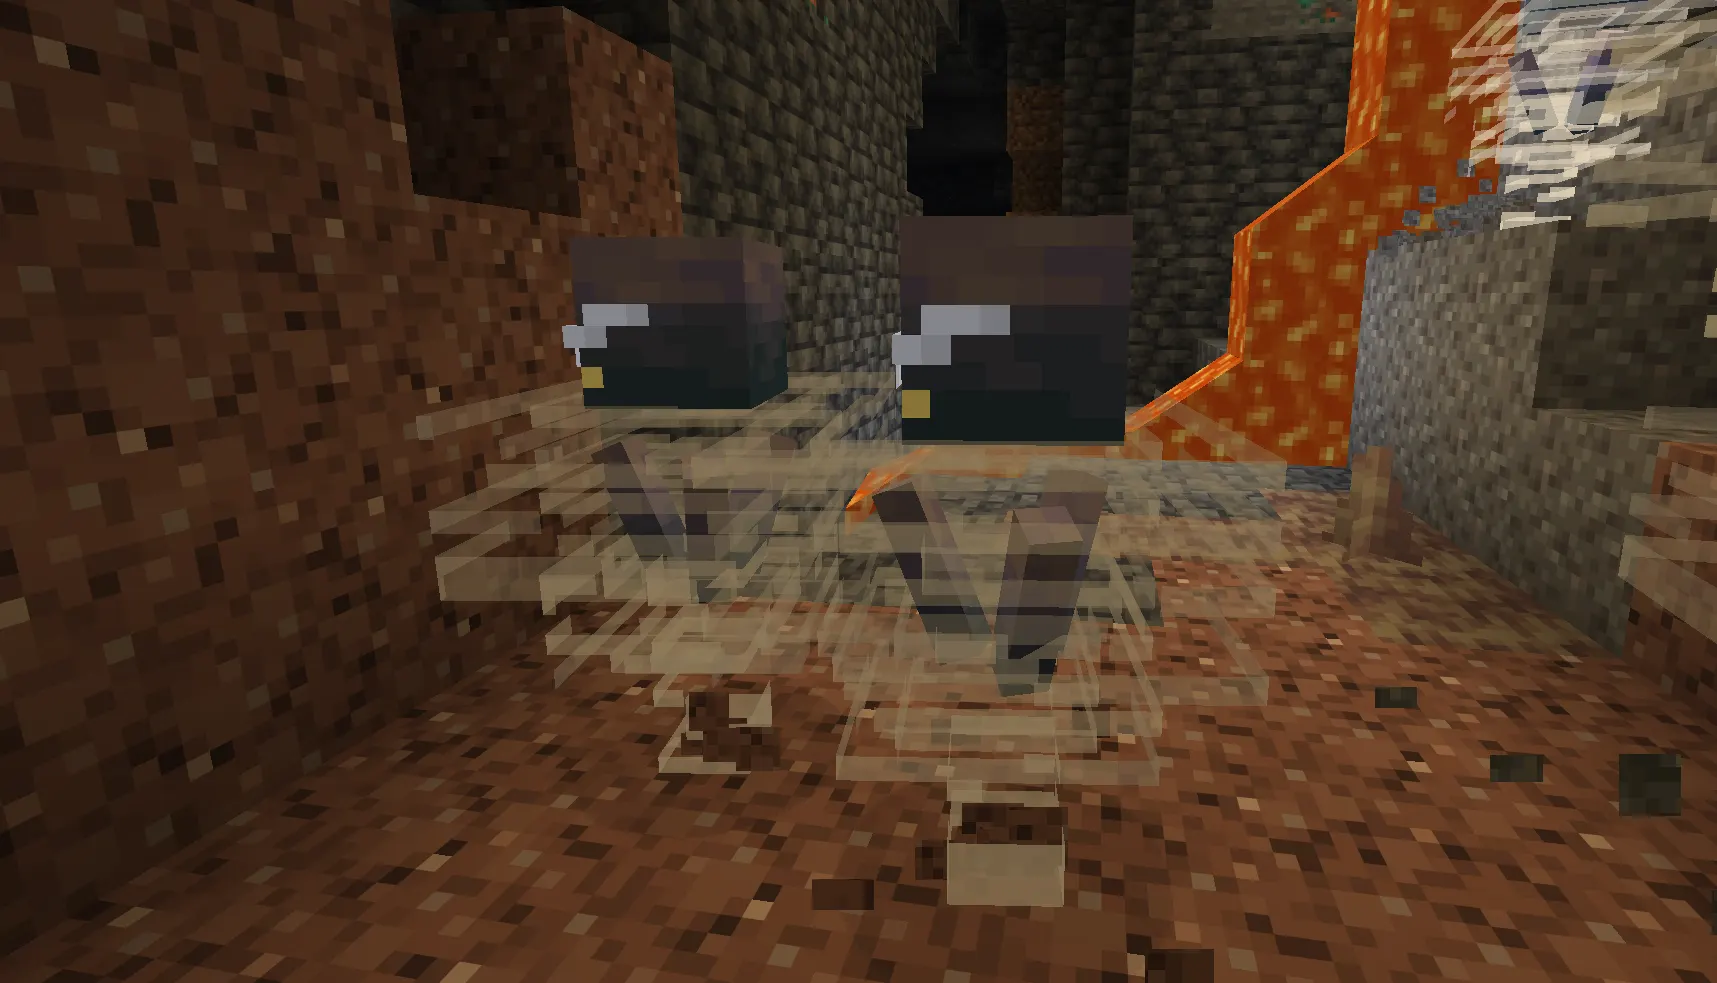
Short answer: Breezes spawn only from trial spawners inside Trial Chambers, specifically the ones found in combat chambers and surrounded by chiseled tuff blocks. They don't spawn naturally anywhere else in the Overworld.
A few specifics worth knowing before you go looking for one:
-
Breeze trial spawners generate only in combat chambers, never in the connecting corridors.
-
Each combat chamber holds at most one breeze spawner, usually positioned near the center of the room.
-
The Breeze can only spawn in spots that have line of sight to the spawner that's producing it, so it won't pop out somewhere completely blocked off.
-
Trial spawners keep producing Breezes (and other Mobs) as long as the trial is active and players remain nearby, then stop once the trial completes.
Java and Bedrock use the same spawn conditions here, so there's no meaningful difference to plan around.
Breeze Appearance
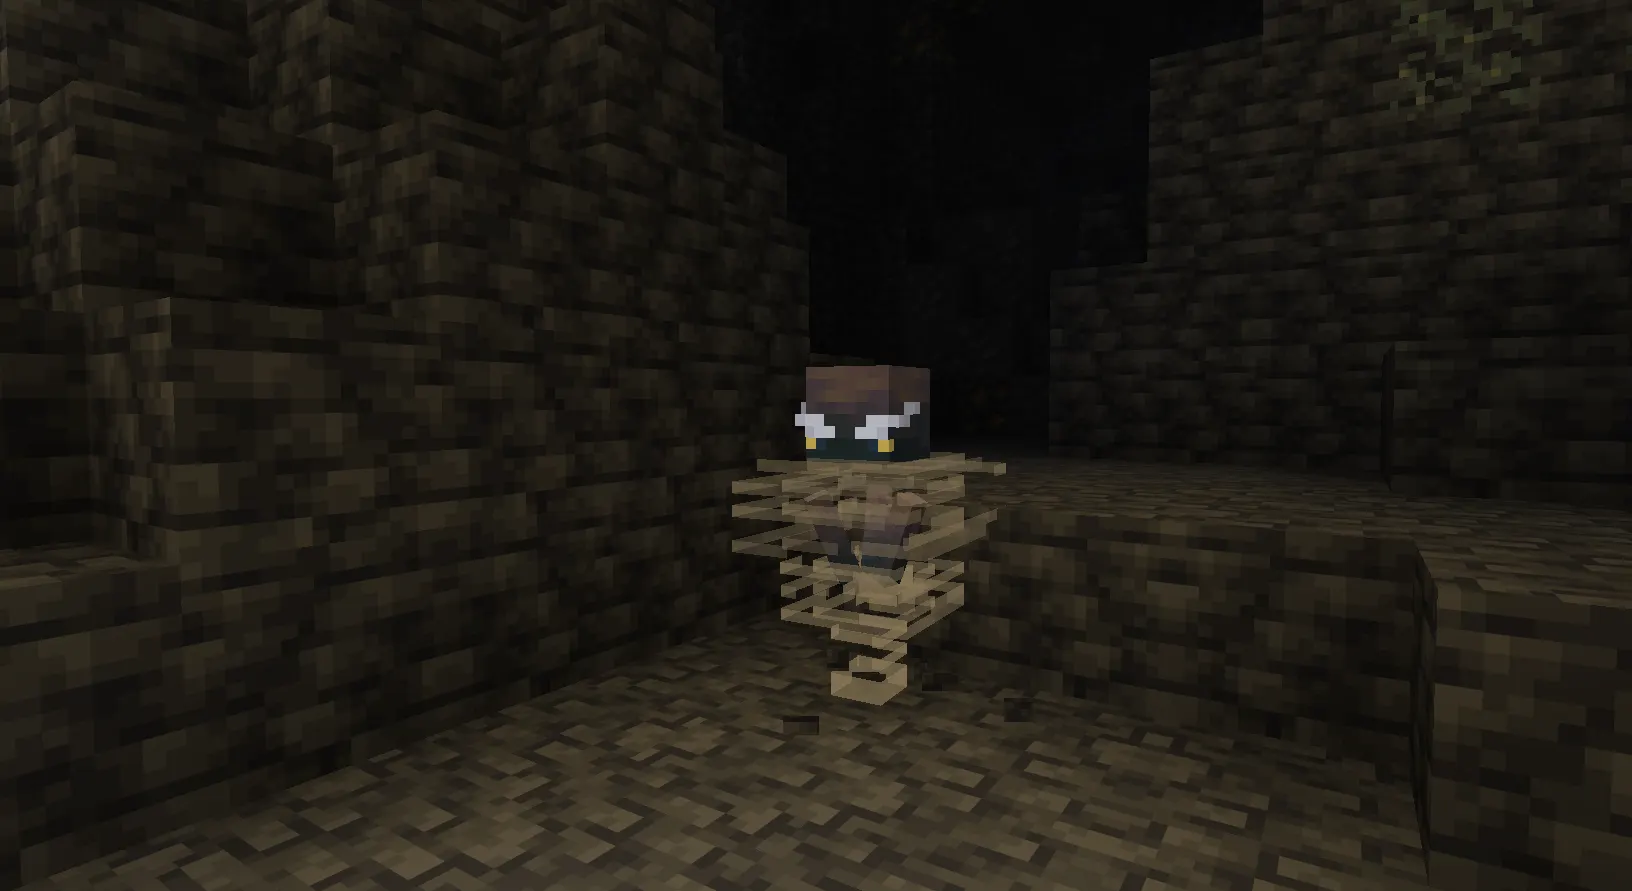
Visually, the Breeze is a cousin to the Blaze. Same rough silhouette, a floating head over a stack of rods, but where the Blaze burns, the Breeze whirls. Its head is bright purple on top, fading to dark blue underneath, with heavy white eyebrows that give it a permanently annoyed expression. Underneath that sits a set of purple rods (the breeze rods you're farming), wrapped in translucent white lines that look like a small localized tornado.
It hovers a short distance above the ground rather than standing on it, and it leaves particle trails that match whatever block it's currently floating over — sandstone particles over sandstone, tuff particles over tuff, and so on. When it's actively hunting a target, those particles kick up noticeably more, so if you see a Breeze suddenly get "dustier," it's noticed you.
The sound design carries a lot of the personality too: a rising inhale before it fires, a distinct "whoosh" for the wind charge itself, and a sharper crack when it deflects an arrow back at you. Learning those cues by ear helps more than you'd expect once you're mid-fight and not looking directly at it.
Breeze Attack Mechanics
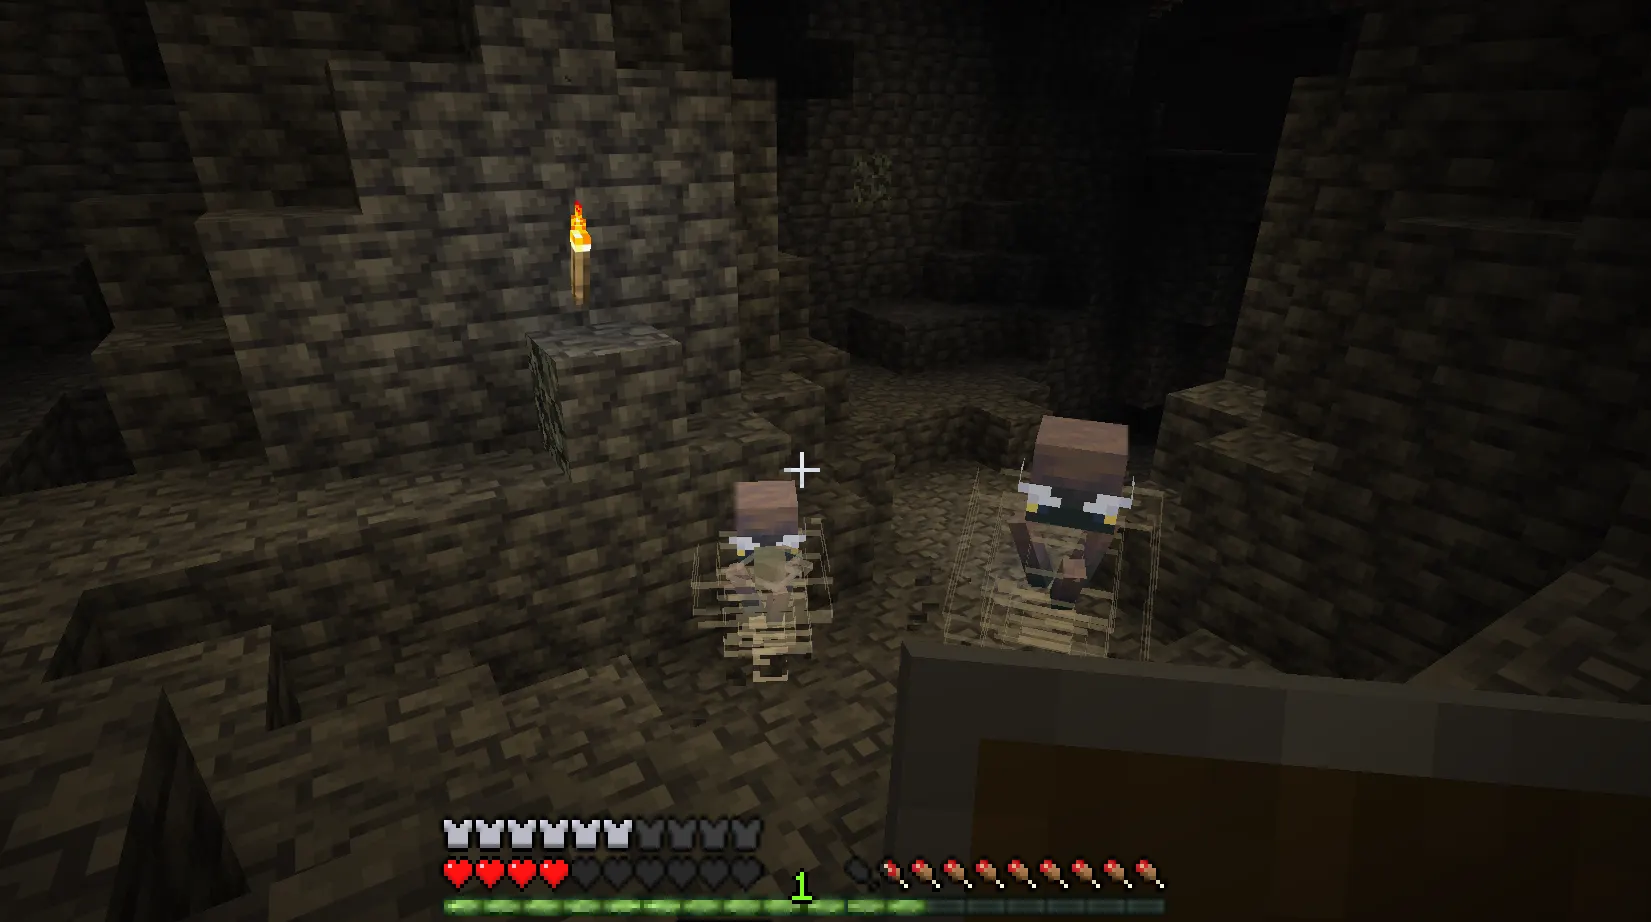
Short answer: The Breeze attacks by firing wind charges from up to 16 blocks away, with roughly a 1.6-second cooldown between shots on Java (30 game ticks on Bedrock). A direct hit deals a small amount of damage and produces a wind burst that knocks you back hard enough to send you off ledges or into hazards.
Breaking that down further:
Range and targeting. The Breeze tries to fire at any player or valid target within 16 blocks, as long as it has a clear shot. It doesn't need a running start to shoot; it can fire while airborne, mid-jump, or right after landing.
Cooldown. Between attempts, it waits 32 game ticks (1.6 seconds) in Java Edition, or 30 ticks in Bedrock. That's a fairly tight window, so you're rarely getting more than a second and a half of breathing room between shots once it's locked on.
Direct damage vs. wind burst. This is the part people misunderstand most. If the wind charge hits you directly, you take a small amount of damage — half a heart on Easy and Normal, three-quarters of a heart on Hard — and a wind burst appears at the impact point. If the charge hits a block instead of an entity, you only get the wind burst, no damage. Either way, the burst is what actually hurts you, because it launches you with real force. Fall into lava, off a ledge, or into a room full of skeletons after a wind burst, and that's where the real damage comes from.
Attack range against melee. For a while, the Breeze wouldn't fire on targets within 1–2 blocks of it, which meant rushing it point-blank was a guaranteed way to shut down its attack entirely. That's no longer true. As of update 1.21.2, the Breeze has no minimum distance requirement and will fire on you even at close range. Getting in close still helps because it limits its ability to reposition, but don't expect it to go silent just because you're standing next to it.
Projectile deflection. The Breeze automatically deflects almost every projectile thrown at it — arrows, tridents, snowballs, splash potions thrown directly (not their blast radius), the works. The deflected projectile keeps its original velocity and gets sent back roughly toward whoever fired it, which means a poorly aimed arrow can genuinely hurt you or a teammate. The one exception is wind charges: it can't deflect those, which is the whole reason melee combat and player-thrown wind charges are the reliable way to fight it.
Jump mechanics. Before it fires or repositions, the Breeze compresses itself like a coiled spring, then leaps up to 15 blocks horizontally and 5 blocks vertically. It's immune to fall damage entirely, so it never has to think twice about the landing. If it's standing in lava, that jump height drops to just one block, which is one of the only environmental limits you can use against it.
How Wind Charges Work
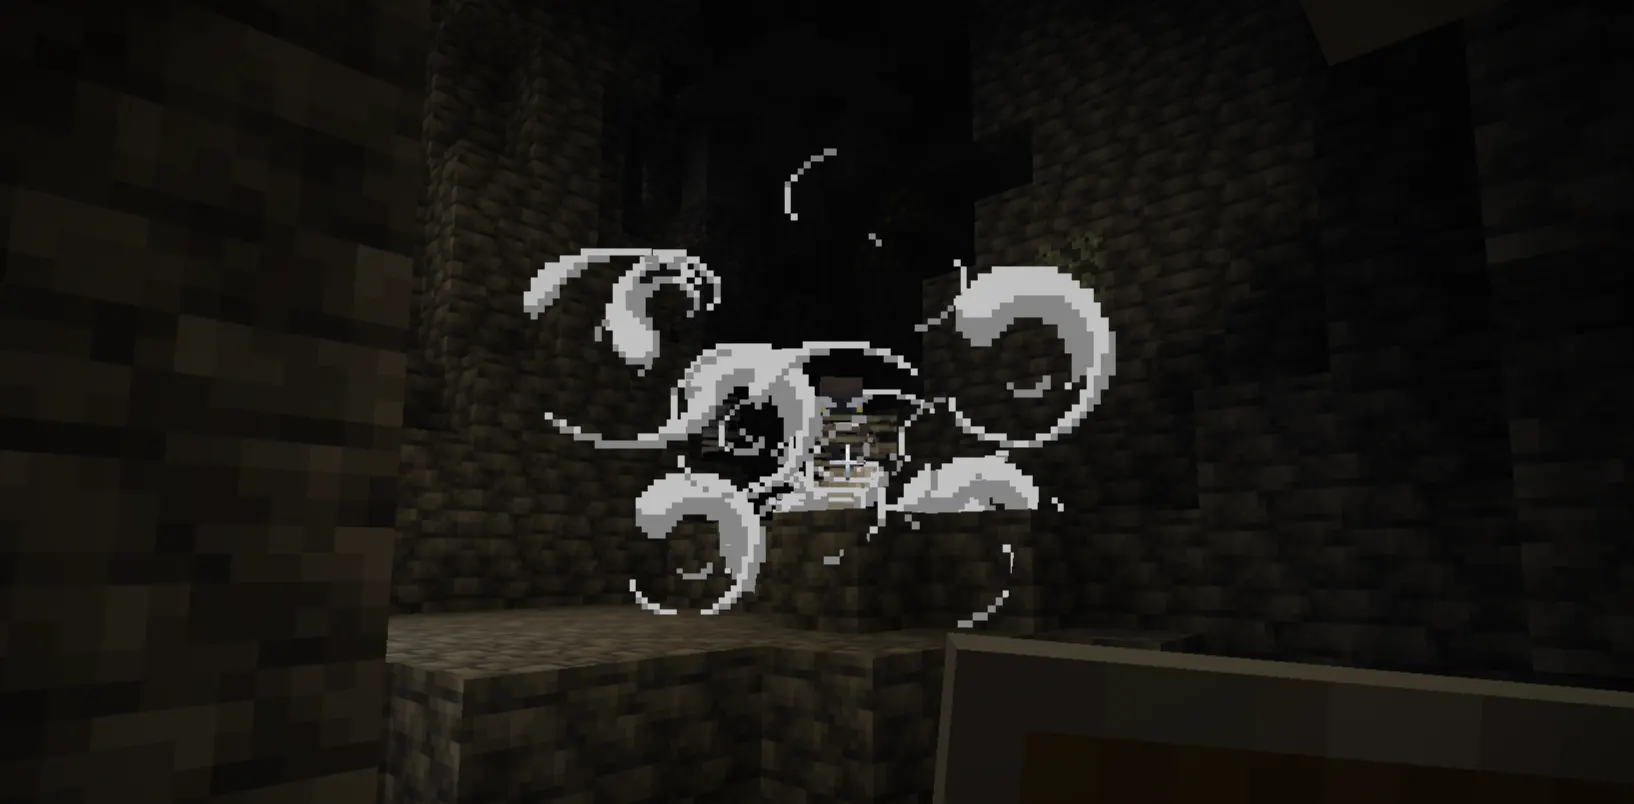
Wind charges aren't exclusive to the Breeze. They're a craftable item too, and understanding the base mechanic helps explain what you're dealing with in combat.
What they do. A wind charge is a throwable projectile that explodes into a burst of wind on impact. That burst pushes entities and can toggle certain interactive blocks without actually destroying anything.
Environmental interaction. A wind burst can flip the state of non-iron doors and trapdoors, buttons, levers, and fence gates. It can also extinguish lit candles and ring bells. In a Trial Chamber, this matters more than it sounds. A stray wind burst near a lever-operated trap can trigger it accidentally, and the mobGriefing game rule controls most of these interactions (though bell-ringing ignores that rule entirely).
Fall damage. Wind charges don't grant slow falling or anything like that, but the knockback itself can be used to cushion a fall if you time a self-inflicted wind charge just right, a trick more relevant to speedrunners and parkour builds than day-to-day survival.
Mobility uses. Players can throw wind charges at their own feet or a nearby wall to launch themselves, which turns them into an improvised mobility tool similar in spirit to using an ender pearl for short-range traversal, minus the teleport.
Combat uses. Since the Breeze can't deflect wind charges, they're the one ranged option that reliably works against it. Killing a Breeze with a wind charge it fired at you, deflected back with a melee swing, even unlocks its own advancement, "Blowback."
Redstone interactions. Because wind bursts toggle levers and buttons, players have found ways to use thrown wind charges as a contact-free redstone activator, useful for triggering mechanisms from a distance without wiring a full circuit.
How to Defeat the Breeze
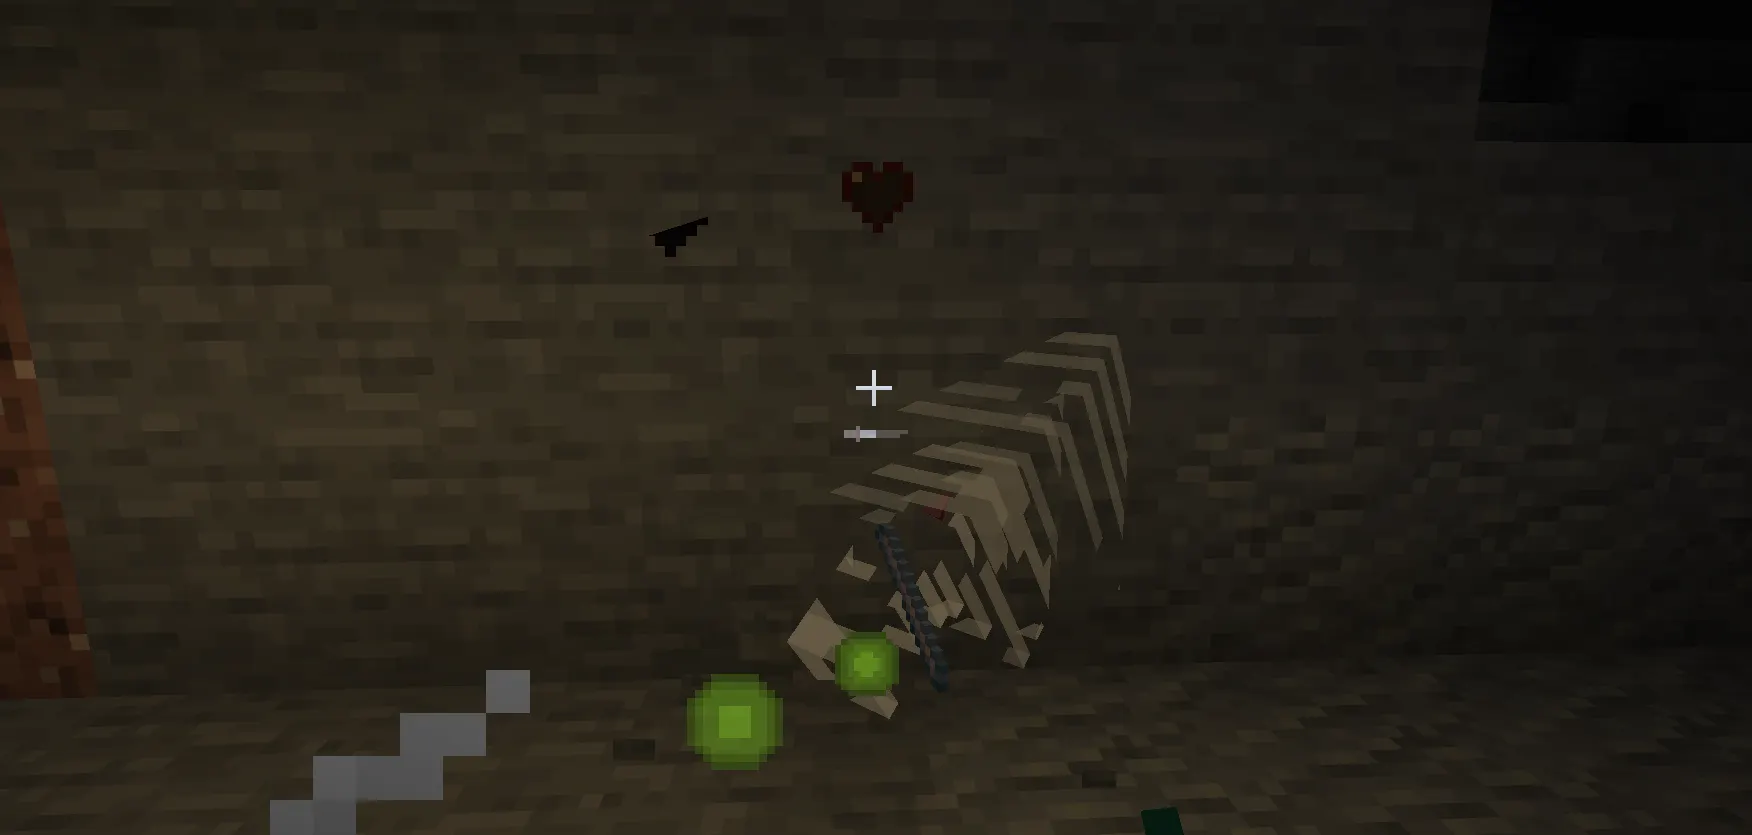
Short answer: Close the distance, fight in melee, and either dodge or deflect its wind charges. Ranged weapons are close to useless against it since it reflects almost everything you throw or shoot.
Preparation
Before heading into a Trial Chamber with a known Breeze spawner, bring:
-
Food — the fight involves a lot of movement, and you'll want to top off health between rooms.
-
A water bucket — useful for softening a bad fall if a wind burst sends you somewhere you didn't plan to go.
-
Blocks — for quick cover or bridging over a gap you got knocked into.
-
A healing potion, if you have the resources — the constant repositioning eats into the time you'd normally spend eating.
Recommended armor
Full Armor isn't strictly necessary since the wind charge's direct damage is small, but it matters for everything else in the room, since trial spawners also throw Zombies, Skeletons, and other mobs at you alongside the Breeze. Don't walk in unarmored just because the Breeze itself hits soft.
Best weapons
Melee weapons are your only reliable damage source. A sword or axe with decent enchantments works fine, and the Mace, introduced in the same update and crafted using a breeze rod, turns a well-timed fall or knockback into a genuinely powerful finishing blow, which is a nice bit of symmetry given what drops the rod in the first place.
Shield usefulness
A shield blocks the direct-hit damage from a wind charge, but it won't stop the knockback from the resulting wind burst. It's still worth carrying for the other mobs in the chamber, just don't expect it to neutralize the Breeze's main threat.
Movement and positioning
Stay mobile and keep closing distance rather than trying to out-range it. You can't. Use pillars, doorways, and tuff formations in the chamber as partial cover to break line of sight between its jumps. Watch for its inhale animation; that's your cue a shot is coming, and you can juke sideways instead of eating it head-on.
Avoiding knockback disaster
The damage from a wind charge is trivial. The knockback is not, if it launches you into lava, off a ledge, or into a cluster of other hostiles. Keep track of what's behind you at all times, not just what's in front.
Common mistakes
-
Standing still to "tank" a hit. There's nothing to tank; the knockback is the real threat.
-
Ignoring the terrain and getting launched into hazards you'd have noticed if you'd been paying attention.
-
Bringing a bow as your primary weapon and wondering why it keeps coming back at you.
-
Fighting in a wide-open room where the Breeze has full mobility instead of using chokepoints.
Breeze Drops
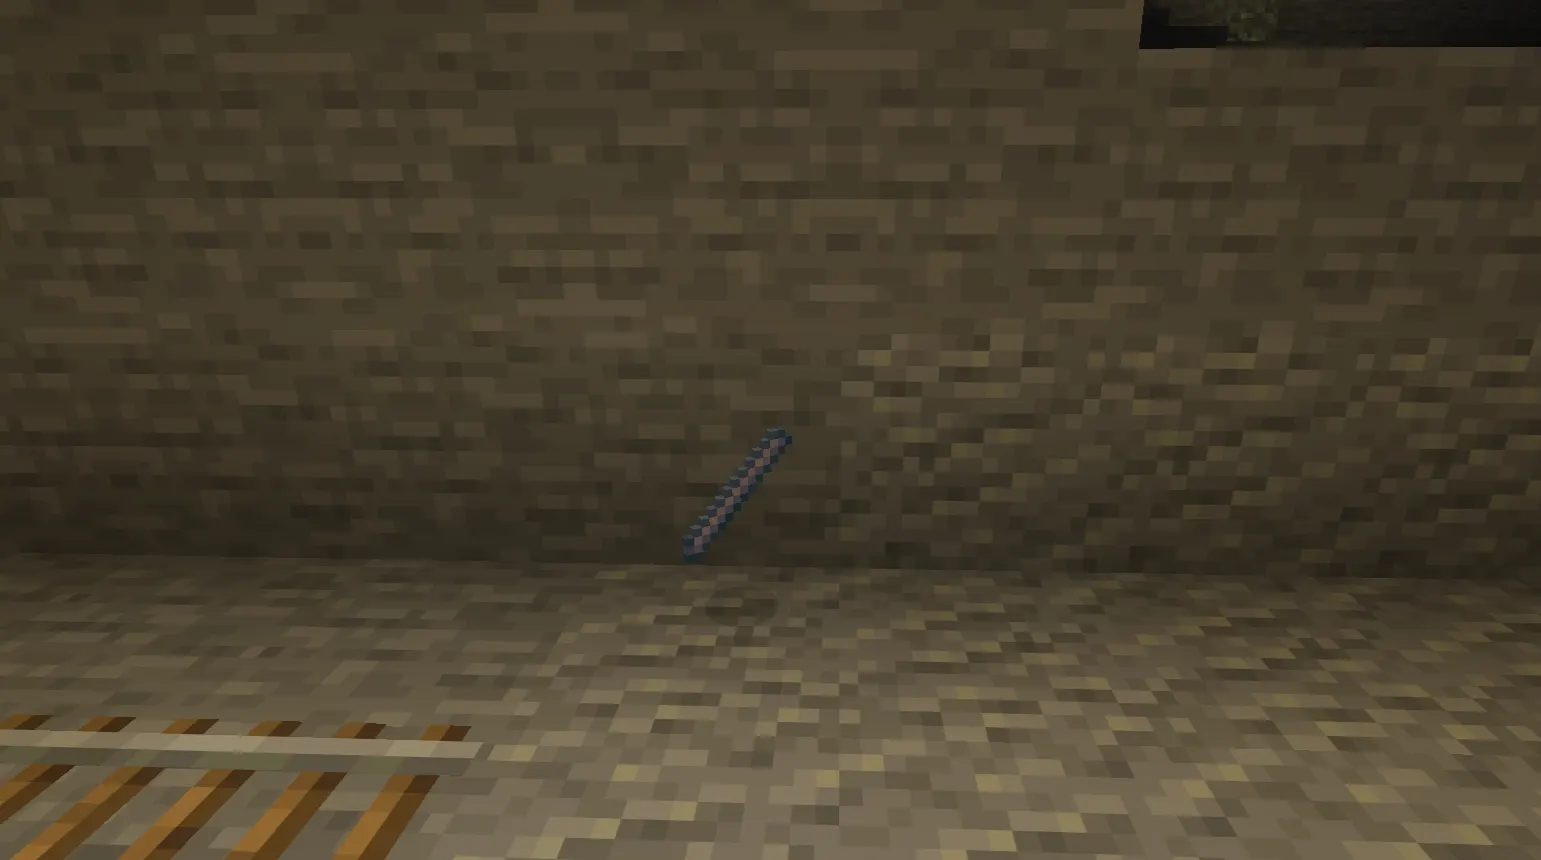
Short answer: A Breeze killed by a player or tamed wolf drops 1–2 breeze rods at a guaranteed 100% rate, scaling up to 4–8 with Looting III, plus 10 experience points. It's the only mob in the game that drops breeze rods.
The 100% drop chance is what makes every Breeze kill worthwhile, even outside of a full trial run. A couple of things worth knowing:
-
Kills from environmental causes (lava, void, a player-placed trap that isn't a direct kill) don't count. Only player or tamed wolf kills trigger the guaranteed drop.
-
Looting scales the drop meaningfully: expect 2–4 rods with Looting I, 3–6 with Looting II, and 4–8 with Looting III.
-
Breeze rods are the sole ingredient (alongside a heavy core) for crafting the Mace, and they're also used to craft wind charges directly.
In terms of survival value, breeze rods sit in a similar tier to blaze rods: a resource you specifically farm for a small number of important crafting recipes rather than something you accumulate incidentally.
Breeze vs Other Hostile Mobs
|
Mob |
Health |
Attack Style |
Difficulty |
Range |
Mobility |
Key Drop |
|
Breeze |
30 HP (15 hearts) |
Ranged wind charge, knockback-focused |
Moderate-High |
16 blocks |
Very high (leaps, floats, immune to fall damage) |
Breeze rod (100%) |
|
Skeleton |
20 HP (10 hearts) |
Ranged bow, arrow damage |
Low-Moderate |
15 blocks |
Low, ground-based |
Bones, arrows |
|
Creeper |
20 HP (10 hearts) |
Melee-range explosion |
Moderate (situational) |
Close-range trigger |
Low, ground-based |
Gunpowder |
|
Witch |
26 HP (13 hearts) |
Ranged splash potions, self-healing |
Moderate-High |
Varies by potion |
Low, ground-based |
Potions, redstone, glowstone dust |
|
Blaze |
20 HP (10 hearts) |
Ranged fireballs |
Moderate |
Line of sight |
Moderate (floats, fires in bursts) |
Blaze rod |
The Breeze stands out mainly for mobility and unpredictability rather than raw health or damage. A Witch arguably hits harder over a sustained fight thanks to self-healing and harming potions, but she's stationary and predictable. The Breeze forces constant repositioning, which is a different kind of pressure entirely.
Best Combat Tips
Beginner Combat tips:
-
Prioritize closing distance immediately rather than trying to fight from range.
-
Use any available cover to break its line of sight between attacks.
-
Keep a mental note of what's behind you before you commit to a fight near a ledge.
Advanced tips:
-
Time a melee swing to deflect an incoming wind charge back at the Breeze for extra damage and progress toward the Blowback advancement.
-
If multiple Breezes are active in a large combat chamber, isolate one at a time using pillars or doorways rather than letting them both have clear shots at you simultaneously.
-
Bring your own wind charges as a backup ranged option — since the Breeze can't deflect them, they're the rare projectile that actually lands.
Common Mistakes Players Make
Beyond the ones already mentioned, a few patterns show up constantly in Trial Chamber runs:
-
Underestimating the knockback because the direct damage number looks small on paper.
-
Poor weapon choice. Showing up with a bow and crossbow as primary gear instead of melee weapons.
-
Fighting in confined spaces where you can't dodge, which sounds counterintuitive since you'd think tight spaces limit its jumps too, but it mostly just limits your escape routes while the Breeze still gets its shots off.
-
Ignoring the rest of the room. Trial spawners rarely send just a Breeze. There's usually a skeleton or zombie mixed in, and players fixated on the Breeze eat free hits from mobs they forgot were there.
Java vs Bedrock Differences
The Breeze is close to identical across both editions, but there are a couple of small differences worth flagging:
-
Wind charge cooldown: 32 game ticks (1.6 seconds) in Java Edition versus 30 ticks in Bedrock Edition — a small, mostly imperceptible difference.
-
Invisibility interaction: In Java Edition specifically, a Breeze affected by Invisibility still shows its eyebrows and surrounding wind particles, meaning it's never truly invisible.
Everything else, including health, drop rates, jump distances, spawn conditions, and deflection behavior, is consistent between the two editions.
Best Uses of Wind Charges
Once you're farming breeze rods and Crafting your own wind charges, they're genuinely useful outside of combat too:
-
Mobility: A well-placed wind charge under your feet gives a quick horizontal or vertical boost, useful for closing small gaps without needing an elytra.
-
Parkour: Advanced players use them to chain jumps across gaps that would otherwise require multiple blocks or a running start.
-
Escaping combat: Throwing one at your own feet can create separation from a group of mobs in a pinch.
-
Building: The knockback effect can shove entities (including yourself) out of a work area without damaging terrain.
-
PvP: In multiplayer, wind charges double as a disruption tool, knocking opponents off ledges or breaking their aim.
-
Exploration: They offer a lightweight way to cross small ravines or gaps in caves without committing blocks to a bridge.
-
Redstone: Their ability to toggle levers, buttons, and doors from a distance makes them a viable contact-free trigger for certain builds.
Key Takeaways
-
The Breeze spawns exclusively from trial spawners in Trial Chamber combat chambers, never naturally elsewhere.
-
It has 30 health points and attacks from up to 16 blocks away with wind charges on a roughly 1.6-second cooldown.
-
Direct hits deal minor damage, but the resulting knockback is the real danger, especially near ledges or hazards.
-
It deflects nearly all thrown or shot projectiles except wind charges, which makes melee combat and player-thrown wind charges your most reliable damage options.
-
It no longer refuses to attack at close range. That changed in update 1.21.2, so don't rely on outdated advice about a "safe" melee distance.
-
Every kill by a player or tamed wolf guarantees 1–2 breeze rods (up to 4–8 with Looting III), the only source of that item in the game.
-
Java and Bedrock are nearly identical, aside from a minor cooldown difference and how Invisibility interacts with it on Java.
Conclusion
The Breeze rewards patience more than raw gear. Once you understand that the knockback is the actual threat, not the hit itself, the fight stops feeling chaotic and starts feeling like a pattern you can read — inhale, jump, fire, reposition. Get in close, watch your footing, and keep those breeze rods coming. Trial Chambers get a lot less intimidating once the Breeze stops being a mystery.