Minecraft 1.21 Survival Guide: The Complete Beginner Walkthrough
You just loaded up a fresh world, the sun is out, and you have absolutely nothing in your inventory. That first stretch of Minecraft Survival is the best part of the game and also the part where most new players make every mistake in the book. This guide walks you through it properly: what to do in your first ten minutes, how to make it through night one, and how to build toward the Nether and the End without losing your gear to a Creeper you never saw coming.
What Is Minecraft Survival Mode?
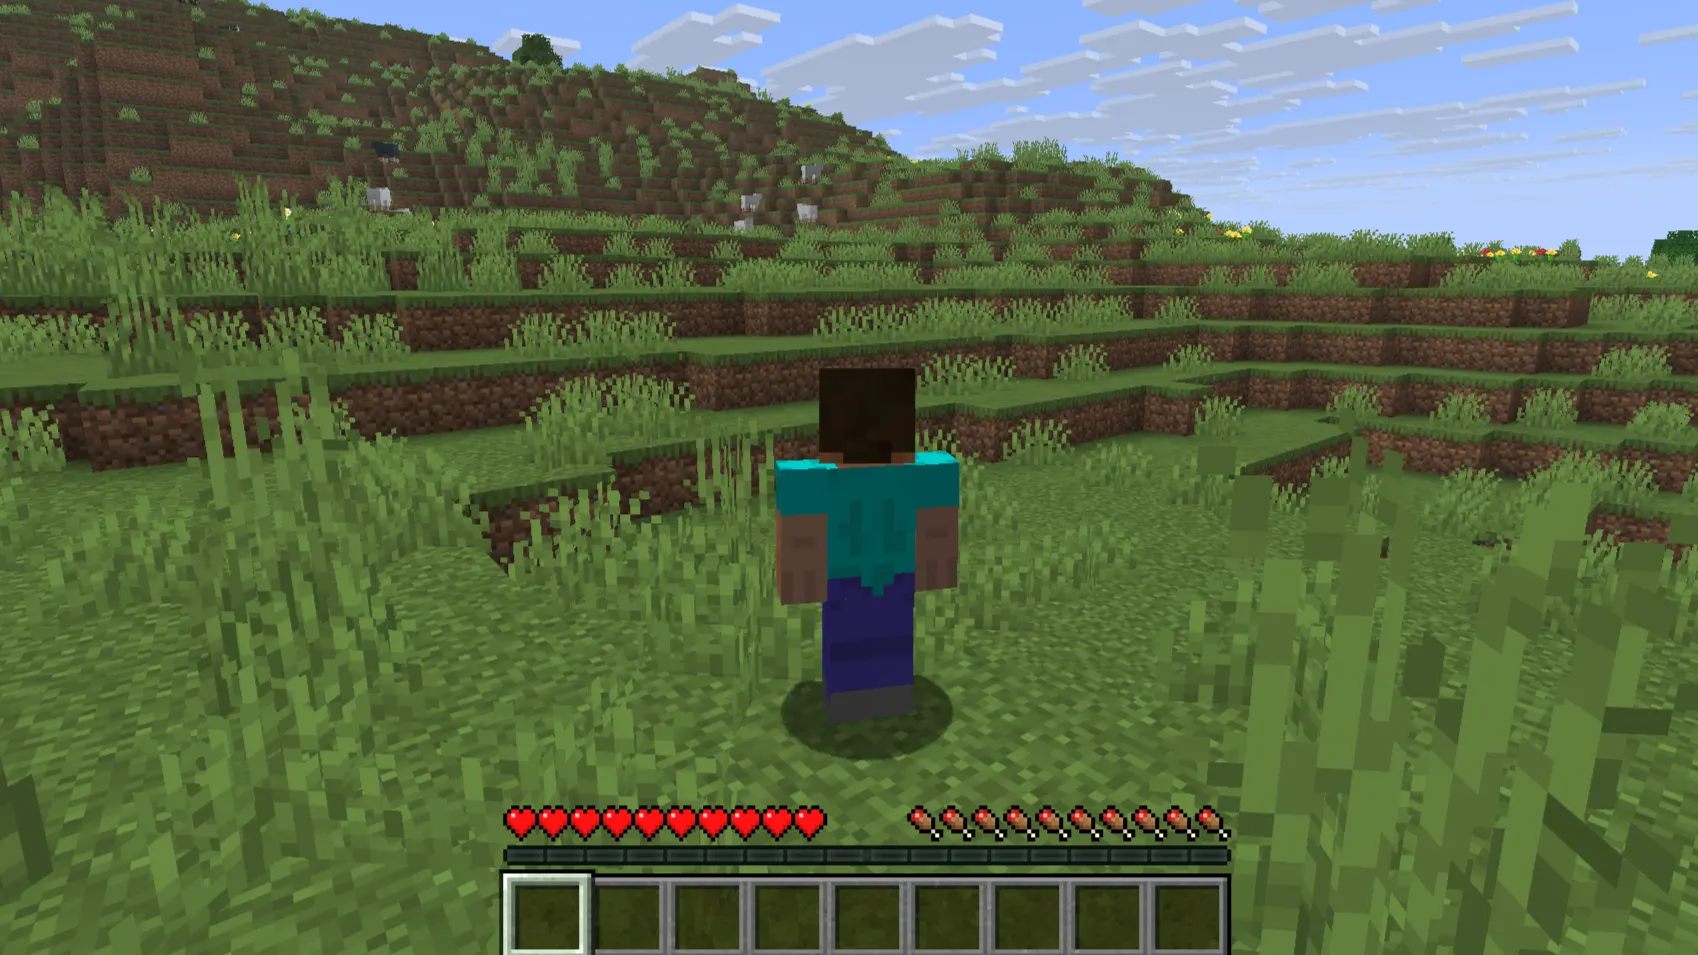
Survival Mode is the version of Minecraft where nothing is handed to you. You punch trees for wood, you get hungry, you take fall damage, and if a zombie catches you in the dark, you can actually die and lose your stuff. Creative Mode gives you infinite blocks and flight with no threats at all, which is fun for building but teaches you nothing about how the game actually works.
Survival is where the systems connect to each other. Health and hunger drive everything you do. Your inventory is small enough that you have to make real choices about what to carry. Crafting turns raw materials into tools, and better tools let you mine deeper, which gets you better materials, which unlocks better tools again. That loop is the whole game.
The long-term goal in a normal survival world is progression: Wood tools lead to stone, then iron, then diamond, then Netherite. Along the way you'll fight through the Nether for upgrades and eventually gear up enough to challenge the Ender Dragon in the End. You don't have to rush any of that. Plenty of players spend a hundred hours just Building a base and never touch the End, and that's a completely valid way to play.
This guide is written for someone who has never survived a single night, though experienced players jumping back in after a break will also find the 1.21-specific notes useful. By the end, you'll know how to get through day one, what to prioritize in your first week, and how to avoid the mistakes that get new players killed over and over.
Before You Create Your World
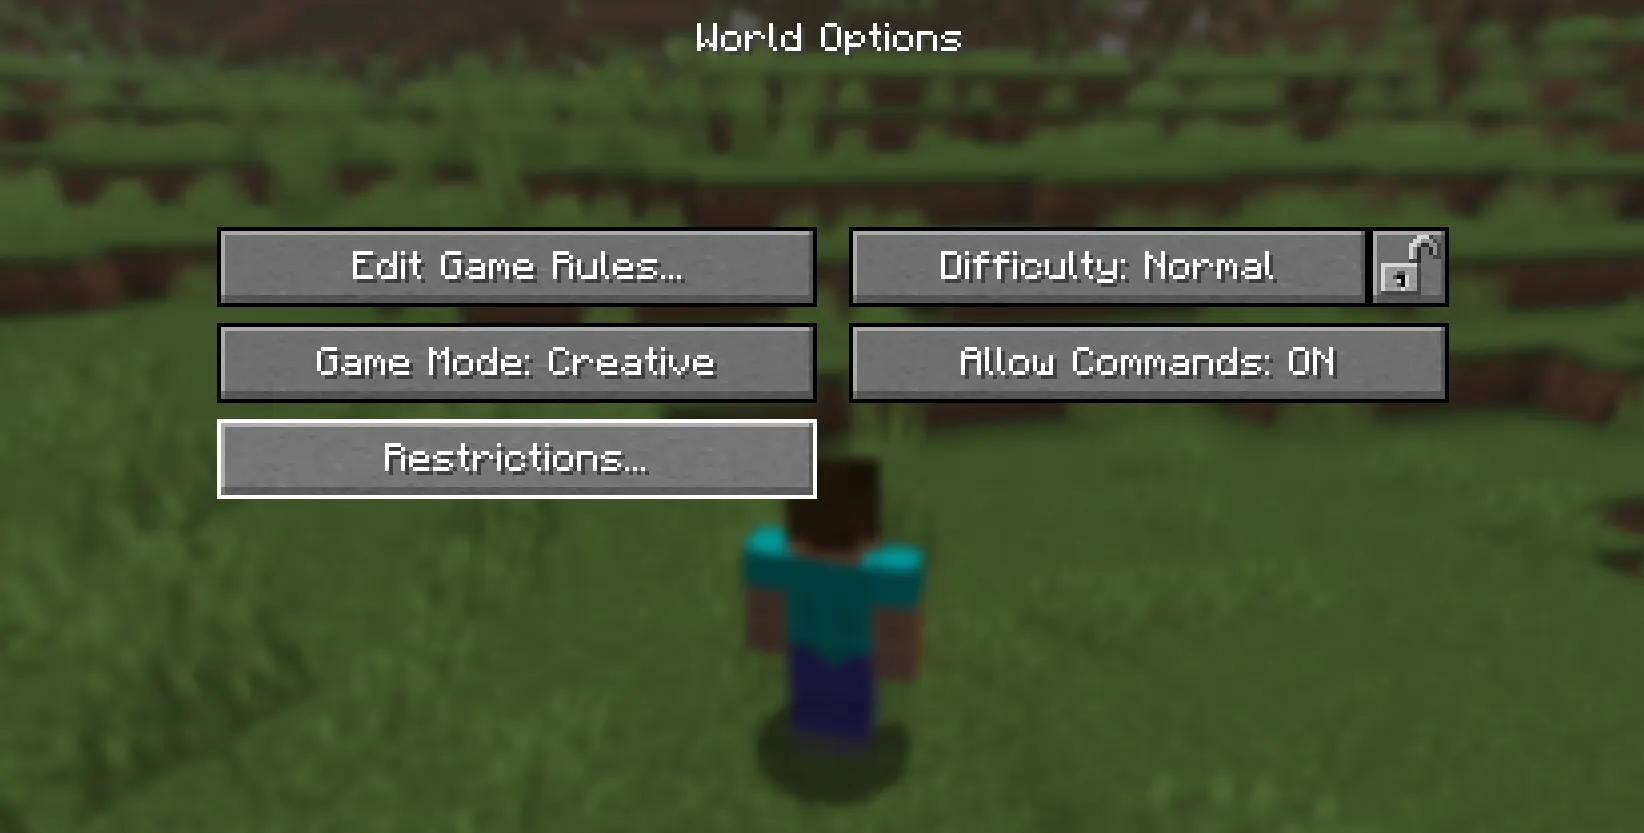
The world creation screen has more options than it looks like at first glance, and a couple of them matter a lot for a smooth start.
Difficulty. Set it to Easy or Normal for your first world. Hard difficulty lets you starve to death and gives mobs extra damage, which is rough when you don't have armor yet. Normal is the standard experience most guides and videos are built around.
Bonus Chest. This gives you a small chest of starting supplies (usually some wood, a stone axe, and a few other odds and ends) sitting right at spawn. It's optional, but it takes the edge off the first few minutes if you're nervous about the early game.
Starting Map. Bedrock Edition lets you spawn with a map already in hand. It's a nice convenience but not essential.
Keep Inventory. This is a cheat/gamerule option that stops you from dropping your items when you die. Turning it on removes real stakes from the game, so I'd leave it off for an authentic survival experience. But if you just want to learn the mechanics without the fear of losing hours of progress, there's no shame in flipping it on for your first world.
World Type. Default is fine. Large Biomes and Amplified exist but aren't beginner-friendly; Amplified in particular can crash lower-end devices with its extreme terrain.
Cheats and Coordinates. Turn on the coordinate display (F3 on Java; the coordinates toggle in Bedrock settings) even if you don't use any other cheats. Knowing your Y-level is critical for mining, and knowing your X/Z position means you can actually find your way home.
Simulation Distance. Lower this if your device struggles to keep a stable frame rate. A choppy game makes combat and precise building much harder than it needs to be.
Your First 10 Minutes: The Beginner Checklist
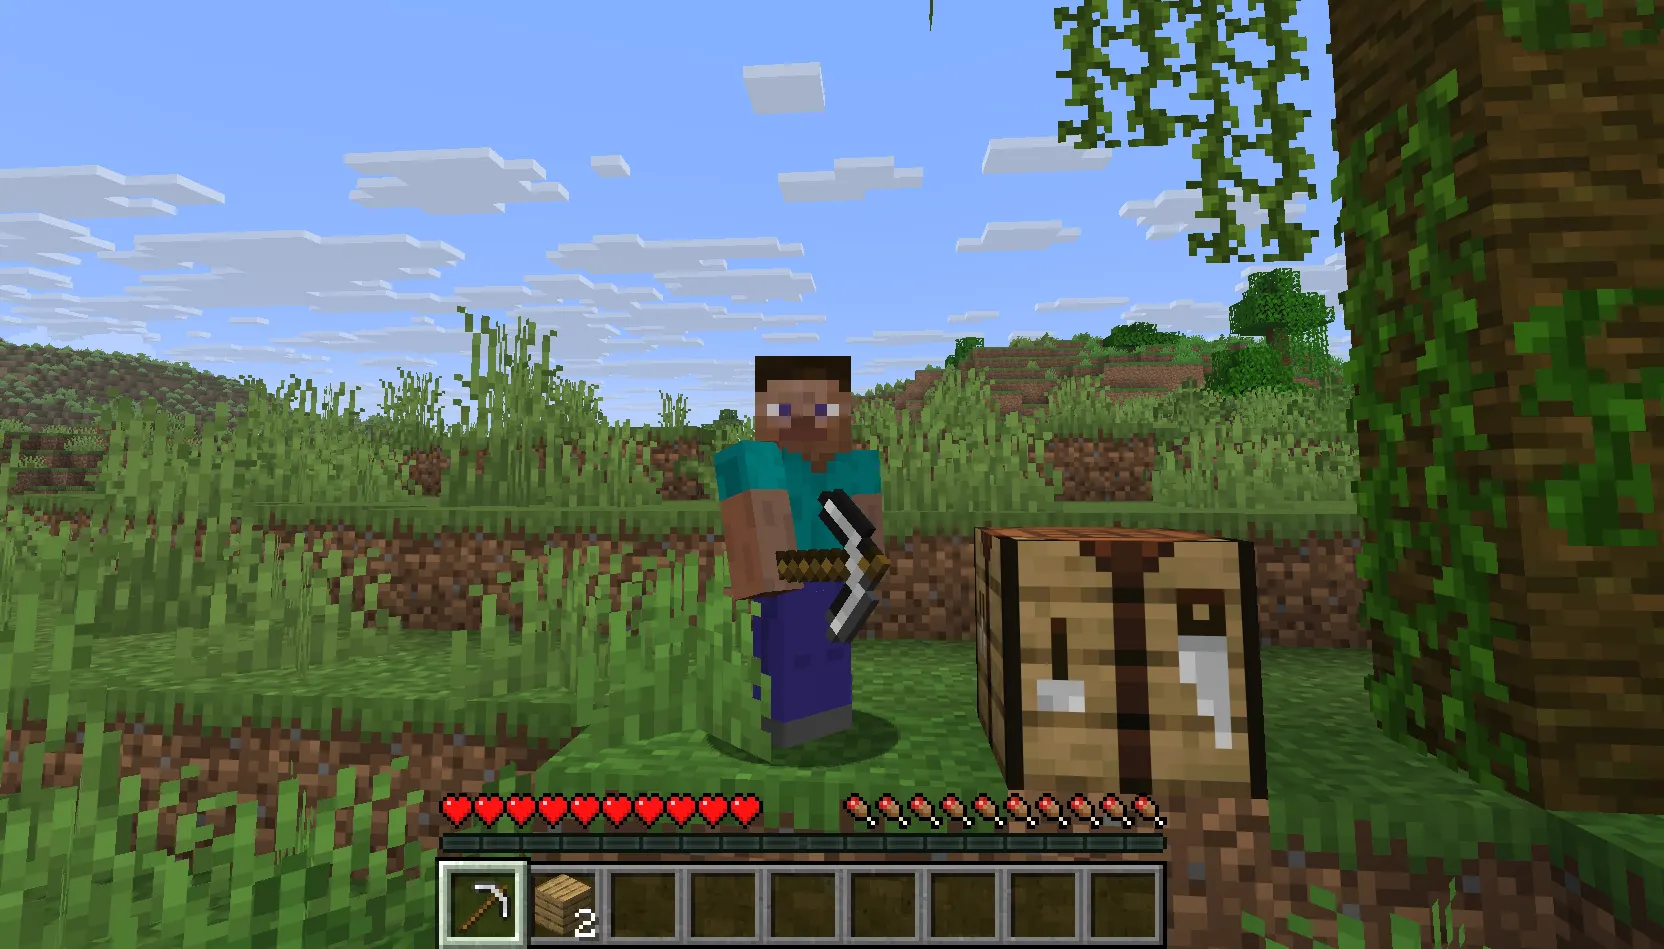
Here's the exact order I'd follow the moment you spawn in.
-
Punch trees until you have at least 10-15 logs. Any tree type works.
-
Craft planks from the logs (one log makes four planks).
-
Craft a Crafting table (four planks in a square).
-
Craft sticks (two planks stacked in the crafting grid).
-
Craft a wooden pickaxe and a wooden axe. The axe speeds up your log collection dramatically from here on.
-
Mine stone with the wooden pickaxe until you have 15-20 cobblestone.
-
Upgrade to stone tools: pickaxe, axe, and a sword at minimum.
-
Kill a couple of animals (cows, pigs, chickens) for food and get your hunger bar topped up.
-
Find coal. It's usually visible on the surface in hills or in the first cave you find.
-
Craft torches from coal and sticks.
-
Build a basic shelter before the sky starts turning orange.
-
Craft a bed if you have wool (kill three sheep) and place it inside your shelter.
-
Sleep as soon as night falls to skip straight to morning.
Checklist version, if you just want the short list to glance at:
-
10+ logs collected
-
Crafting table placed
-
Wooden pickaxe and axe made
-
15+ cobblestone mined
-
Stone tools crafted
-
Food secured (3+ cooked meat or equivalent)
-
Coal collected, torches crafted
-
Shelter built and lit
-
Bed placed
-
Slept through the first night
Day 1 Survival Walkthrough
Morning
Spawn, get your bearings, and start punching trees immediately. Don't wander far from your spawn point yet. Getting lost on day one with no map and no landmarks is a classic way to lose hours of progress. Grab wood, make your crafting table and basic tools, and start looking for stone.
Afternoon
This is your resource-gathering window. Mine cobblestone, upgrade your tools, and start hunting animals for food. Keep an eye out for a cave entrance, a ravine, or an exposed hillside where you can grab coal without digging too deep. If you spot sheep, kill a few for wool now so you have a bed ready later.
Evening
As the light starts to dip, stop exploring and start building. You don't need anything fancy: a 5x5 dirt box with a door and a couple of torches inside will keep you alive. Seal every gap bigger than one block, because that's all a zombie or spider needs to get in.
Night
Once you're sealed in with torches lit and a bed placed, sleep immediately. Sleeping resets the time to morning and stops mobs from getting a foothold near your base. If you don't have a bed yet, sit tight inside your shelter, keep torches lit at every entrance, and wait it out.
Essential Resources to Collect First
|
Resource |
Why It Matters |
Where to Find It |
|
Wood |
Tools, crafting table, torches, fuel |
Any tree |
|
Stone |
Stone tools, furnace, basic building |
Surface rock, shallow caves |
|
Coal |
Torches, smelting fuel |
Surface outcrops, caves |
|
Iron |
Armor, better tools, buckets |
Caves, ravines, Y 16 and Y 232 both work well |
|
Food |
Hunger bar, regeneration |
Animals, crops, fishing |
|
Wool |
Beds |
Sheep |
|
Leather |
Early armor, books |
Cows |
|
Seeds |
Wheat farming |
Breaking tall grass |
|
Sugar Cane |
Paper, books, XP farms later |
Near water |
|
Water Bucket |
Farming, lava control, fall damage prevention |
Any water source + bucket |
|
Torches |
Light, mob prevention |
Coal + sticks |
Iron deserves special attention because it's the resource that unlocks the biggest jump in capability: a bucket, shears, a proper iron sword and armor set, and access to the Nether via a flint-and-steel-lit portal (though flint and steel doesn't need iron, most of your Nether prep does). Don't put off iron hunting past your first couple of days.
Best Early Food Sources
|
Food |
Hunger Restored |
Ease of Access |
Notes |
|
Bread |
5 |
Easy |
Needs wheat farming first |
|
Steak (cooked beef) |
8 |
Medium |
Kill cows, needs a furnace |
|
Cooked Porkchop |
8 |
Medium |
Kill pigs, needs a furnace |
|
Cooked Chicken |
6 |
Medium |
Kill chickens, needs a furnace |
|
Fish (cooked) |
5-6 |
Medium |
Needs a fishing rod or a lucky catch |
|
Baked Potato |
5 |
Easy once farmed |
Steady and renewable |
|
Carrots |
3 (raw) |
Easy once farmed |
Best used in golden carrots later |
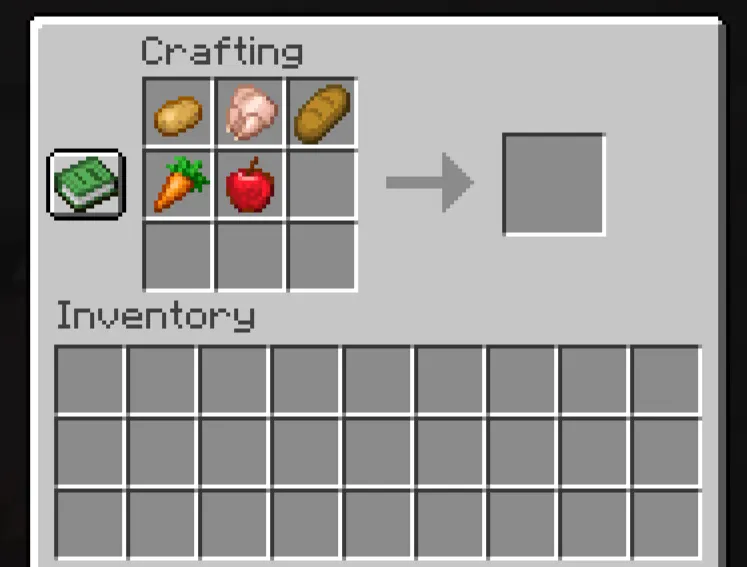
For pure convenience in your first couple of days, cooked meat from animals wins. You don't need a farm running yet, and a furnace with a stack of coal turns raw meat into a reliable food supply almost immediately. Once you've got a wheat farm going, bread becomes the backbone of a sustainable food loop because it doesn't require killing anything repeatedly.
Craft These Items First
-
Crafting Table — required for almost everything beyond the most basic items.
-
Furnace — cooks food and smelts ore into ingots.
-
Chest — storage so your inventory isn't constantly full.
-
Stone Axe / Stone Pickaxe — the backbone tools for your first couple of days.
-
Sword — self-explanatory, and stone is a big step up from wood.
-
Shield — one plank plus one iron ingot. Blocks most melee damage and stops Skeleton arrows cold. Criminally underused by new players.
-
Bucket — needs three iron ingots, but it's worth prioritizing for lava safety and water transport.
-
Bed — three wool plus three planks. Skips the night and sets your spawn point.
-
Boat — useful once you start exploring coastlines or want faster river travel.
-
Torch — coal (or charcoal) plus a stick. Always keep a stack on hand.
Build Your First Safe House
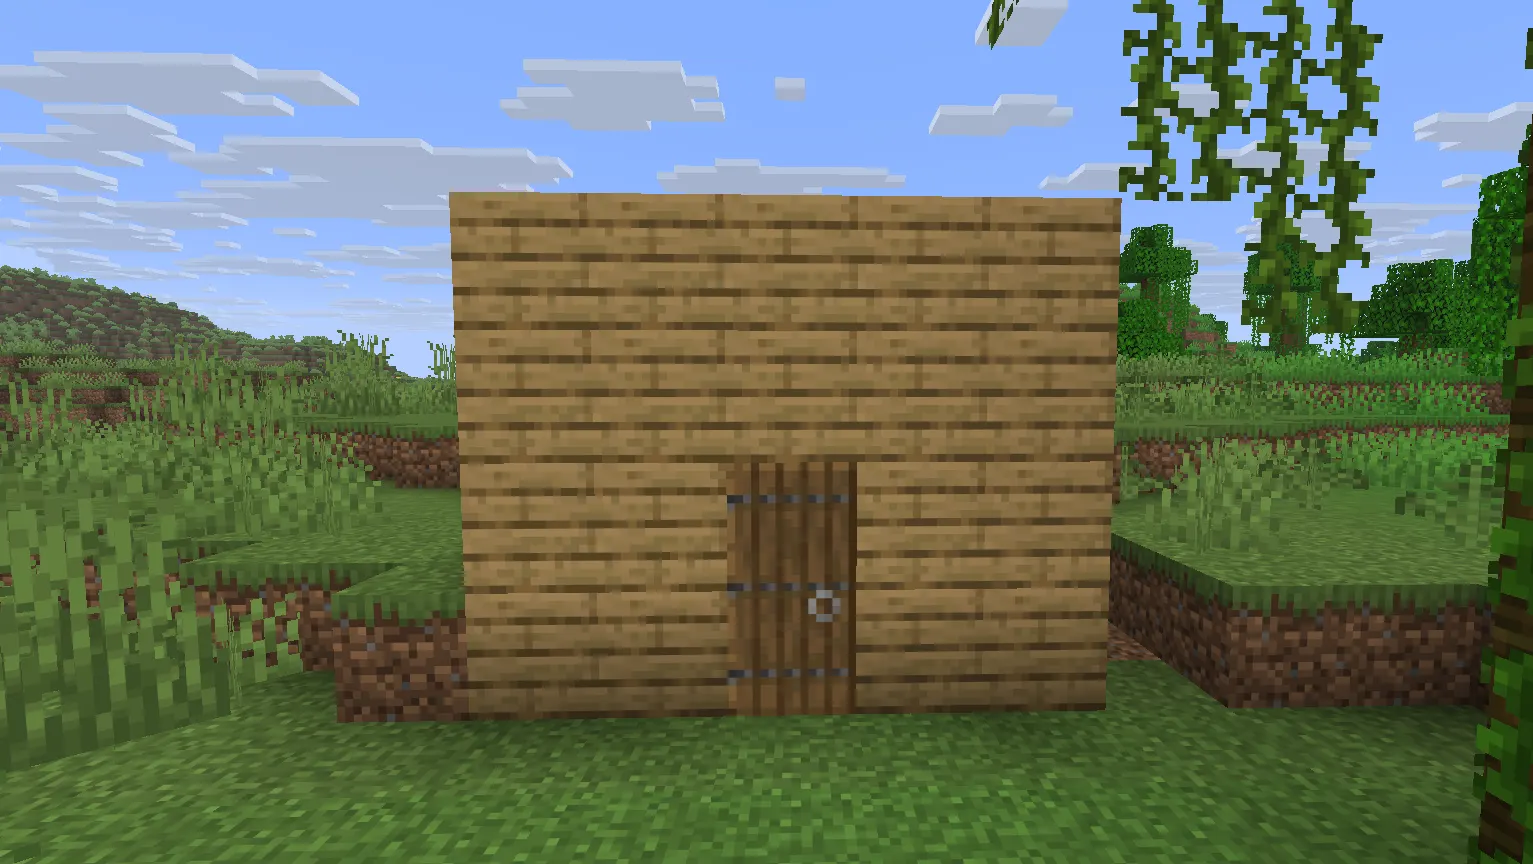
You don't need a masterpiece. You need four walls, a roof, a door, and light.
Location. Flat ground near water, trees, and (ideally) some exposed stone is close to perfect. Hillsides work well too since you can dig straight into the side and only need to wall off the entrance.
Size. Start small. A 7x7 or 8x8 footprint is plenty of room for a bed, a furnace, some chests, and a crafting table, and it's fast to seal off before dark.
Lighting. Place torches every 6-7 blocks along interior walls, and check the floor and ceiling too, since mobs can spawn on any surface with a light level of 0, including inside your house if a corner is dark enough.
Storage. A couple of chests near your crafting table saves constant back-and-forth. Split storage into "raw materials" and "tools/food" early so it doesn't turn into a junk pile.
Smelting area. Keep your furnace next to your chests, and if you can spare the iron later, a blast furnace speeds up ore smelting considerably.
Bedroom. A small walled-off nook with just the bed is enough. You mainly want it away from foot traffic so mobs don't spawn right next to you while you sleep.
Farm area and animal pen. Fence off a patch of grass near your house for crops, and pen in a few cows, pigs, and sheep close by so you're not hunting across the map for food.
Future expansion. Leave open space around your starting build. You will want room for a bigger storage system, an enchanting setup, and probably a Nether portal room eventually.
Mining Guide for Beginners
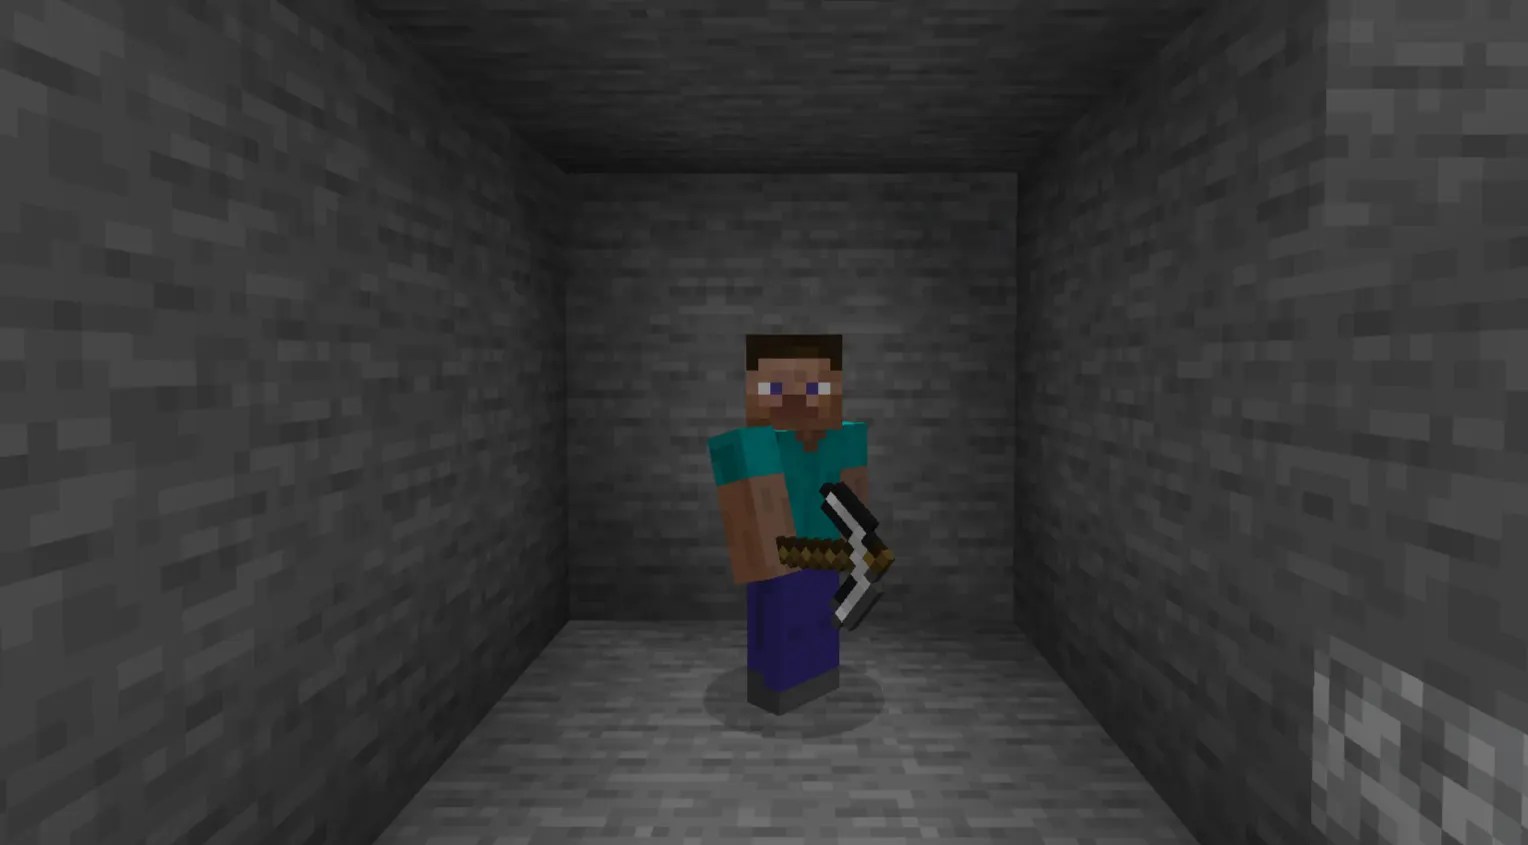
Mining is where most early deaths happen, and almost all of them are preventable.
How to mine safely. Never mine straight down and never mine straight up. You can drop into lava or a ravine, or have gravel/sand collapse on your head. Always dig at an angle or use stairs.
Torch placement. Light your tunnels as you go, not after. A dark tunnel behind you is a mob spawner waiting to happen.
Avoiding lava. If you see orange through a gap, stop. Place a block to seal it off before you dig further, or keep a water bucket ready to convert flowing lava into safe obsidian/cobblestone.
Branch mining. Dig a main corridor at your target Y-level, then branch off side tunnels every 2-3 blocks. This covers far more ground than randomly tunneling and is the most reliable way to find ore veins.
Finding iron. Iron generates from deep underground all the way up into mountain peaks, with two separate generation zones, roughly Y 16 and again around Y 232 in tall mountain biomes. Either works; caves and ravines at moderate depth are usually the easiest early source.
Finding diamonds. As of Minecraft 1.21, diamond ore is most common around Y -58 to Y -59. Set your branch mining tunnel at that depth, keep a water bucket on hand for lava, and use Fortune on your pickaxe once you have it since it noticeably increases how many diamonds you get per ore block.
Best mining levels quick reference:
|
Ore |
Best Y Level |
|
Coal |
Anywhere above ground, common near Y 96 and below |
|
Iron |
Y 16 (underground) or Y 232 (mountains) |
|
Gold |
Around Y -16 |
|
Redstone |
Around Y -59 |
|
Diamond |
Y -58 to -59 |
|
Ancient Debris |
Y 8-22 in the Nether, most reliable around Y 15 |
When to stop mining. Once your inventory is full or you're running low on torches and food, head back. Overextending a mining trip is how players lose an entire haul of diamonds to a surprise Creeper with nobody around to hear the explosion.
Understanding Hunger and Health
Your hunger bar sits above your hotbar as a row of drumstick icons. Keep it above 18/20 (nine icons) and you'll passively regenerate health as long as you have at least half a heart of damage taken. Let it drop too low, and you stop regenerating, and on Normal or Hard difficulty, an empty hunger bar starts damaging you directly.
Food saturation is a hidden stat underneath your visible hunger bar. Better foods (steak, golden carrots) give more saturation, which means your hunger bar drains more slowly after eating them compared to something like a raw carrot.
Healing costs hunger points passively over time when your bar is high enough. This is why exploring or fighting on an empty stomach is risky: you won't heal from damage you take.
Starvation can't kill you on Easy difficulty (it stops at half a heart), can bring you down to one heart on Normal, and can kill you outright on Hard. Don't assume Easy-mode habits carry over if you ever bump the difficulty up.
Best Foods for a mix of restoration and saturation are steak, cooked pork chop, and golden carrots. Golden carrots in particular are worth farming once you have gold to spare.
Common beginner mistakes with hunger: eating raw meat instead of cooking it first (raw meat can give you Hunger effect from food poisoning), letting the bar hit zero before eating, and not stockpiling a food buffer before heading out on a long trip.
Surviving Your First Night
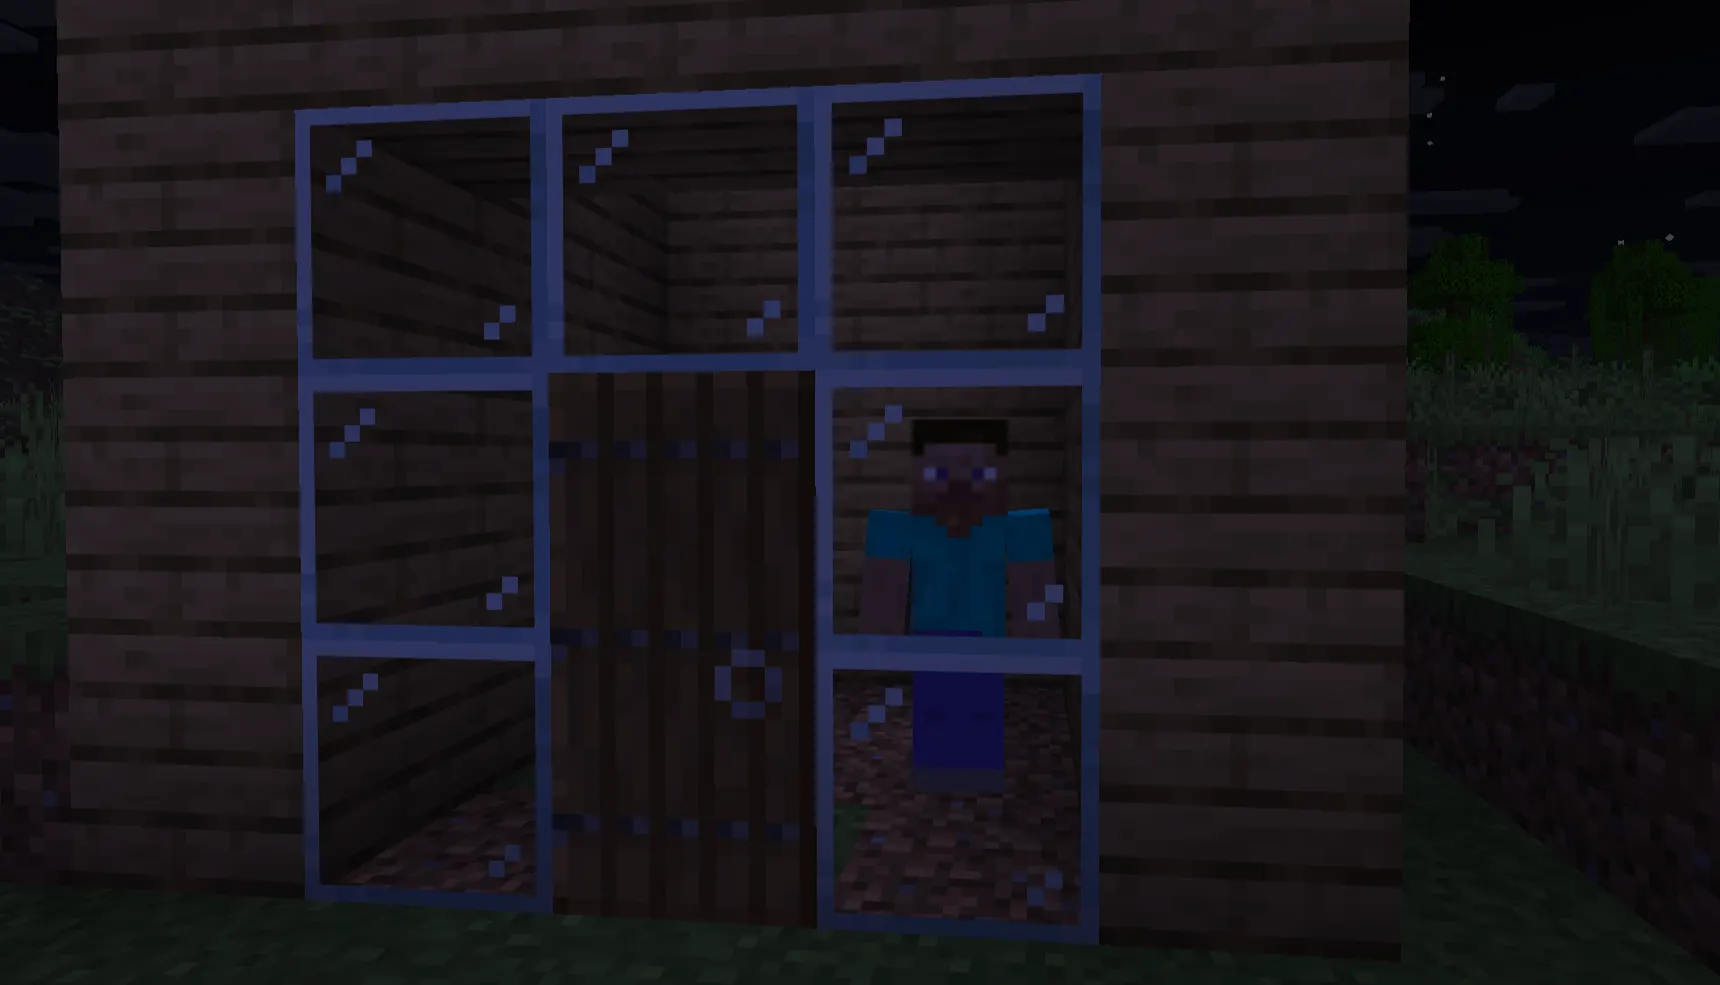
Zombie. Slow, melee only, groans audibly before you see it. Easy to fight or outrun once you have a sword.
Skeleton. Ranged attacker that will kite you and chip away your health from a distance. A shield blocks its arrows almost entirely, so close the gap or use terrain for cover.
Spider. Can climb walls, making it the one mob that ignores most simple barriers. Neutral in daylight unless provoked, hostile at night.
Creeper. Silent until it's close, then it hisses and explodes. This is the mob that destroys builds and kills unprepared players. If you hear the hiss, run. Don't try to out-trade the explosion with melee unless you're confident in your positioning.
Enderman. Tall, passive unless you look directly at its face or attack it. Don't stare. If one does aggro on you, fighting in a space with a low ceiling (two blocks high) stops it from teleporting around as effectively.
Best combat tips. Shields are your best friend early on. Sprint-hitting with a sword deals a small bonus, and backing into a corner so mobs can only approach from one direction beats getting surrounded in the open.
When to fight vs. run. Fight when you have full health, a weapon, and only one or two mobs. Run when you're low on health, unarmed, facing a Creeper at close range, or outnumbered in the open at night.
Early Game Armor Progression
Armor tiers in order of general effectiveness: Leather → Gold → Chainmail (not craftable, only found or traded) → Iron → Diamond → Netherite.
That order is a bit misleading, though. Gold armor has decent protection stats but terrible durability, so most players skip straight from leather to iron. Chainmail can only be obtained through trading or rare loot, not crafting, so don't plan around it. The practical progression almost everyone follows is:
-
Leather — quick stopgap from cow drops, minimal protection.
-
Iron — your first real armor set, a solid mid-game workhorse.
-
Diamond — significantly tougher, worth the mining investment once you're comfortable branch mining.
-
Netherite — upgraded from diamond using Netherite ingots (from Ancient Debris found in the Nether), the best armor in the game and immune to fire and lava damage.
Best Beginner Enchantments
|
Enchantment |
What It Does |
Priority |
|
Protection |
Reduces most damage types |
High (armor) |
|
Sharpness |
Increases melee damage |
High (sword) |
|
Efficiency |
Faster mining |
High (pickaxe/axe) |
|
Unbreaking |
Extends tool/armor durability |
High (everything) |
|
Fortune |
More ore drops per block |
High (pickaxe) |
|
Silk Touch |
Mine blocks in their original form |
Situational |
|
Mending |
Repairs gear using XP instead of an anvil |
Very High once available |
|
Power |
Increases bow damage |
High (bow) |
|
Infinity |
Infinite arrows from one arrow in inventory |
High (bow) |
Mending is worth calling out specifically. It turns experience orbs you'd normally spend on an anvil into free repairs for whatever tool or armor piece you have equipped, which means your gear basically never needs replacing once you've got a Mending item on everything important.
Farming Basics
Crop farm. Till dirt near water with a hoe, plant wheat/carrot/potato seeds, and let them grow. Water within four blocks keeps soil hydrated.
Animal farm. Fence in cows, pigs, sheep, and chickens. Breed them with their preferred food (wheat, carrots, seeds respectively) to build a sustainable meat and resource supply.
Sugar cane farm. Plant next to water. It grows in stacks and gives you a renewable source for paper (books, enchanting) and eventually rockets if you get into the Nether/End more seriously.
Tree farm. A small patch of saplings, spaced out, keeps you from running out of wood every time you need a crafting table replacement or fuel.
Simple XP farm. Even something as basic as a small mob grinder near your base, or just farming crops for the XP from harvesting, keeps your enchanting table stocked with levels for Mending and better gear.
Every survival world benefits from having these running early because they remove the constant low-level grinding for food and materials, freeing you up to explore, mine, and build.
Exploring Safely
-
Villages — trading, free loot in chests, beds you can borrow. Usually safe in daylight; watch for zombie villagers at night.
-
Ruined Portals — quick source of obsidian, gold, and sometimes a fire resistance-adjacent item or two.
-
Shipwrecks — underwater or beached loot chests, occasionally a treasure map.
-
Mineshafts — great for rails, ore, and cave spider spawners (be careful, cave spiders poison you).
-
Trial Chambers — new in 1.21, these are underground structures built from copper and tuff, filled with Trial Spawners that throw waves of mobs at you (including the new Breeze). Vaults inside give personal loot per player using a Trial Key. Don't attempt these until you have a full set of iron armor at minimum, a shield, and ideally a bow.
-
Desert Temples — loot at the cost of a pressure-plate TNT trap in the floor. Dig down from above instead of walking in.
-
Jungles — jungle temples have loot and arrow traps; jungles themselves are a good source of cocoa beans and bamboo.
-
Ocean Monuments — dangerous mid-to-late-game content guarded by Elder Guardians that apply Mining Fatigue. Skip until you have solid gear.
-
Strongholds — where End Portals are found. You need Eyes of Ender to locate one; throw them and follow the direction they float until they start sinking into the ground, which marks you're close.
Nether Preparation Checklist
The Nether is a serious difficulty spike. Don't walk in underprepared.
-
Full iron armor at minimum (diamond is safer)
-
Shield
-
Bow and a stack of arrows
-
Golden boots (Piglins won't attack you if you're wearing at least one piece of gold armor)
-
Stack of food
-
A block type you have plenty of, for building emergency bridges/walls
-
Fire resistance potions if you plan on lava-adjacent exploring, or at minimum a plan to avoid lava entirely
-
Water bucket (note: water evaporates instantly in the Nether, so it won't help against lava the way it does in the Overworld — bring it mainly for crossing back into the Overworld safely or specific tricks, not lava dousing)
-
Obsidian or flint and steel as backup in case your portal gets destroyed
Portal safety. Build your portal in a small enclosed room on the Nether side before exploring further, and mark the coordinates. Getting lost in the Nether without a marked portal is one of the most common ways players lose hours of progress.
Preparing for the End
-
Eyes of Ender — crafted from blaze powder and an ender pearl. You'll need a stack or so with some spares for the ones that break when thrown.
-
Stronghold — found by throwing Eyes of Ender and following their trajectory.
-
End Portal — activated by filling all the portal frame blocks with Eyes of Ender.
-
Recommended gear — full diamond or Netherite armor, an enchanted sword, a bow with Power, and blocks for building pillars mid-fight.
-
Food — bring a full stack of your best food; there's no going back mid-fight.
-
Potions — Strength and Healing potions make the Ender Dragon fight dramatically easier.
-
Blocks — you'll want plenty for building up to the End Crystals on the obsidian pillars, which the dragon uses to heal itself.
-
Bow — critical for taking down those End Crystals from a safe distance.
-
Water bucket — useful for reducing fall damage if you get knocked off a platform.
Beginner Mistakes to Avoid
-
Mining straight down without checking what's below you.
-
Ignoring your food bar until it's nearly empty.
-
Skipping a shield entirely.
-
Exploring caves on night one with wooden tools and no armor.
-
Running out of torches mid-mine and continuing anyway.
-
Carrying zero backup tools when your only pickaxe breaks.
-
Walking around with a full stack of diamonds instead of stashing them at base.
-
Not placing a bed, and getting stuck outside every single night.
-
Making eye contact with an Enderman for no reason.
-
Never turning on coordinates, then getting lost.
-
Letting your inventory overflow instead of managing storage.
-
Losing your spawn point by never sleeping in a bed.
-
Building a shelter with gaps a spider can climb through.
-
Fighting a Creeper at melee range in a tight space.
-
Going into the Nether with no marked portal location.
-
Digging into a mob spawner without a plan to deal with the mobs.
-
Ignoring water and fall damage — a bucket saves lives.
-
Hoarding items instead of using them (an unused enchanted sword helps nobody).
-
Skipping armor because "it's just a quick trip outside."
-
Not smelting raw food before eating it.
-
Wasting early game diamonds on non-essential tools instead of a pickaxe and armor first.
Beginner Progression Roadmap
First Day. Wood and stone tools, basic shelter, first night survived.
Day 2. Iron tools and armor, a proper base with storage, first farm plots started.
First Week. Enchanting table, full iron gear, steady food farm, exploring nearby structures for loot.
Second Week. Diamond gear, Nether portal built, early Nether resources (blaze rods, gold, Ancient Debris hunting).
First Month. Full enchanted diamond or Netherite gear, stronghold located, End preparation underway.
Late Game. Ender Dragon defeated, automated farms, large-scale building projects, Trial Chambers and other 1.21 combat content for ongoing challenge.
Java vs. Bedrock Survival Differences
|
Category |
Java Edition |
Bedrock Edition |
|
Combat |
Attack cooldown system, more skill-based timing |
Faster attack speed, less cooldown emphasis |
|
Redstone |
Generally considered more advanced/flexible |
Some redstone behaves differently, fewer advanced tricks |
|
Mob Behavior |
Some AI differences in pathfinding |
Some AI differences, occasionally more aggressive in specific cases |
|
Coordinates |
F3 debug menu, very detailed |
Simplified coordinate display in settings |
|
World Generation |
Slightly different seed algorithms |
Same overall structures, different seed outputs |
|
Performance |
Better on high-end PCs, mods available |
Broader cross-platform support, runs better on lower-end hardware/consoles |
|
Crossplay |
Java doesn't crossplay with Bedrock |
Bedrock crossplays across consoles, mobile, and Windows |
For a beginner, the biggest practical difference is combat feel — Java's cooldown system rewards timing your hits, while Bedrock favors faster clicking. Neither is objectively better; it comes down to what you're used to.
Pro Survival Tips
-
Always carry a water bucket for fall damage and lava emergencies.
-
Sprint-jump while traveling to cover ground faster.
-
Keep a spare set of tools in your base chest.
-
Stack torches in bulk before any mining trip.
-
Shift-click (or long-press on mobile) to move items quickly between inventories.
-
Sleep every night, even if it feels unnecessary — it locks in your spawn point.
-
Use shields against Skeletons, Piglins, and other ranged attackers.
-
Never fight a Creeper in a one-block-wide corridor.
-
Keep your hunger bar above 18 to guarantee passive regeneration.
-
Cook meat before eating to avoid the Hunger debuff from raw food.
-
Mark your base and portal coordinates somewhere you won't lose them.
-
Build vertically if horizontal space is scarce — towers work fine as bases.
-
Use scaffolding for tall builds instead of risky jump placements.
-
Keep a personal "panic chest" with backup gear near your Nether portal.
-
Don't dig directly next to gravel or sand without checking above first.
-
Label your chests (signs work) once your storage system grows past a few boxes.
-
Breed animals regularly instead of hunting wild ones to extinction near your base.
-
Fish during downtime — it's a low-effort way to get food and enchanted gear.
-
Keep an ender chest for a small stash that survives death.
-
Carry a bed with you on long trips to reset your spawn point on the move.
-
Use boats for fast river and ocean travel instead of swimming.
-
Avoid building directly on top of cave systems without checking what's below.
-
Use slabs and stairs to block mob spawns on otherwise flat roofs.
-
Bring blocks specifically for pillaring up out of danger.
-
Don't underestimate Baby Zombies — they're faster than adults.
-
Keep Milk on hand (from cows) to cure negative status effects instantly.
-
Use a compass to always find your way back to spawn.
-
Renewable XP farms save huge amounts of time over manual mining trips for levels.
-
Check the moon phase if you're dealing with slime chunks at night.
-
Keep separate storage for building blocks versus valuable/rare items.
-
A totem of undying is worth farming for once you're doing riskier content.
-
Respawn anchors (charged with glowstone) can act as a Nether spawn point.
-
Use name tags on pets to keep track of favorites in a large animal pen.
-
Don't ignore the Warden's sound cues in Deep Dark biomes; sneaking is mandatory there.
-
Keep an eye on the daylight cycle indicator in your hotbar area (sun/moon icon) so you're never caught off guard.
-
Enchant your fishing rod with Luck of the Sea and Lure for better returns.
-
Set up a Nether hub with portals to multiple bases once your world expands.
-
Netherite gear floats in lava, so you can retrieve dropped items if disaster strikes.
-
Use lava buckets sparingly as an emergency lighting/mob deterrent, but never near flammable builds.
-
Take breaks. A tired player makes the mistakes this whole list is trying to prevent.
Conclusion
Everything in this guide boils down to a simple loop: gather what you need, upgrade your tools, stay fed, and don't take unnecessary risks. You'll go from punching trees with bare hands to standing in full diamond gear faster than you'd expect, and from there the Nether and the End are just the next steps in the same process.
Take your time with it. Build systems that keep running without you (farms, storage, a well-lit base) so you're not constantly firefighting the basics, and the rest of the game opens up on its own. Good preparation beats rushing every single time — that's true on day one, and it's still true by the time you're staring down the Ender Dragon.