
Item Storage Guide Minecraft: From Starter Chests to Automated Sorting
You open your chest, and everything tumbles out at you: cobblestone mixed with diamonds, raw Iron next to rotten flesh, three stacks of dirt you forgot you grabbed. Sound familiar?
Every survival player hits this wall eventually. You spend more time digging through chests than actually playing the game. You miss resources you already have. You die in a cave run carrying half a dozen things you didn't need. A good storage system fixes all of that, and it doesn't have to be complicated.
This guide walks you through storage in Minecraft from the basics (single chests, barrels) all the way to automated sorting systems that organize items for you. Whether you're just setting up your first base or redesigning a mega base, there's something here for every stage of the game.
What Is Item Storage in Minecraft?
Storage in Minecraft is how you keep everything you collect from turning into chaos. The game gives you an inventory of 36 slots (plus your hotbar), and you'll fill that up fast. Chests, barrels, shulker boxes, and ender chests are the main containers, each one useful in different situations.
A good storage system does three things:
-
Gets items off your person quickly when you return to base
-
Let's you find what you need without hunting through every chest
-
Scales as your world grows without becoming a nightmare to manage
Without some kind of system, you end up with duplicate chests of the same item, valuable resources buried under junk, and that persistent feeling that you probably have more wood somewhere, but you can't find it.
Early Game Storage Solutions
When you first spawn, you're not thinking about organization; you're thinking about surviving the night. That's fine. But even a basic system in the first few days will save you a lot of frustration later.
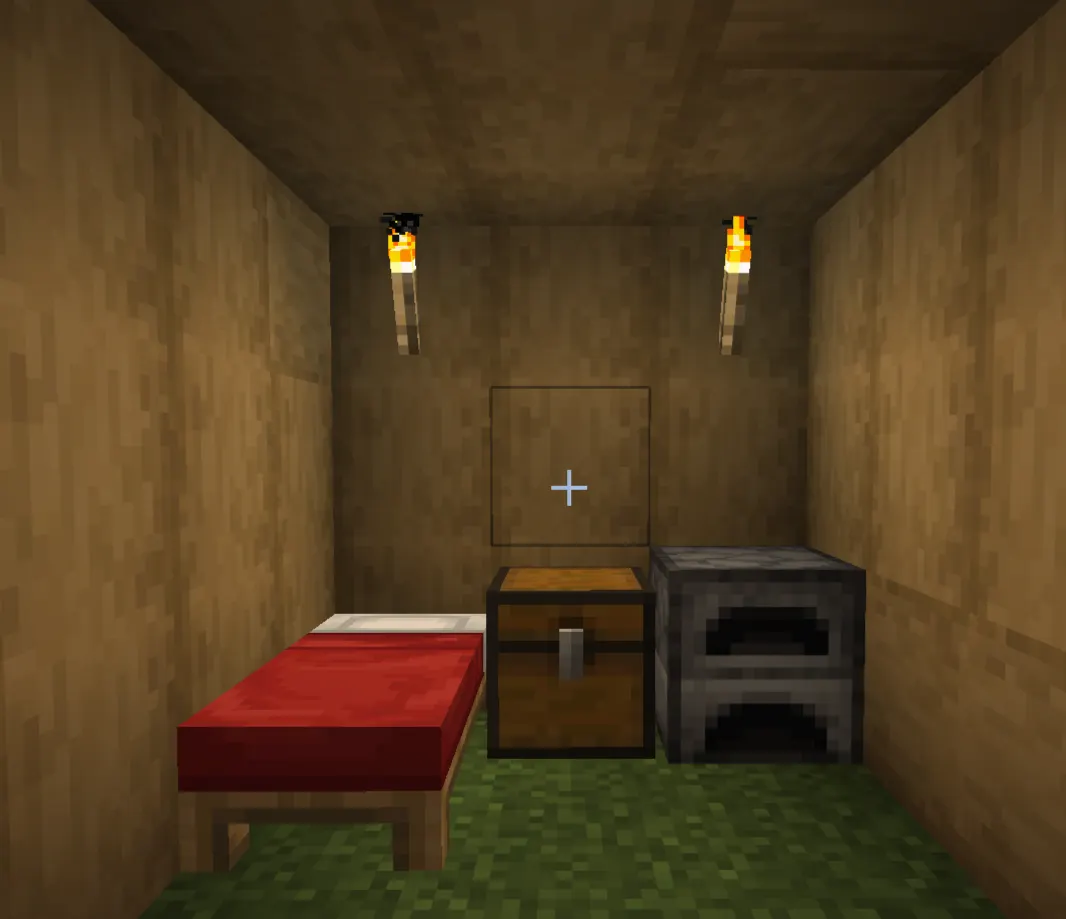
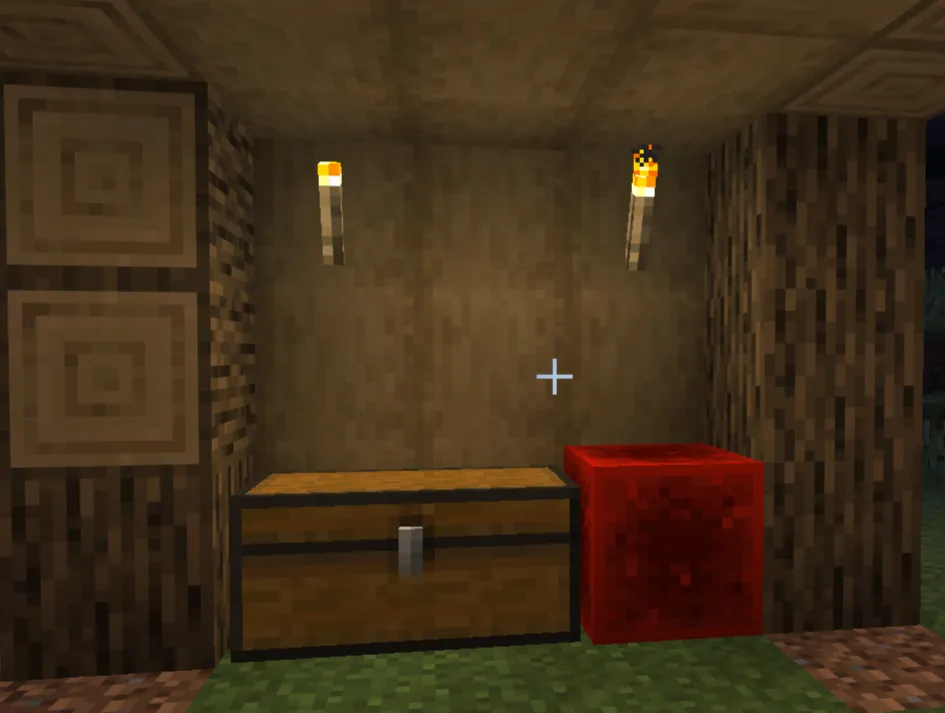
Single Chests
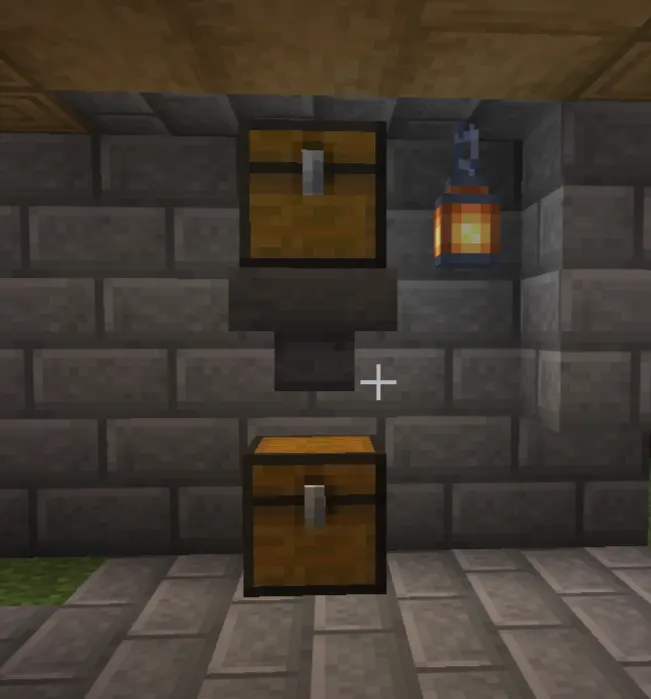
A single chest holds 27 slots. Craft one with 8 wooden planks arranged in a ring. That's all you need to get started.
Early on, use separate single chests for broad categories: one for wood, one for stone and ores, one for food and farming stuff. Don't overthink it. Just don't dump everything into one chest.
Limits to know: You can't place two single chests side-by-side if they'll face the same direction unless you convert one to a barrel or place them with a gap. Also, you can't place chests next to each other if cats or ocelots are sitting on them (this matters more than you'd think).
Double Chests
Place two single chests side by side, and they merge into a double chest, 54 slots total. This is your workhouse container for most of the early and mid-game. One double chest of cobblestone will hold 3,456 blocks if everything stacks to 64. For your most-collected items, this is where you start.
Barrels
Barrels hold the same 27 slots as a single chest, but they work without needing open space above them. That's the real advantage: you can stack barrels to the ceiling, and they'll all function normally.
Craft a barrel with 6 planks (two columns on the sides) and 2 slabs across the top and bottom. In tight spaces or underground bases, barrels beat chests for flexibility.
|
Container |
Slots |
Stackable Above |
Unique Advantage |
|
Single Chest |
27 |
No (needs 1 block above) |
Cheap, familiar |
|
Double Chest |
54 |
No |
Best early-game capacity |
|
Barrel |
27 |
Yes |
Works in tight vertical spaces |
|
Shulker Box |
27 |
Yes (inside other containers) |
Portable, keeps contents when broken |
|
Ender Chest |
27 |
No |
Personal across all locations + multiplayer |
Understanding Storage Capacity
Before you plan a storage room, it helps to know what you're actually working with. Most items stack to 64. A few stack to 16 (snowballs, eggs, signs). Tools and Armor have one slot each and don't stack.
|
Storage Type |
Slots |
Max Items (stackable 64) |
Notes |
|
Single Chest |
27 |
1,728 |
Basic unit |
|
Double Chest |
54 |
3,456 |
Most common setup |
|
Barrel |
27 |
1,728 |
Same as a single chest |
|
Shulker Box |
27 |
1,728 (or 27 packed shulkers inside) |
Can nest for massive transport capacity |
|
Ender Chest |
27 |
1,728 |
Per-player inventory, not shared |
One thing players underestimate: a shulker box inside your ender chest effectively multiplies your portable capacity. More on that in the shulker box section below.
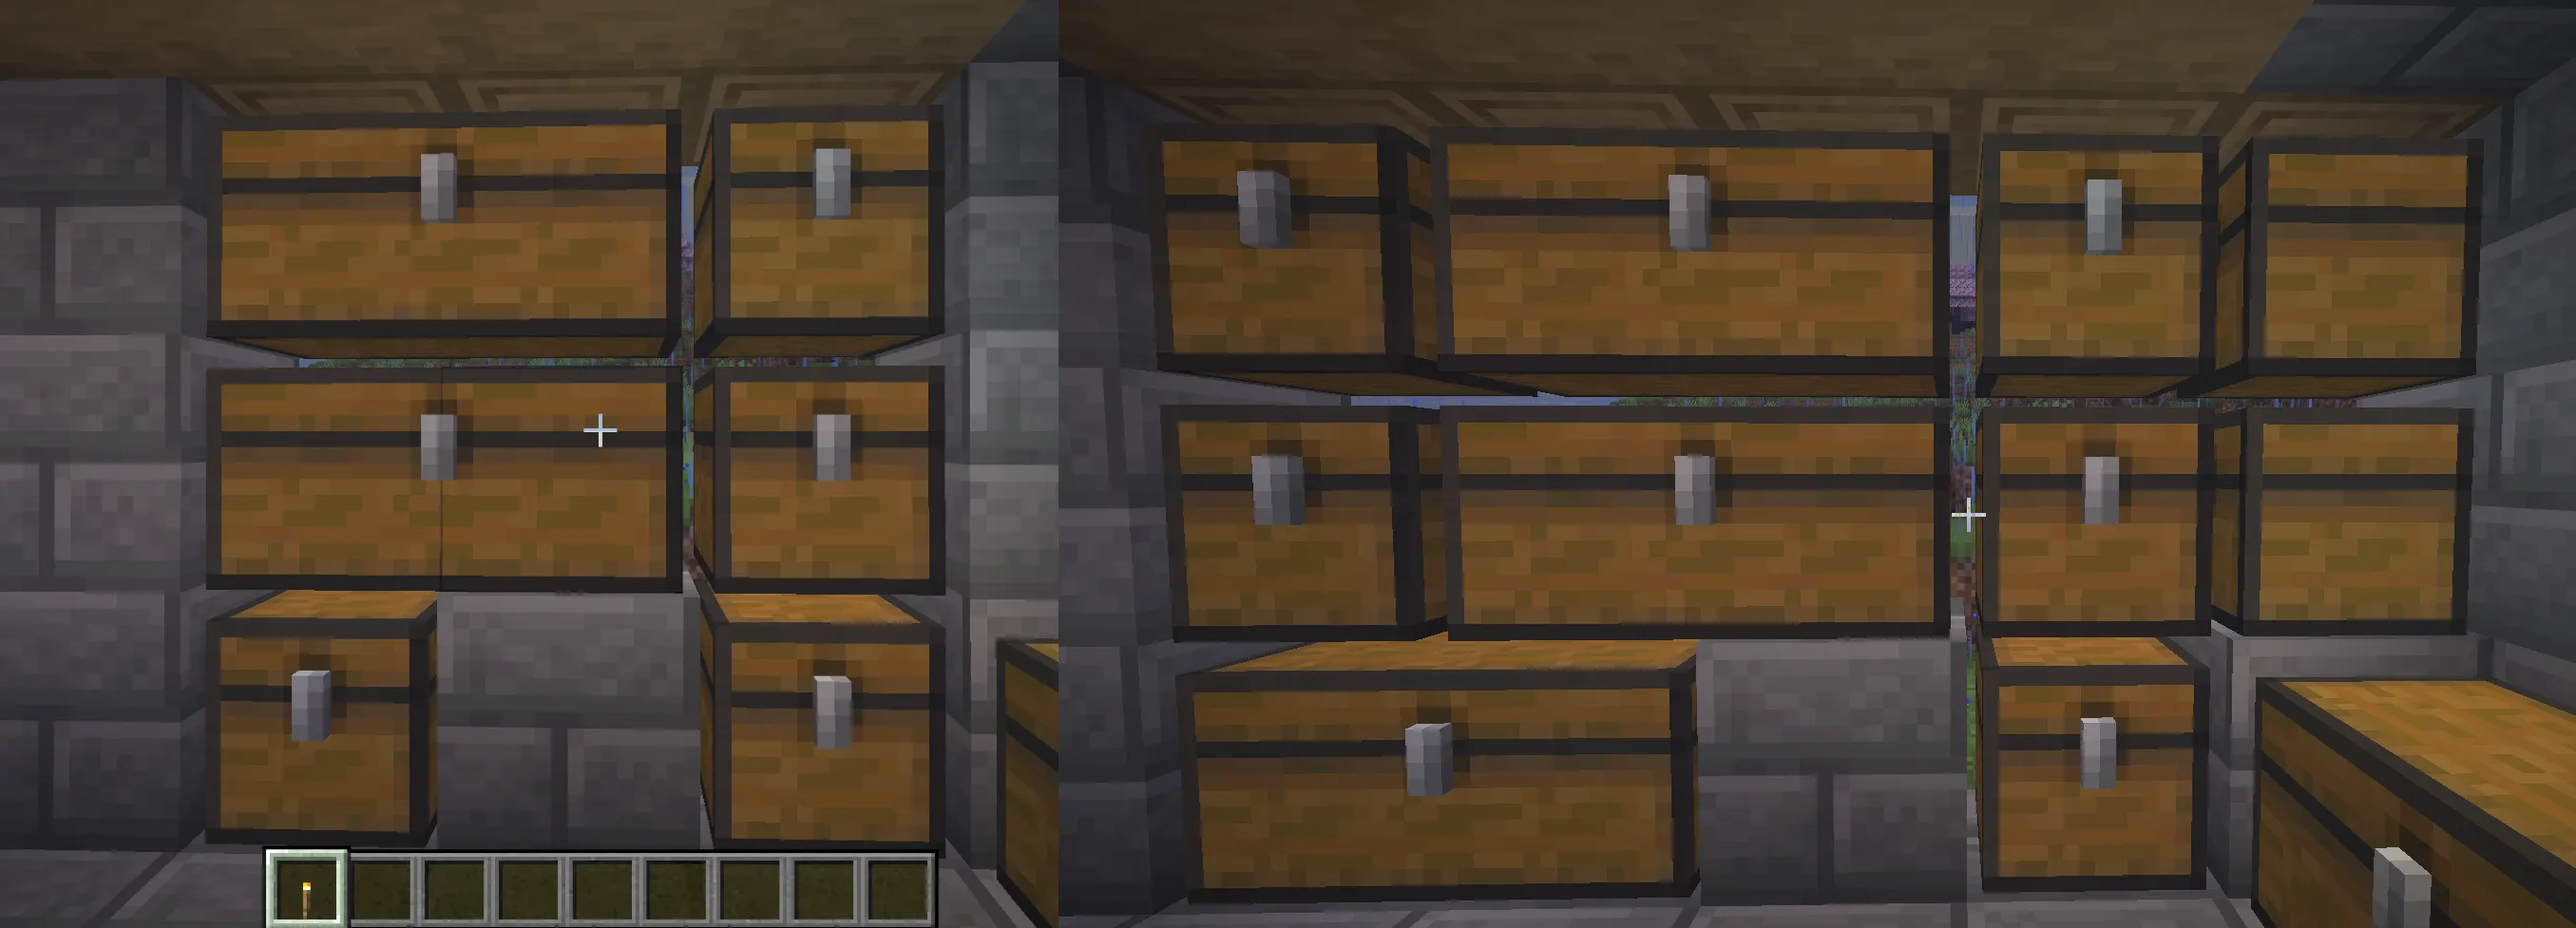
How to Organize Your Storage Room
Organization isn't about being tidy for its own sake — it's about knowing exactly where to look when you need something. The simplest system that works is category-based: each chest (or section of chests) holds one type of resource.
Here's a practical breakdown that works from early game through late game:
Building blocks — stone, cobblestone, wood types, sand, gravel, glass, and concrete. Give each wood type its own chest once you start collecting multiple varieties.
Ores and raw materials — raw iron, raw copper, raw gold, coal, lapis, redstone dust, diamonds, emeralds, netherite scraps. Keep processed and unprocessed versions together or separate, depending on how much you use them.
Farming and food — wheat, seeds, bread, carrots, potatoes, melon, pumpkin, sugarcane, leather, bone meal.
Mob drops — string, bones, arrows, gunpowder, ender pearls, blaze rods, shulker shells, slime balls, Spider eyes. These tend to pile up fast.
Redstone components — repeaters, comparators, pistons, observers, hoppers, dispensers, droppers, slime blocks.
Tools and armor — either an active chest (for gear you're using) and a storage chest (for backups and enchanted pieces you're saving).
Miscellaneous — enchanted books, potions, name tags, saddles, music discs, and fireworks. This is your catch-all. If it doesn't fit elsewhere, it goes here.
The key is being consistent. Once you decide diamonds live in a specific chest, they always live there — even if that chest has room for something else. Muscle memory builds up fast when you're disciplined about it.
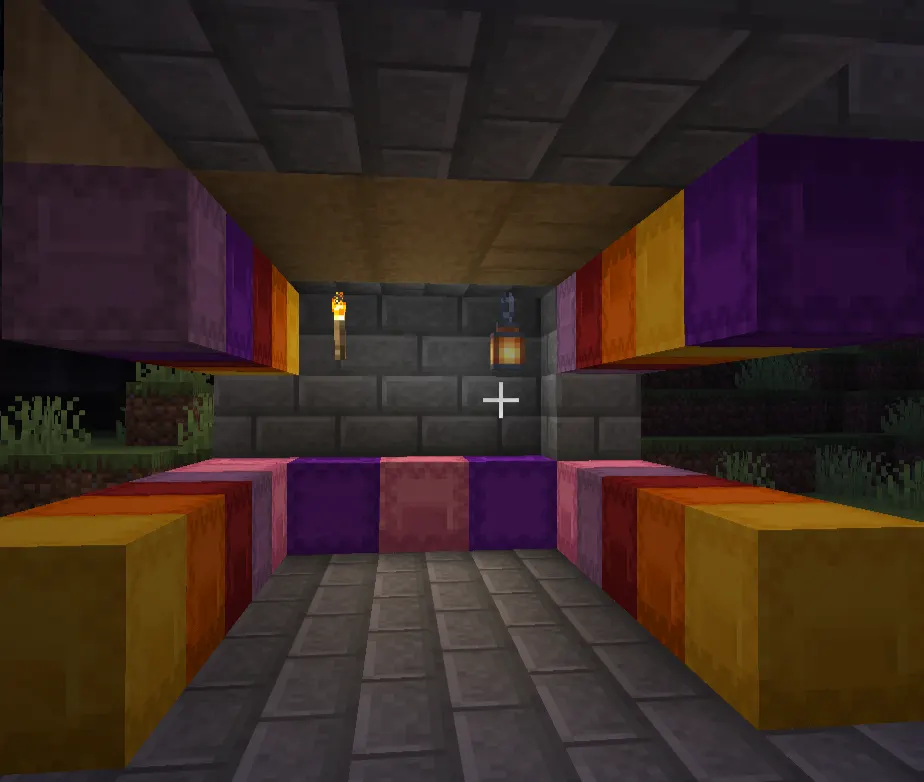
Storage Room Design Ideas
Small Starter Storage RoomF
For a basic survival base, 2–3 rows of double chests along a single wall are enough to get started. Put the chests you open most often at eye level. Leave a Crafting table and a Furnace nearby, so you can unload, craft, and smelt all in one area.
Label every chest immediately with signs. You'll think you'll remember what's in each one. You won't.
Leave a gap at the end of each row so you can expand later. Tearing out walls to add more chests is annoying. Plan for growth from day one.
Medium Survival Base Storage

Once you're in mid-game, you probably have enough resources to justify a dedicated storage room. A classic layout: chests around all four walls by category, with item frames on each chest showing what's inside at a glance.
Put similar categories near each other. Building blocks together, mob drops together, redstone components together. When you return from mining, you should be able to drop everything in under a minute without thinking too hard.
For larger setups, consider putting hoppers under your most-used chests, pointing into additional overflow chests below. This way, when the main chest fills up, overflow automatically drops into the secondary one. Simple, effective, no redstone required.
Large Mega Base Storage Hall
Atthe mega base scale, organization becomes an architecture problem. A common approach is a hallway with categorized "wings," one wing per major category. Each wing has labeled rows, item frames, and eventually hopper-based automation feeding into sorted chests.
Think about workflow: you want the path from your farm to food storage to be short, and the path from your mine entrance to ore storage to be short. Walking across a 200-block base to store cobblestone gets old fast.
Design tips for large storage halls:
-
Use different flooring materials to mark sections (stone for building blocks area, dark oak for mob drops, etc.)
-
Put Torches or sea lanterns at consistent heights so the lighting never varies.s
-
Leave a 2-block-wide aisle down the center so you can always see the full length of the room
-
Build 1–2 blocks of extra height into the room you'll want it when you add hoppers and sorters later
Using Signs, Item Frames, and Labels
Signs and item frames are what separate a usable storage room from a confusing one.
Signs — Hang a sign on or above each chest with the category name. Hanging signs (added in Java 1.20 and Bedrock 1.20) work on chains below blocks, which gives you more placement options without building a signpost.
Item frames — Place one on each chest face and put a representative item inside. Seeing a piece of coal on a frame tells you more at a glance than reading a sign that says "fuel." Glow item frames (crafted with a glow ink sac) make the item visible even in dim light, worth the investment in your main storage room.
The honest tradeoff: signs are faster to place and read from a distance. Item frames are clearer at a glance, but cost frames and items. Most experienced players use both item frames on the chest face, signs above for the category name.
Inventory Management Tips
A well-organized storage room only helps if you're not carrying unnecessary weight. A few habits that make a real difference:
Keep your hotbar intentional. Your hotbar should have your main tool for the current task, a sword or axe for combat, food, a water bucket (in Java, for fall damage), a totem if you're in a dangerous area, and maybe a shulker with supplies. That's it. The remaining slots are for what you pick up.
Carry one food type only. Players often stack their inventory with multiple food items "just in case." Pick one good food source (cooked beef, bread, golden carrots) and stick with it. Everything else goes in a chest.
Do a chest sweep when you get home. Before you go back out, open your inventory and drag everything that doesn't belong on your hotbar into the right chest. It takes 2 minutes. It prevents the "my inventory is full, and I'm mid-fight" problem.
Don't hoard junk. Rotten flesh, poisonous potatoes, stone you've already maxed out — if you have 20+ stacks and no use for it, drop it or compost it. Storage space is not infinite.
Ender Chests Explained

An ender chest is a personal chest. Every ender chest you place in your world connects to the same 27-slot inventory as your inventory, not a shared one. Break the chest and place it somewhere else, and your items are still there.
That means your ender chest can be in your base, your nether hub, your end farm, and your friend's base. Open any of them, and it's the same content.
Craft one with 8 obsidian around a single eye of Ender. It's more expensive than a regular chest, but the value comes from convenience, not raw storage space.
In multiplayer, your ender chest inventory is completely private. Other players cannot access it, and it doesn't sync with anyone else's ender chest. If you're playing on a server and want to keep valuables safe without building a vault, an ender chest is the answer.
When should you start using one? As soon as you can consistently get eyes of Ender, usually once you've been to the Nether and are farming blaze rods. Having an ender chest at your base and one in the Nether makes resource transfers significantly easier.
Shulker Boxes Explained
Shulker boxes are what late-game storage looks like. They're portable containers that break one, and it drops as an item with all its contents still inside.
Getting shulker shells: You need to go to the End and kill shulkers. Each shulker has a 50% chance to drop one shell on death (that goes up with Looting III). Two shells craft into one shulker box, colored with any dye you want.
A shulker box holds 27 slots. That alone isn't impressive. What's impressive is that a full shulker box counts as one item in your ininventory so you're effectively carrying 1,728 items in one slot. Fill 36 shulker boxes, and your inventory holds over 60,000 items.
The standard late-game trick: fill shulker boxes with specific supplies for specific tasks, then store those shulker boxes in your ender chest. One ender chest becomes your portable base. Going on a long mining run? Pull out a shulker with torches, food, and spare tools. Building a mega project? Pull out a shulker full of the blocks you need.
|
Storage Setup |
Effective Item Capacity |
|
Full inventory (no shulkers) |
~2,304 items |
|
Inventory + 1 ender chest |
~4,032 items |
|
Inventory + ender chest of shulker boxes |
~64,000+ items |
That's the transformation. Once you have shulker boxes, inventory management changes completely.
Automatic Item Sorting Systems
Eventually, manually sorting items gets tedious. If you're running an Iron farm, a mob farm, or an automatic tree farm, items pile up faster than you can sort them by hand. That's where hoppers come in.
How Hoppers Work
A hopper pulls items from the container above it and pushes them into the container it's facing. Place a hopper under a cchestst and it'll drain the chest below. Place one facing sideways into a chest, and it'll fill that chest. They process one item every 8 game ticks (about 0.4 seconds at default speed).
In Bedrock Edition, hoppers work essentially the same way, though some complex redstone filtering systems that work in Java won't function identically in Bedrock. Simpler hopper chains work fine on both.
Simple Hopper Sorting
The most basic sorter: a hopper pointing into a chest. Put a hopper under your farm ooutputt and it'll collect items automatically into a connected chest. No filtering, but it keeps items from despawning.
Filtered Item Sorters
A filtered sorter uses hoppers and comparators to route specific items into specific chests. The core mechanic: a hopper can be "locked" by a comparator signal. If you fill most of a hopper's slots with a single item type (leaving one slot for passing items), only that item type will move through that hopper.
A typical single-item filter looks like this:
-
A main hopper channel carries all items
-
Filtering hoppers branch off, each locked with 4 stacks + 1 of the target item
-
Matching items get pulled out and deposited into the target chest
-
Non-matching items continue down the chain
It's more complex to build than a basic chest room, but once it's running, you never sort manually again.
Bedrock note: Filtered sorters work in Bedrock, but due to differences in how Bedrock handles redstone timing, some Java-specific designs need adjustment. Search specifically for "Bedrock item sorter" designs rather than using Java tutorials directly.
Large Storage Networks
At the largest scale, players build networks where multiple farms feed into one central hopper trunk line, items get filtered into hundreds of categorized chests, and overflow prevention systems stop hoppers from backing up. These are advanced builds — look up tutorial videos for your specific platform before attempting one. But they're not magic. They're just hoppers and comparators arranged carefully.
Storage System Progression Path
|
Stage |
Recommended Storage |
Why |
|
Early Game (days 1–10) |
Single and double chests, basic categories |
Fast to build, no special materials needed |
|
Mid Game (days 10–50) |
Organized storage room with item frames and signs |
Efficient enough for growing resource pools |
|
Late Game (post-Nether) |
Ender chest + shulker boxes for portability |
Transforms how you carry and transport items |
|
End Game (post-Ender Dragon) |
Automated sorting system fed by farms |
Manual sorting can't keep up with farm output |
You don't have to rush to the next stage. A well-organized mid-game chest room is perfectly fine for players who aren't doing massive automated farms. The automation only becomes necessary when the volume of items outpaces your ability to sort them manually.
Common Storage Mistakes Players Make
Dumping everything into one chest. It seems fine for the first hour. Then it's a disaster. Sort from the start.
Not labeling chests. You will forget which unlabeled chest has your redstone and which has your iron. Signs take 10 seconds to place.
Building your storage room too far from everything else. If your storage is 100 blocks from your furnaces, you'll start leaving items in your inventory instead of making the walk. Build storage near your workstations.
No overflow space. You plan for 5 stacks of cobblestone and end up with 50. Leave room to expand, or your sorting breaks.
Mixing valuables with junk. Don't put diamonds in a "misc" chest. Keep irreplaceable items in a clearly labeled, dedicated spot — ideally with access control if you're on a server.
Skipping automation for too long. Once you have a mob farm or iron farm running, you'll drown in output. Set up at least a basic hopper collection system early, even if you don't build a full sorter yet.
Best Storage Setup for Survival Worlds
If you want a clear progression to follow, here it is:
Days 1–5: Two to three double chests with basic categories. Label them. That's all.
Days 5–20: Build a dedicated storage room near your crafting and smelting area. Add item frames. Expand double chests per category. Add overflow chests for items you collect the most.
Post-Nether: Get an ender chest up as fast as possible. Start collecting shulker shells. Fill shulker boxes with portable supply kits.
Post-Dragon: Design an automated sorting system for your main farms. At a minimum, put hoppers under farm output to collect items automatically, even before you build filtering.
This isn't the only valid path, but it's the one that adds complexity at the right pace, so you're never overbuilding for where you are in the game.
Wrapping Up
Storage in Minecraft starts simple and can get as complex as you want it to. Early on, a few labeled double chests near your Crafting area are all you need. As your world grows, a dedicated chest room with item frames keeps things manageable. Eventually, shulker boxes and ender chests transform how you carry items. And if you push into automation, hopper-based sorting systems handle the volume that manual sorting can't.
The common thread through all of it: a little organization early saves a lot of frustration later. You'll spend less time hunting for items, less time cleaning up chest spam, and more time actually playing the game. Set the system up properly, keep it consistent, and your storage room will still make sense in 500 hours.