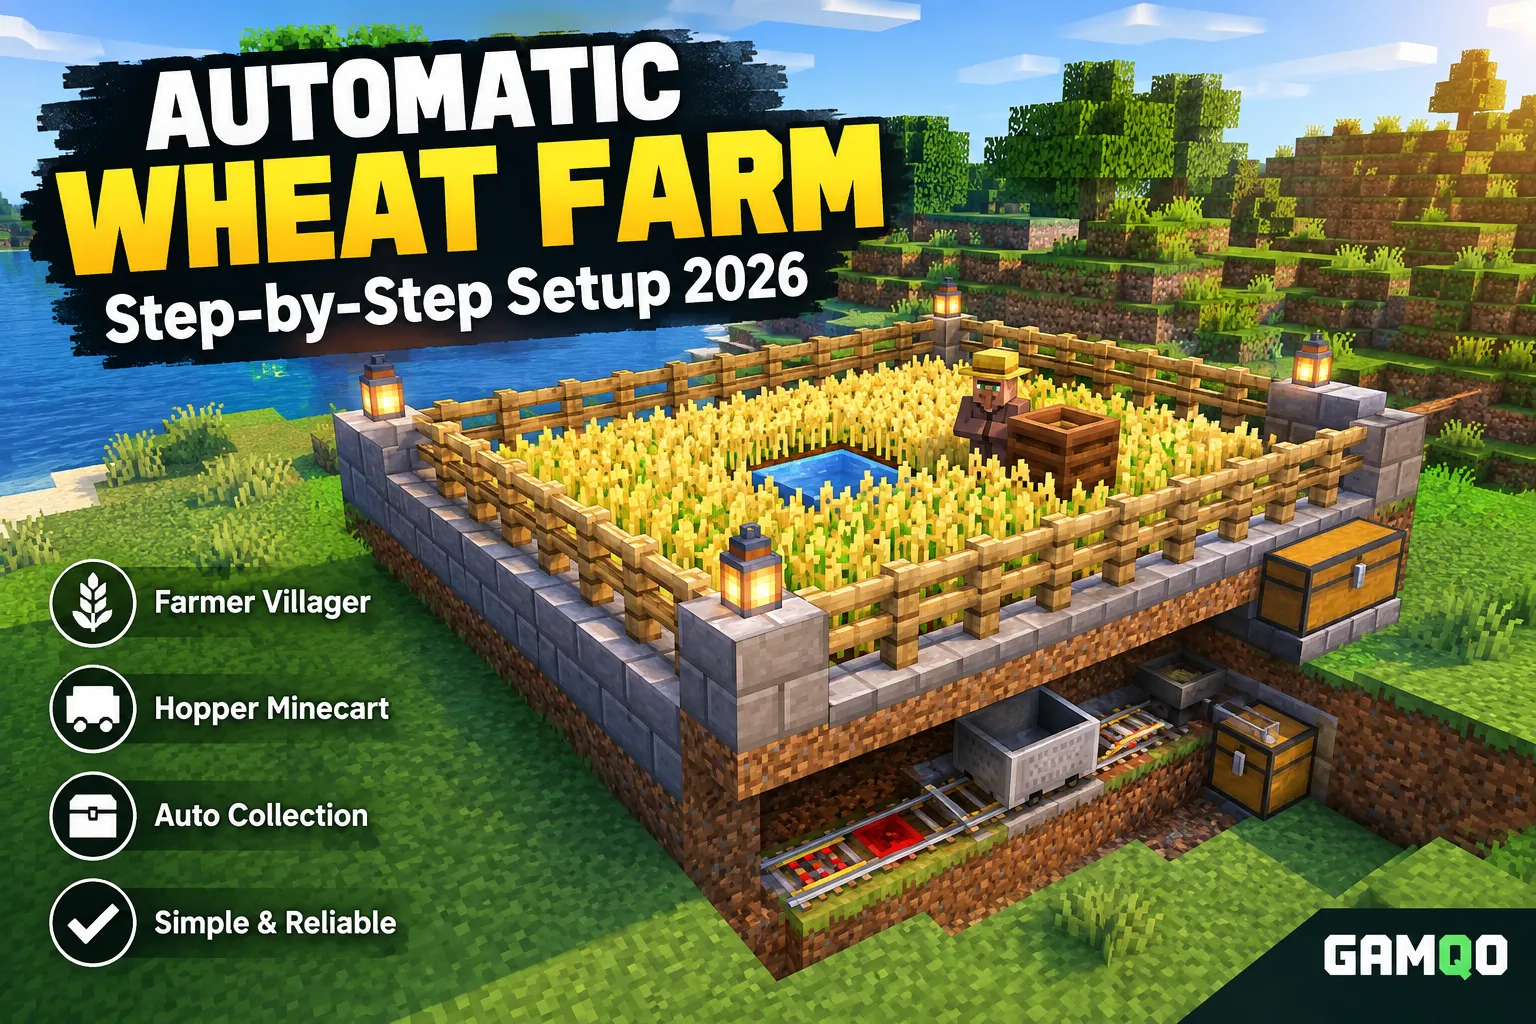
Automatic Wheat Farm in Minecraft: Step-by-Step Setup
Wheat is one of those crops you end up needing more of than you expect. Bread, cow and sheep Breeding, hay bales for fall decorations, composting for bone meal, villager trading. Hand-farming a small field works for the first few in-game days, but it stops scaling the moment you're trying to run a breeder or supply a trading hall.
This guide builds one specific farm: a villager-operated wheat field with a hopper minecart collection system underneath. It's the design that shows up most often in long-term Survival worlds because it doesn't rely on Redstone timing, doesn't need you to be present, and keeps running as long as the villager stays fed on seeds and the chunk stays loaded.
Quick Answer
To build an automatic wheat farm, till a 9x9 area of farmland around a central water source, plant wheat seeds, wall it off, and place a farmer villager inside next to a composter. The villager will harvest mature wheat and replant it on its own. A hopper minecart running underneath the farmland collects the dropped wheat and seeds and delivers them to a chest. This is fully automatic for harvesting and replanting, but you still need to refill seeds occasionally and empty the chest.
What You Need to Build the Farm
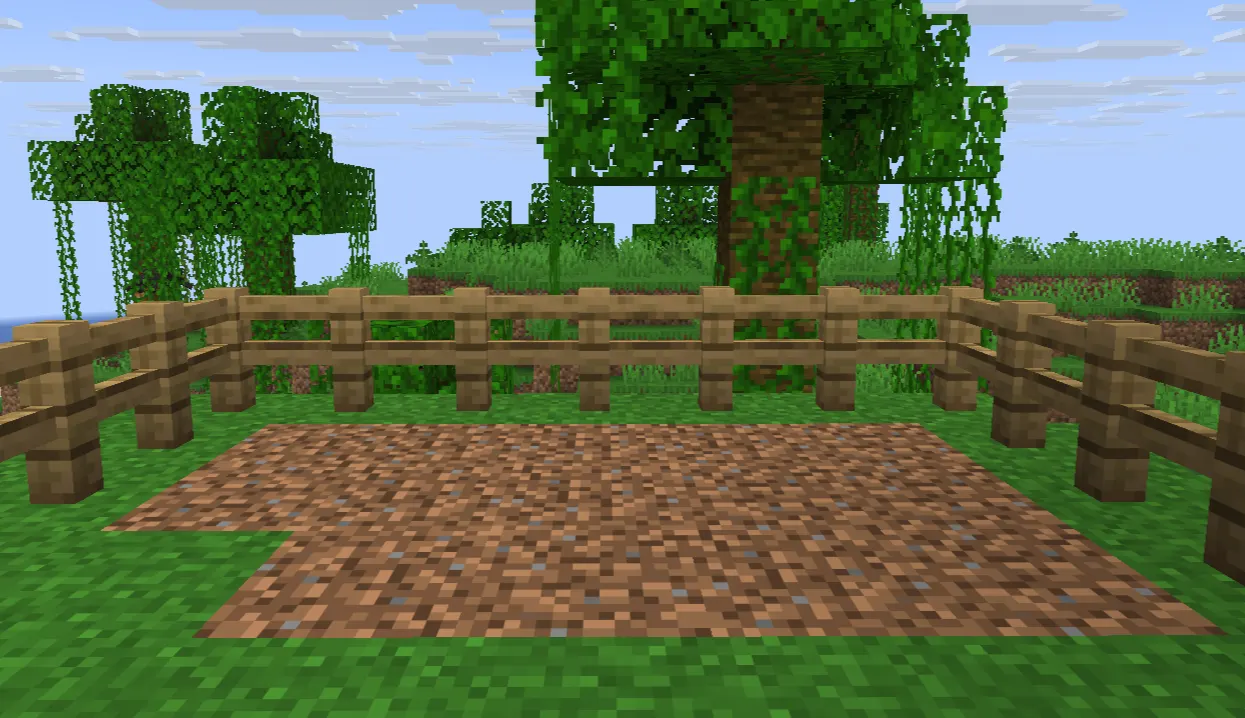
Required Materials
-
81 farmland blocks (till dirt or grass with a hoe, or place dirt if you don't have grass nearby)
-
1 water bucket
-
At least 64 wheat seeds (more if you want to start with a full field instead of letting the villager plant it)
-
1 unemployed villager
-
1 composter
-
Fencing or solid blocks to wall off the farm (roughly 36 fence posts for a 9x9 perimeter, plus gates)
-
5 hoppers (minimum, more if you want multiple collection points)
-
1 hopper minecart
-
Rails: enough to run a loop under the farmland, plus at least 1 powered rail and 1 redstone block or lever to keep it powered
-
1 chest (double chest recommended once the farm is producing well)
-
Light source (Torches, lanterns, or glowstone) if the farm isn't already lit by sunlight
Optional Materials
-
A hopper minecart with chest below the Storage chest, for overflow
-
Slabs to place over the villager containment gap so it can't be pushed out by other mobs
-
A name tag, if you want to keep this specific villager from despawning or being lost in a raid
You don't need redstone clocks, observers, or dispensers for this design. That's part of the point. The villager does the harvesting logic that redstone can't do on its own.
How the Automatic Wheat Farm Works
The short version: wheat needs farmland, water, and light to grow. A farmer villager, once it has a job site block (the composter) and can see enough farmland nearby, will automatically walk over to mature wheat, break it, pick up the drops, and replant a seed in the same spot. It does this without any input from you.
The catch is that villagers eventually fill their inventory. A farmer villager has a limited number of item slots, and once wheat and seeds pile up in there, it stops harvesting. That's where the hopper minecart comes in. It rides underneath the farmland on a loop and sucks up any wheat or seeds that get knocked to the ground before the villager has a chance to grab everything. In practice, the villager and the minecart end up competing for the same drops, and the minecart usually wins enough of the time to keep the villager's inventory from maxing out.
This is why almost every reliable wheat farm design uses this same two-part structure: farmland with a farmer villager for the harvest logic, and a hopper-based system underneath for collection. Redstone alone can't tell when a wheat plant is fully grown. There's no vanilla way to detect crop maturity without a villager or a timer that wastes half your seeds breaking immature plants.
Step-by-Step: How to Build an Automatic Wheat Farm
Step 1: Choose the Location
Pick a flat area near your base, ideally within your normal walking or minecart range so the chunk stays loaded while you play. You need a clear 9x9 space for the farmland plus a little extra room around the edges for the containment wall. Avoid building directly next to a village if you want to control which villager becomes your farmer. Grabbing a random villager and walling them off works, but it's easier if you already have a spare one in an isolated pen.
Step 2: Build the Collection Layer First
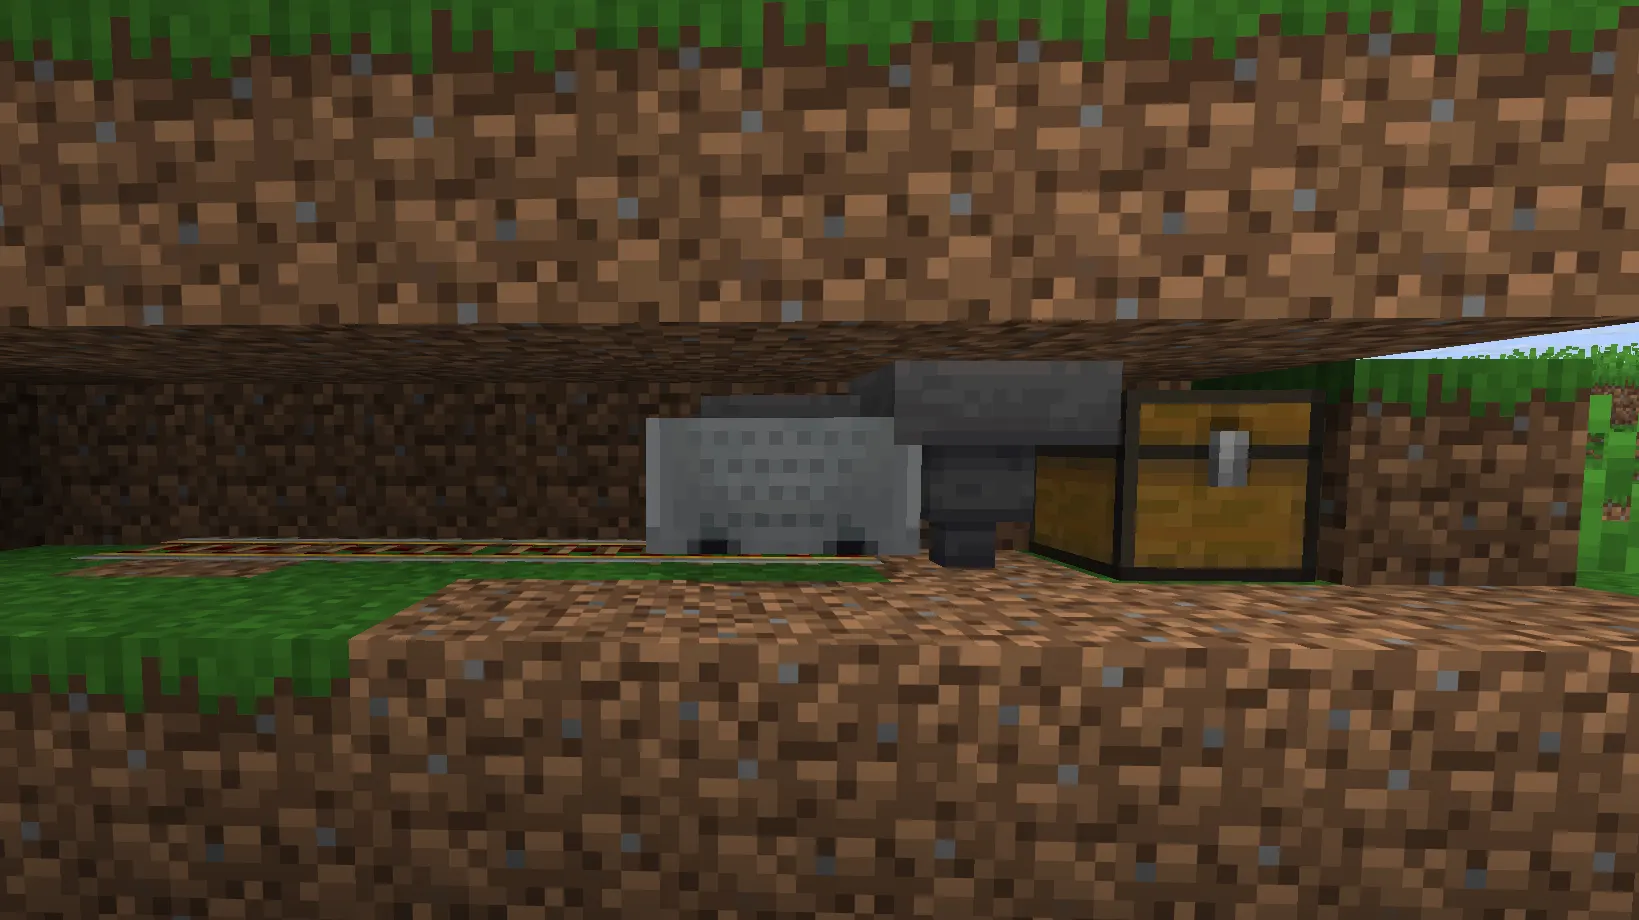
This part gets built before the farmland, since the farmland sits on top of it.
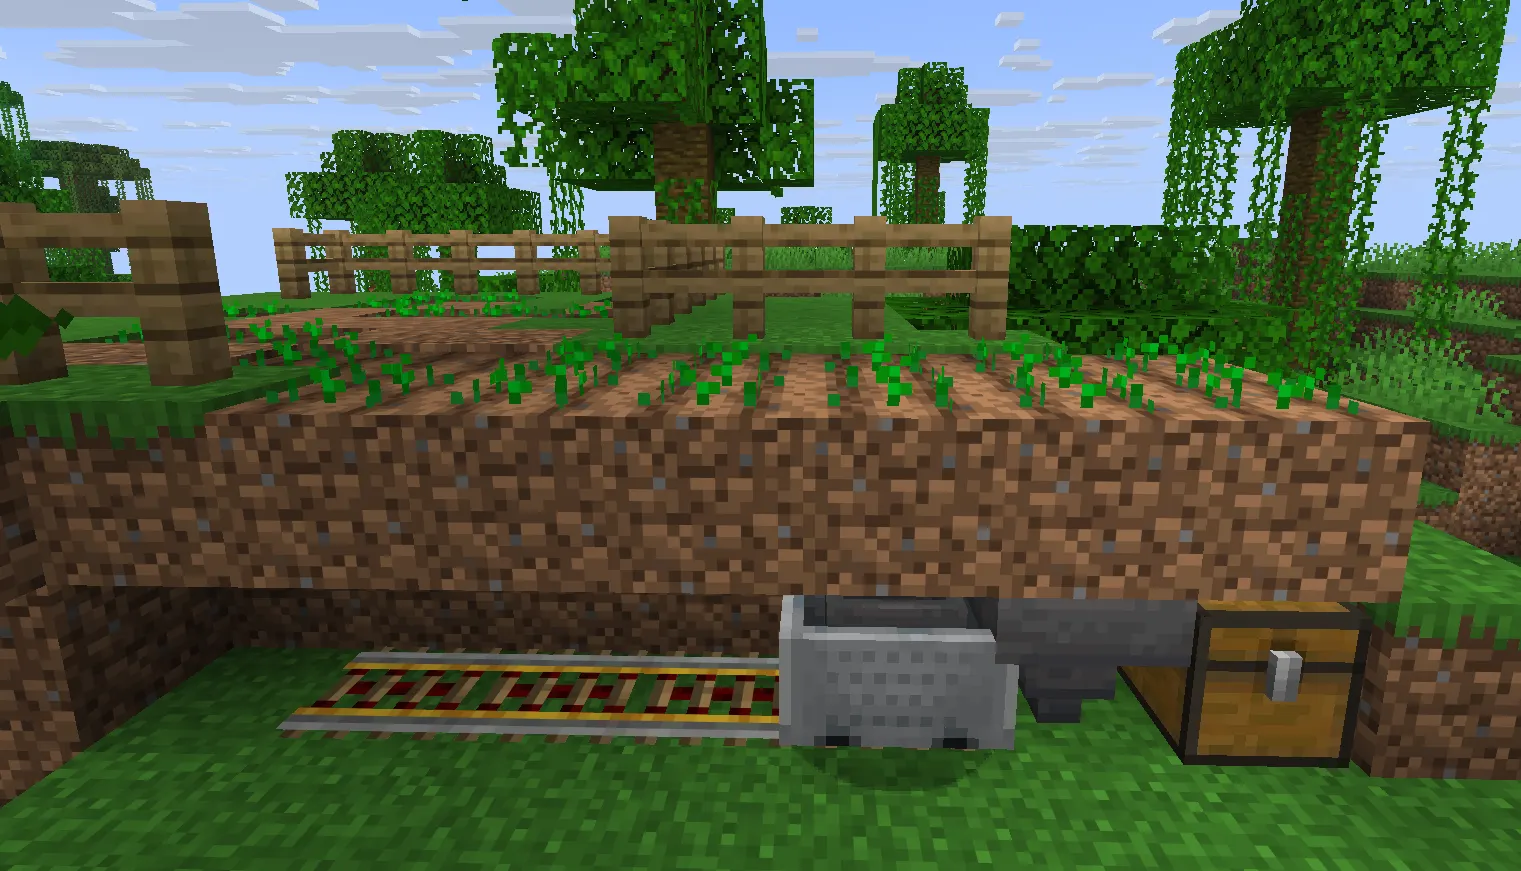
Dig out a trench one block wide and one block deep running through the center of where your 9x9 area will be. Place rails along the trench, with one powered rail near the start of the loop connected to a redstone block or a lever-activated system to keep the minecart moving. Set a hopper minecart on the rail.
Below the trench, or at one end of it, place a row of hoppers leading into a chest. The hopper minecart will dump its contents into a hopper below it periodically as it rides the loop, and that hopper feeds the chest. If you're using a simple straight-line loop instead of a full rail circuit, you can skip the redstone block and just power one section of track to push the minecart back and forth.
Step 3: Prepare the Farmland
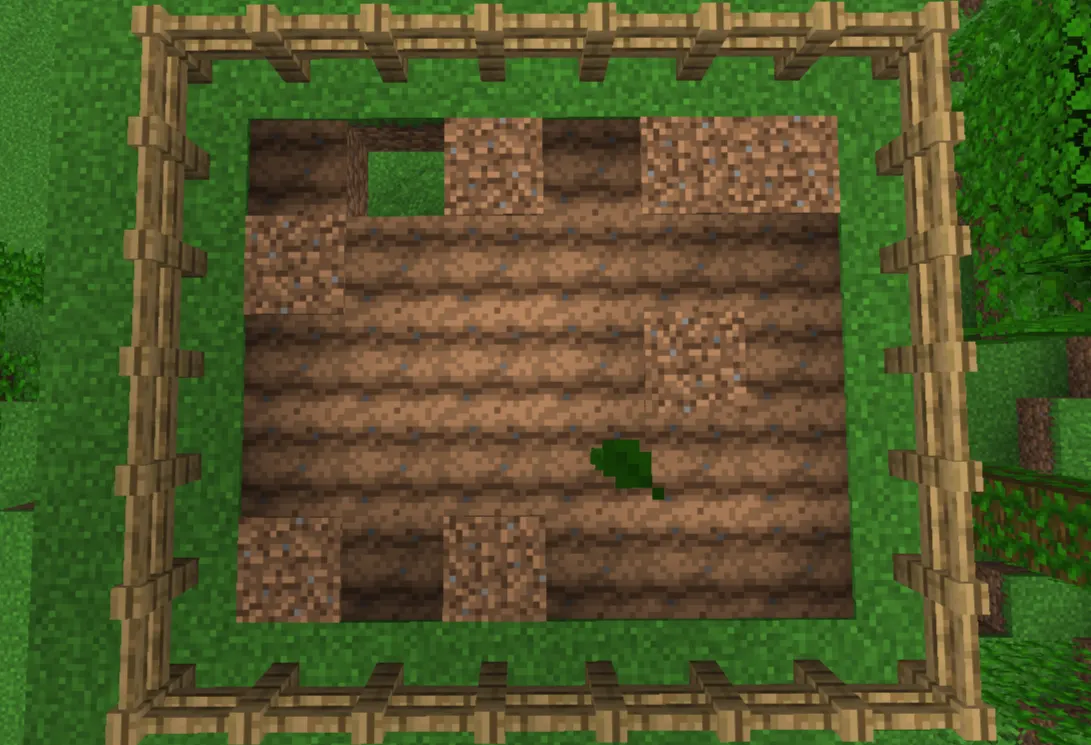
Place a bottom slab in the center of your 9x9 area, directly above the collection trench, and fill it with a water bucket. This acts as your water source without leaving an open water block that could wash away seeds or drown the villager.
Till the surrounding dirt with a hoe. A single water source hydrates farmland up to 4 blocks away in every direction, which covers the full 9x9 grid from a center point. Till every block in range so nothing goes to waste. If any spot is more than 4 blocks from water, either move the water source or add a second one, since unhydrated farmland eventually reverts to dirt.
Step 4: Plant the Seeds
Right-click wheat seeds onto each farmland block. You don't strictly need to do this yourself since the villager will replant after its first harvest, but starting with a full field means the farm produces something on day one instead of waiting for the villager to plant from scratch.
Step 5: Wall Off the Farm
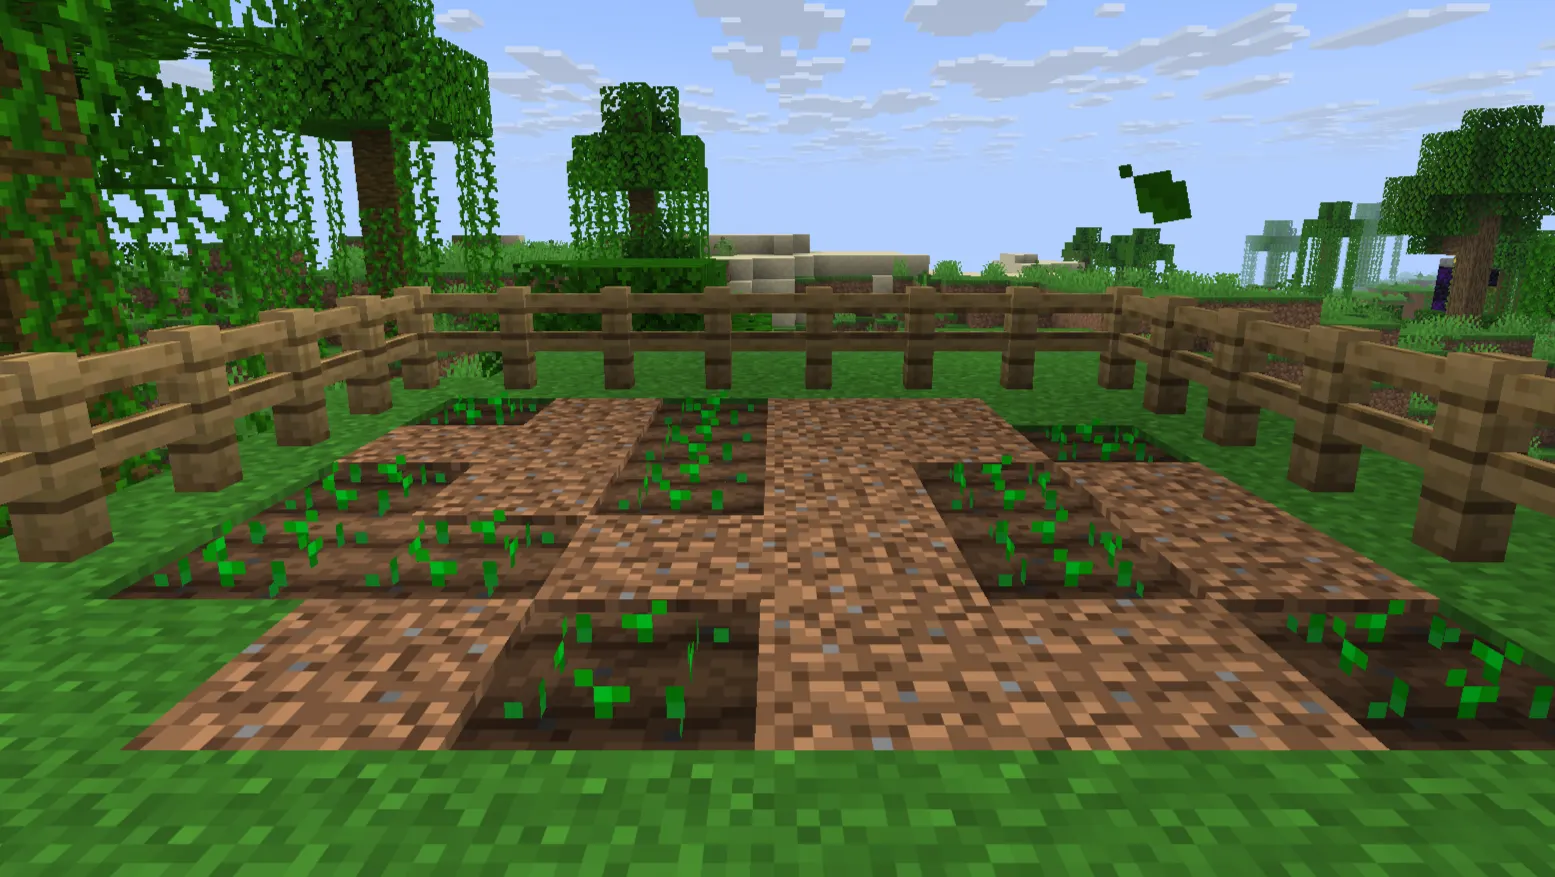
Build a fence, wall, or solid block perimeter around the 9x9 area, at least one block tall with a gate for yourself. This keeps the villager contained and stops other mobs, especially Zombies, from wandering in and attacking it at night. Cover any gaps at ground level. Villagers can't jump fences, but they can walk through open gates you forget to close, and they'll wander off if there's any path out.
Step 6: Add the Composter and the Villager
Place a composter inside the walled area. If you're using an unemployed villager (one with no profession, shown by a plain brown robe), it will claim the composter as its job site block and become a farmer within a few seconds, assuming it's close enough and the site isn't already claimed by another villager.
Bring your villager inside the enclosure and close the gate behind it. If you're moving a villager from elsewhere, boat them over or lure them with the crop they last had a preference for, then trap them here before they can wander back out.
Step 7: Activate and Test the Farm
Make sure the hopper minecart loop is powered and moving. Wait for wheat to mature, which happens over several growth stages and depends on light level and random tick updates, not a fixed timer. Once wheat reaches full growth, watch the villager. It should walk to the block, break it, and immediately replant a seed. Drops that hit the ground near the collection trench should get pulled into the hopper minecart within a few seconds.
If nothing happens after a full in-game day, move on to the troubleshooting section below before assuming something's wrong with the whole build.
How the Farmer Villager Works
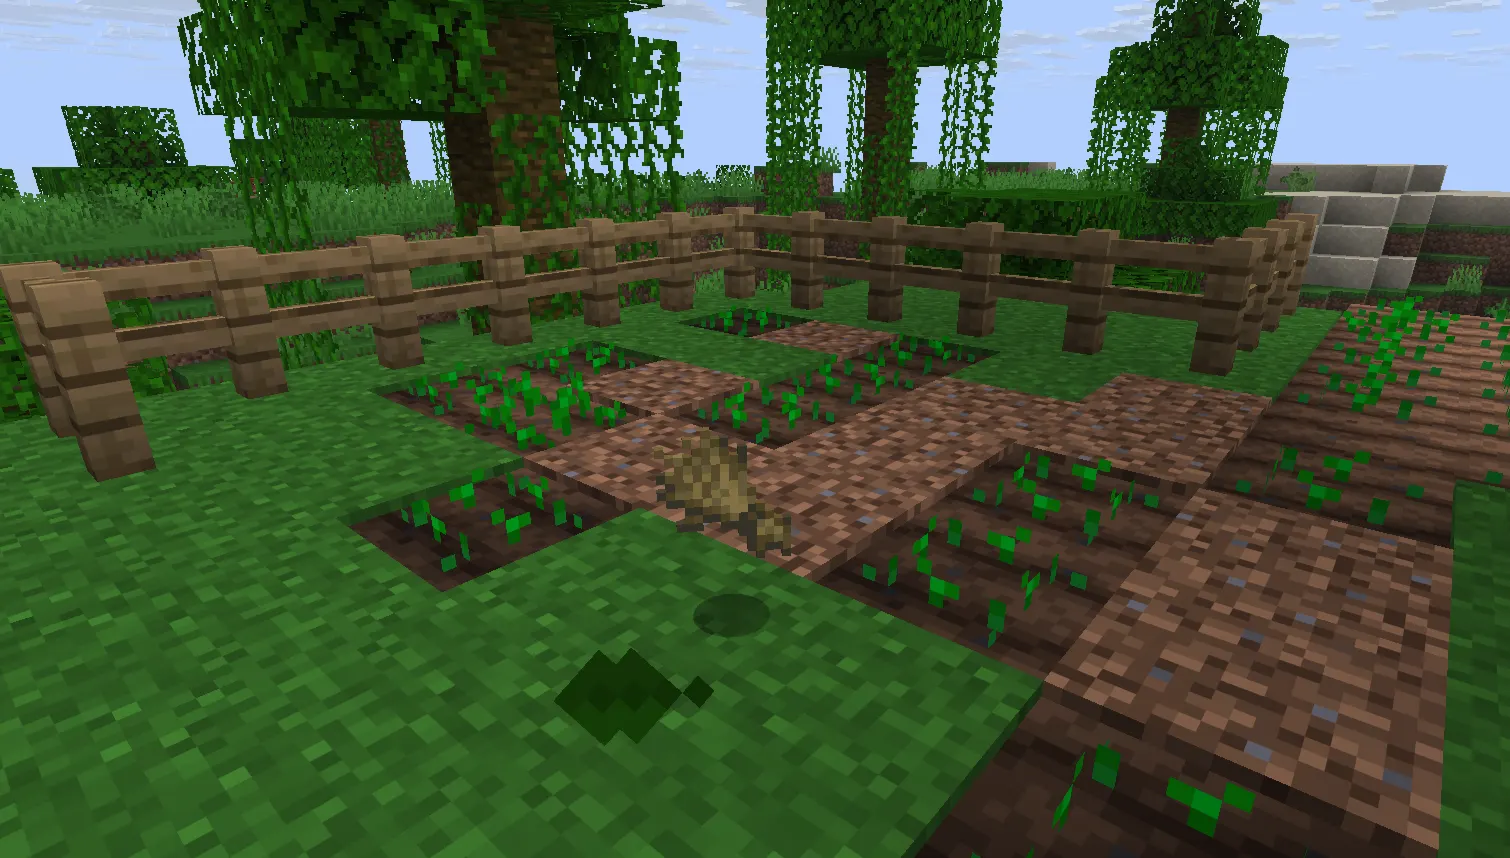
A villager becomes a farmer specifically because it claims a composter as its job site block. Once it has that job, its AI starts scanning nearby blocks for farmland with crops on it, within roughly a 16 to 32 block radius depending on version and pathing conditions.
When the villager spots mature wheat, it walks to it, breaks the block, and picks up both the wheat and any dropped seeds. It then walks to the nearest empty farmland tile it has already harvested and plants a seed from its own inventory. This loop repeats on its own as long as the villager can path to crops and has Seeds in its inventory to plant.
Farmer villagers can hold wheat, Seeds, carrots, potatoes, and beetroot in a hidden internal inventory separate from what you see when you trade with them. That inventory has a limited number of slots. Once it fills up completely, the villager stops harvesting new crops, since it has nowhere to put the drops. This is the single biggest reason people think their "automatic" farm has stopped working when really the villager just needs its pockets emptied.
Villagers don't share crops between each other in a wheat farm setup the way they do bread during a raid or famine event. That means a single farmer will keep harvesting the same field indefinitely rather than trying to distribute food, which is exactly the behavior you want here.
One thing worth knowing: if a villager's job site block gets destroyed, or if another villager claims the same composter while yours is away, it can lose its profession and stop farming entirely. Keep the composter protected and don't build a second unclaimed one nearby if you're running multiple farms close together.
How to Test the Farm
Stand inside the enclosure and watch a full growth cycle. Wheat has eight visible growth stages, and stage progression is tied to random tick Updates rather than a set clock, so growth speed varies. Confirm three things in order:
First, check that the villager is wearing farmer robes (a straw hat and apron), which confirms it claimed the composter successfully. Second, watch it harvest at least one wheat block and replant a seed in the same spot. Third, check the storage chest after a few in-game hours to confirm wheat and seeds are actually arriving.
If the villager harvests but the chest stays empty, the problem is in the collection system, not the villager. If the villager never harvests at all, the problem is upstream of that: profession, containment, or crop access.
How to Increase Wheat Production
The single biggest lever is adding more farmland tiles, since one villager can service more than a 9x9 grid without trouble. You can expand to an 11x11 or 13x13 area using additional water sources spaced every 8 blocks, as long as every tile stays within 4 blocks of a water source in some direction.
A second option is running multiple 9x9 modules side by side, each with its own villager and composter, feeding into a shared hopper line that dumps into one large storage chest. This scales better than one giant field because a single villager can only harvest so fast, and a second worker doubles your effective harvest rate rather than just doubling the field size.
Bone meal speeds up individual plants if you want a quick manual boost, though it defeats some of the point of a hands-off farm if you're using it constantly. Fortune enchantments on a hoe don't apply here since the villager does the harvesting, not you, so that trick only matters if you're hand-farming a separate field.
Keep the area lit at a light level of at least 9. Wheat can technically survive at lower light but grows noticeably slower, and in fully dark conditions it stops growing altogether.
Common Problems and Fixes
Farmer Villager Is Not Harvesting
Check that it actually claimed the composter and is wearing farmer robes. If it's still in plain villager clothing, either the composter is too far away, already claimed, or blocked from view by another block. Also confirm the villager isn't trapped in a spot where it can see farmland but can't path to it, which happens more often than people expect with uneven terrain or fences placed mid-field.
Wheat Is Not Being Collected
This is almost always the hopper minecart. Confirm the rail loop is powered the whole way around, not just at the starting point, and that the minecart hasn't derailed or gotten stuck against a wall. Check that hoppers are facing the correct direction into the collection chest, since a hopper only moves items in the direction it's pointed.
Villager Is Not Replanting
If the villager harvests wheat but doesn't replant, it's usually out of seeds in its internal inventory. This can happen if the hopper minecart is grabbing seeds off the ground before the villager can pick them up. Slow down or reposition the collection loop slightly, or manually toss a stack of seeds to the villager to restock it.
Farm Produces Mostly Seeds
Wheat drops one wheat item guaranteed per harvest, plus a random number of seeds, so a seed-heavy yield is normal, not a bug. If it feels excessive, that's just the drop table working as intended. Composting extra seeds is a good way to use the surplus.
Hopper Is Not Collecting Items
Double-check hopper orientation and that it's placed directly below where items are landing. A hopper minecart needs to physically pass under or through where drops land to collect them, so a trench that's too wide or too shallow will let items sit outside its collection radius.
Wheat Is Growing Slowly
Confirm every tile is within water range and check the light level with a debug screen (F3 on Java) or by eye at night. Growth speed also depends on random tick rate, which is a background game mechanic and not something you can force faster without bone meal or, on a server, adjusting the random tick speed game rule.
Villager Keeps Leaving the Farm
The containment wall has a gap somewhere, or a gate got left open. Villagers will also try to path toward beds or other job sites outside the pen if they can see one, so make sure there's no visible bed nearby competing for the villager's attention.
Farm Works in Java but Not Bedrock
Villager pathing and job site claiming behave slightly differently between editions, and Bedrock villagers can be a bit pickier about line of sight to the composter. If a farm built exactly to spec works on Java but not Bedrock, try moving the composter one block closer to the villager's likely standing position, or widen the gaps around it.
Java vs Bedrock Differences
The core farm design works on both editions. The differences show up in the details rather than the overall build.
Villager AI pathing is noticeably different between the two. Bedrock villagers sometimes take longer to claim a job site or seem more hesitant to path toward distant crops, so keeping the composter and farmland closer together tends to help more on Bedrock than on Java.
Hopper minecarts behave consistently in both editions, but Bedrock's redstone timing can feel slightly different when it comes to powering rail loops, so test your loop after building it rather than assuming it'll behave exactly like a Java tutorial you watched.
Random tick speed, which controls how fast crops grow, is the same default value on both editions unless changed by a game rule, so growth speed shouldn't differ meaningfully between them.
What You Can Do With Wheat
Bread is the obvious one: three wheat crafts into one loaf, and it's a reliable, cheap Food source once you have surplus. Hay bales use nine wheat each and are useful for storage or as a fast-falling block, and also feed and heal horses.
Wheat breeds cows, sheep, and mooshrooms, which matters if you're running a leather or wool farm alongside this one. It's a common trade item for farmer villagers, useful for building up emeralds early on. And any excess wheat or seeds you don't need can go straight into a composter to generate bone meal, which loops back into speeding up other crops.
Final Takeaway
This farm isn't complicated once you understand the two moving pieces: a farmer villager for harvest and replant logic, and a hopper minecart system for collection. Neither piece works well on its own. The villager without collection eventually locks up once its inventory fills. The collection system without a villager has nothing to gather, since redstone can't tell when wheat is ready to pick.
Build it once, keep the villager fed on seeds if it ever runs dry, and check back on the storage chest every so often. That's the whole maintenance list.