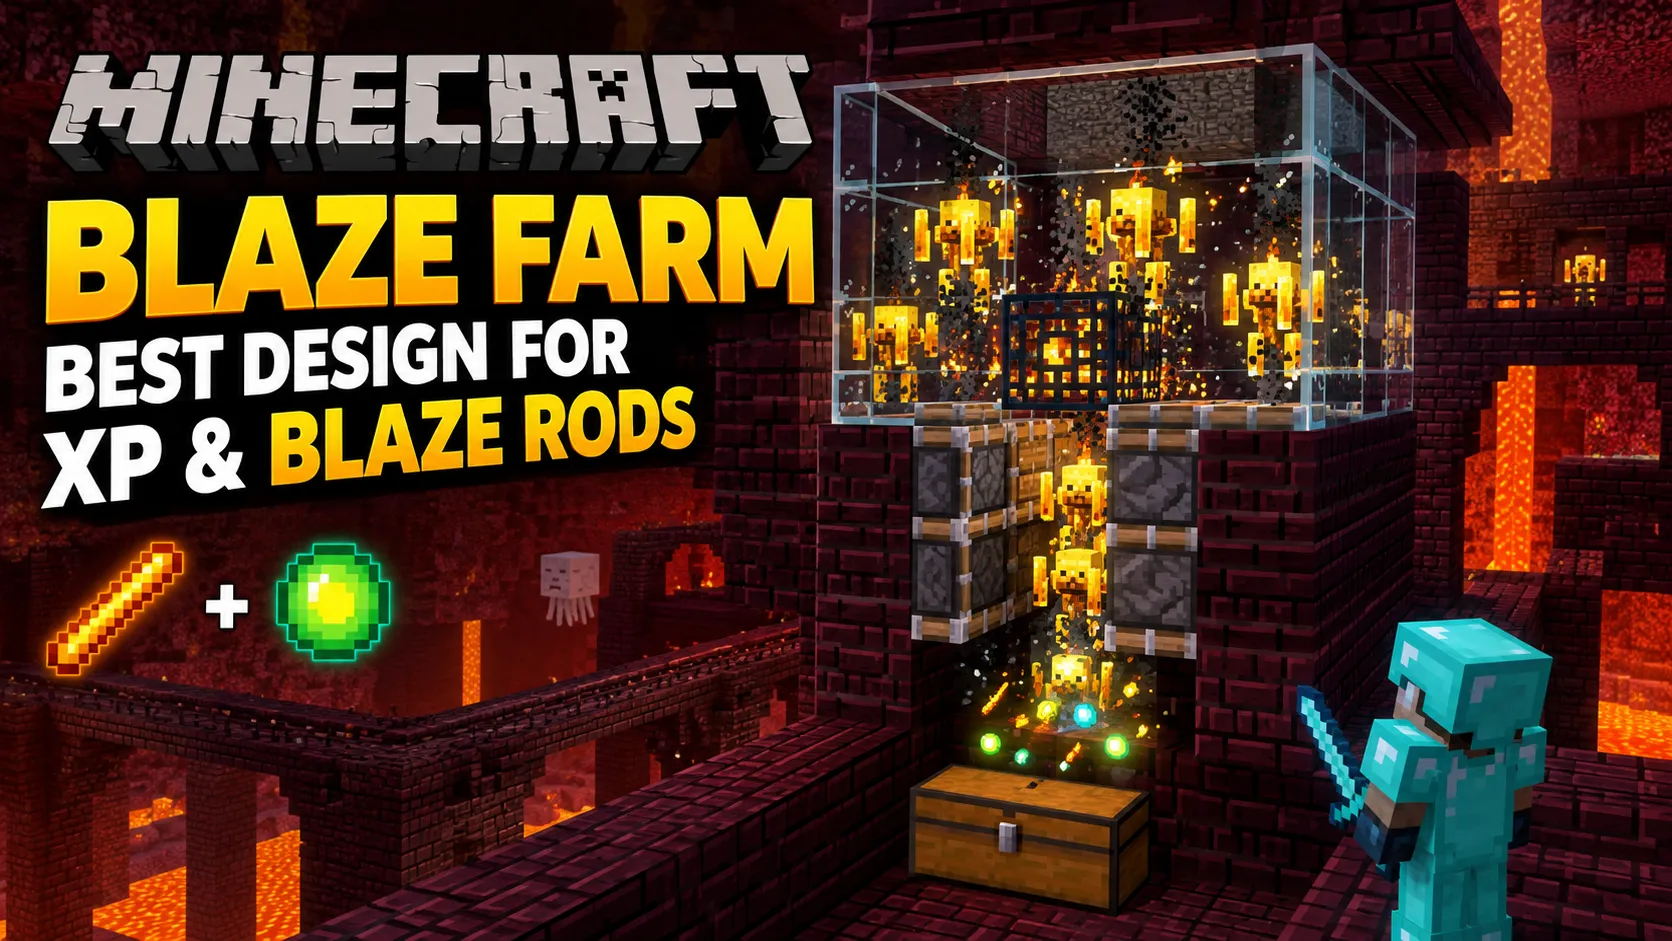
Blaze Farm in Minecraft: Best Design for XP and Blaze Rods
If you've ever run out of blaze powder mid-brew or watched your XP bar crawl instead of climb, a blaze farm solves both problems at once. Blazes are one of the few mobs that give double the normal XP for a single kill, and they're the only source of blaze rods in the game, which means no rods, no eyes of ender, no brewing stand fuel, and no trip to the End. A decent farm turns a dangerous, tedious grind through a Nether fortress into a five-minute AFK session that fills your inventory with rods and dumps levels on you at the same time.
This guide covers how to find and read a fortress for a spawner, exactly how blaze spawning works so your farm doesn't quietly stop producing, and a survival-friendly build you can put together with basic tools. It also covers where XP farms and rod farms diverge, because they're not quite the same build.
Quick Answer
Blaze farms are built inside Nether fortresses, either around a natural blaze spawner or, if your fortress doesn't have one, using the fortress's open spawning space. The spawner version is by far the easier of the two: you enclose the spawner's spawning area, funnel the blazes it produces into a tight killing chamber, and finish them off there. A single well-built spawner farm gives you both XP and blaze rods from the same kills, since a blaze drops rods and orbs at the same time. You'll need basic building blocks, a way to trap and squeeze the blazes (pistons and pressure plates work well but aren't strictly required), and ideally a Fire Resistance potion for the initial cleanup around the spawner.
Materials
You don't need anything exotic to build a working blaze farm. Here's what actually matters.
Essential
-
Building blocks to seal the 9x9x3 spawning area around the spawner (Nether brick, cobblestone, or anything you have in bulk)
-
A weapon (an Iron sword or better handles blazes fine)
-
Armor, ideally with fire protection if you have it
-
A water bucket or splash water bottles, since water damages blazes
-
Torches or another light source to temporarily shut the spawner down while you build
Recommended
-
A Fire Resistance potion for when you remove the lights and the spawner wakes back up
-
A Looting sword, which meaningfully increases your blaze rod drops
-
Pistons, redstone dust, a lever or button, and pressure plates for a semi-automatic funnel
-
A Shield to block fireballs while you work
Optional
-
Hoppers and a chest or hopper minecart system for automatic item collection
-
Glass, so you can watch blazes fall into the killing chamber and time your hits
-
A second spawner platform if your fortress happens to have two, for a bigger farm
Finding a Blaze Spawner
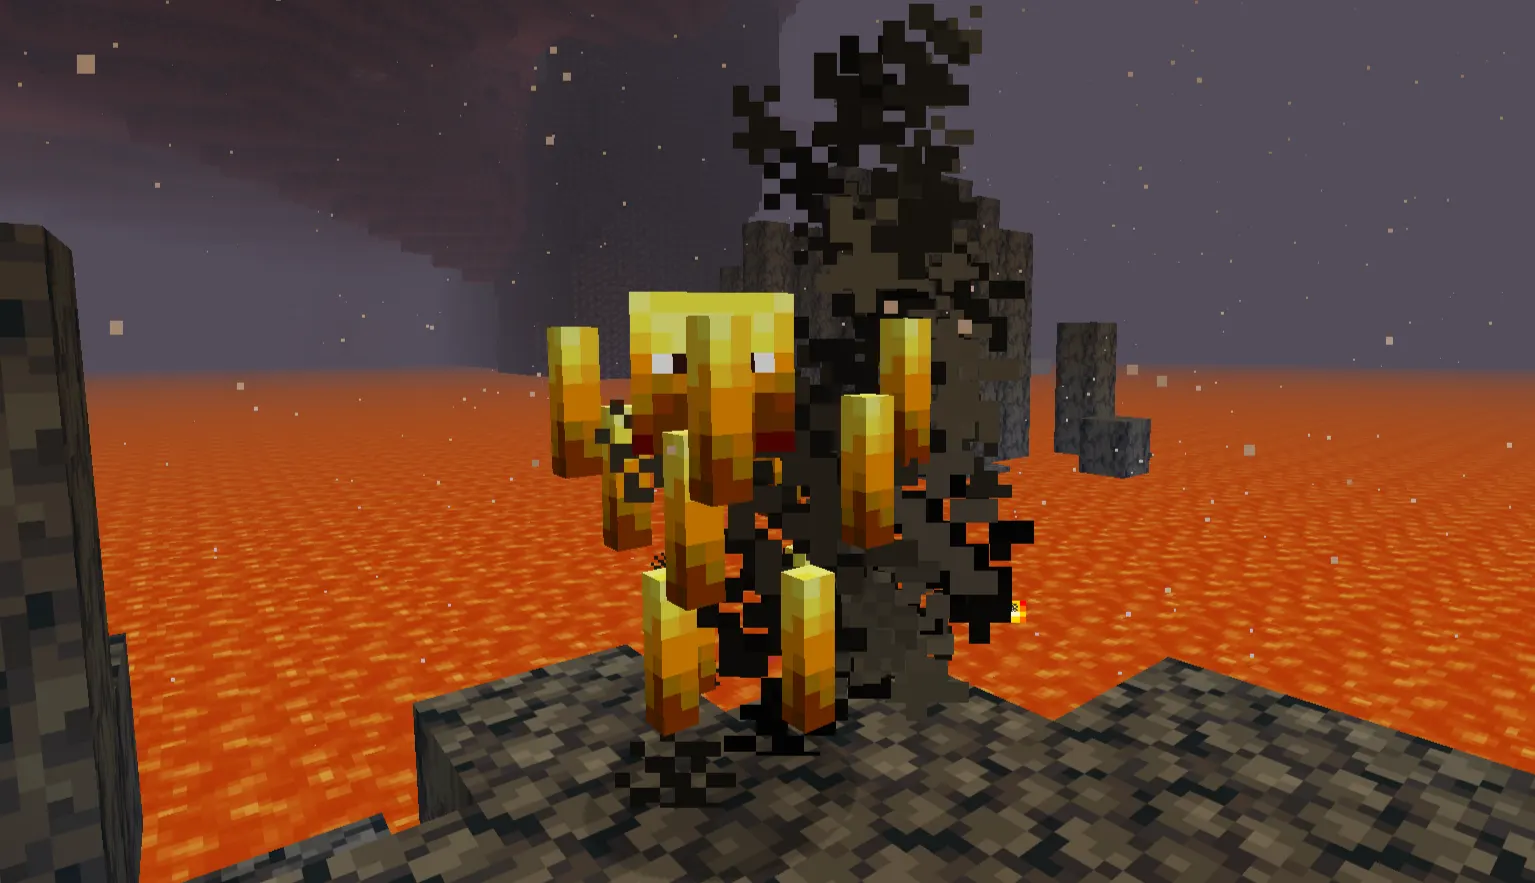
Blaze spawners only generate inside Nether fortresses, and a fortress can have up to two spawner platforms, so it's worth exploring the whole structure rather than stopping at the first one you find. The spawner itself sits on a small platform enclosed by Nether brick fencing, with a short three-block staircase leading up to it. That layout isn't an accident. It's built specifically to give blazes room to spawn and the player a defensible spot to fight from.
You'll usually hear or see a spawner before you're close enough to trigger it. Blazes wandering nearby, the crackle of fire, or a yellow glow through the fortress corridors are all good signs you're near one. Once you're within 16 blocks, the spawner activates and starts producing blazes, so approach with a weapon ready and don't wander in with low health.
If your fortress has two spawners, you don't have to choose. Building a farm at each one and combining their drop routes into a single collection point roughly doubles your output for a modest amount of extra work. If neither spawner is easily accessible (bridges destroyed, awkward angles, lava in the way), it's often faster to just find another fortress than to force a bad location to work.
While exploring, keep an eye out for wither Skeletons and ghasts, both of which spawn in fortresses and can make simple exploration genuinely dangerous. Bring blocks to build emergency bridges over lava, and don't fight blazes with your back to an open drop.
How Blaze Spawners Actually Work
This is the part most tutorials skim past, and it's exactly why so many blaze farms quietly stop producing after a few minutes.
A blaze spawner only functions when a player is within 16 blocks of it. Get closer than that and it starts attempting spawns; wander off and it goes dormant. This is why AFK spots matter: if you build your killing chamber too far from the spawner itself, you can accidentally step outside the activation range and wonder why nothing's happening.
Spawning also depends on light level. Blazes need a light level of 11 or lower, measured at the lower half of their body, on the spot where they'd spawn. That's why building the enclosure before removing your torches matters so much. If you leave light sources inside the spawning area, the spawner will sit there doing nothing no matter how close you stand.
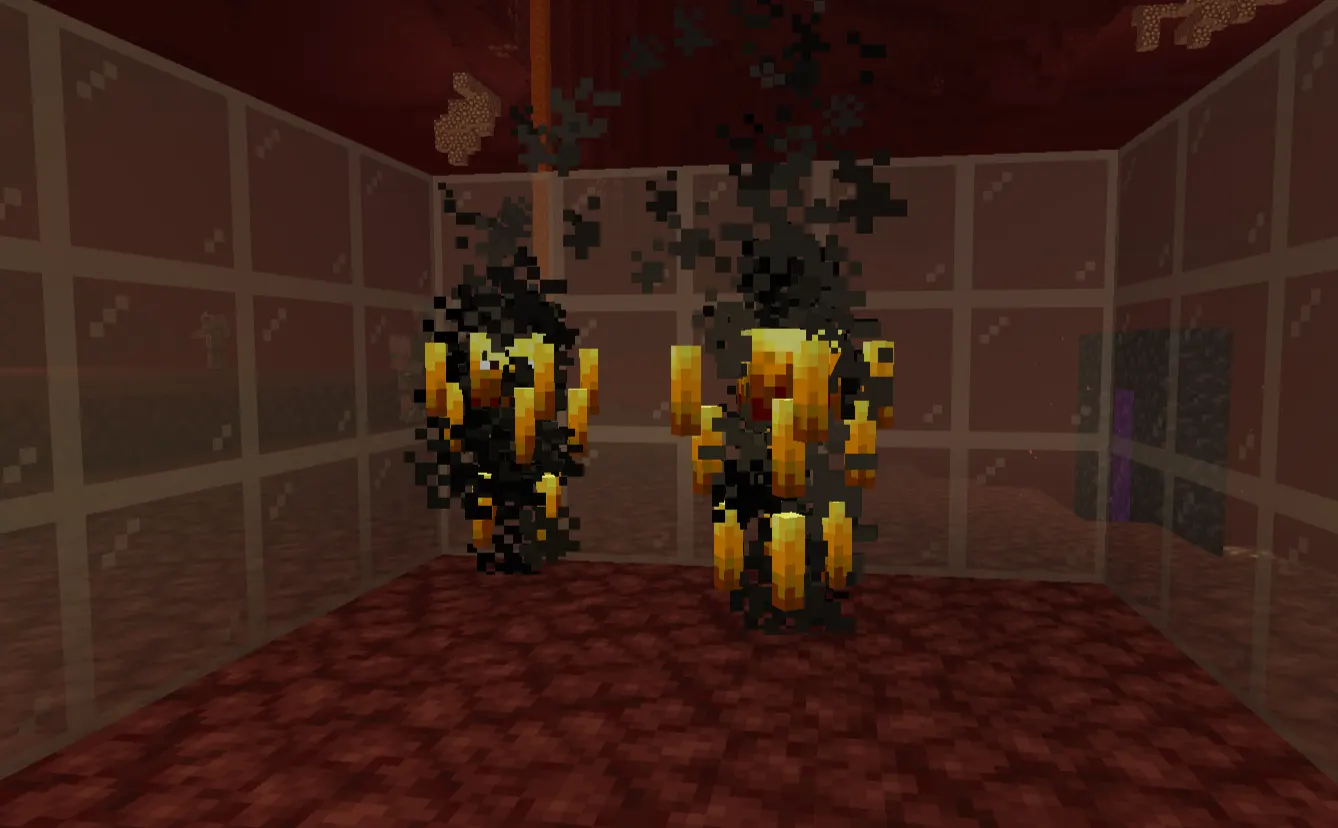
The actual spawning space around a spawner is a 9 by 9 block area centered on the spawner block, plus one layer of space above and below it. Blazes can spawn anywhere in that volume, including in midair, since they don't need solid ground under them. That's why the enclosure needs a full ceiling and floor, not just walls. An open top just means your blazes float straight up and out of reach.
Each spawn attempt can produce between one and four blazes at once, though how many actually appear also depends on how many blazes are already alive nearby. Like most spawners in the game, blaze spawners throttle themselves once there's a certain number of blazes already in range, so a killing chamber that lets bodies pile up actually slows your farm down over time. Clearing kills quickly keeps the spawner working at full rate instead of stalling out with a backlog of blazes it's already counted.
One more detail worth knowing: blazes that spawn get a randomized follow range of roughly 42 to 53 blocks the moment they spawn. That's why a blaze can sometimes chase you from surprisingly far away once it's aggroed, and it's part of why acting as "bait" to pull blazes toward a collection point still works as a manual technique even without redstone.
The Best Blaze Farm Design
The most reliable, beginner-friendly build is a spawner farm using a simple piston funnel and a suffocation-based killing chamber. It's not the fastest theoretical design out there, but it's survivable, cheap to build, and works whether you're going for XP, rods, or both.
Step 1: Secure the Spawner
Before touching anything, deal with any blazes already active around the spawner. Fight from the staircase where you have a narrow approach and can retreat if needed, or drink a Fire Resistance potion and just tank the fireballs while you clear the platform. Once it's safe, place temporary light sources (torches work, glowstone or jack o'lanterns are better since they hit light level 15) around the spawner to push the light level above 11 and stop new blazes from spawning while you build.
Step 2: Prepare the Spawn Area
Box in the full 9x9 area centered on the spawner, with a solid floor one layer below spawner height and a solid ceiling one layer above. Nether brick is a good choice since it's fireproof and you likely have plenty from the fortress itself, but any non-flammable block works. Leave one exit point for blazes to funnel out through once you've got containment sorted.
Step 3: Build the Collection Area
At the exit point, set up a slope or channel that guides blazes toward a single narrow opening. Pressure plates connected to pistons work well here: a blaze steps on a plate, a piston fires, and the blaze gets pushed toward the killing chamber instead of wandering the enclosure indefinitely. If you'd rather skip redstone entirely, you can stand near the exit yourself and let blazes aggro on you, since their AI will beeline toward a visible player.
Step 4: Create the Killing Chamber
This is where blazes end up funneled into a tight one or two block space. The classic method uses a slowly closing space, often with pistons on a delay, that suffocates blazes down to half a heart without killing them outright. From there, a single hit finishes each one off, which means fast kills and no wasted time chasing wounded blazes around. If you'd rather not deal with suffocation mechanics, a narrow corridor where blazes are forced to walk past you single file works almost as well, just slower.
Step 5: Add Collection
Place hoppers under the killing chamber leading into a chest, or just let items and XP orbs fall to a spot you stand in. Blaze rods and XP orbs will drop right where the blaze dies, so keeping that spot small and directly above your collection point saves you from chasing loose items around the chamber.
Step 6: Test the Farm
Remove your temporary light sources, step back to a spot within 16 blocks of the spawner, and watch what happens for a few minutes. Blazes should spawn, funnel toward the killing chamber, and die close enough together that you're not standing around waiting. If nothing spawns, double check the light level inside the enclosure first. It's the single most common reason a finished farm just sits there doing nothing.
XP Farming vs Blaze Rod Farming
These two goals point in slightly different directions, and it's worth knowing which one you actually care about before you finalize your build.
For XP
Player kills matter here specifically because experience orbs only drop reliably when a blaze dies to the player, not to environmental damage alone. A suffocation-based chamber that weakens blazes to half a heart and lets you land the finishing hit is ideal, since you get full XP for a kill that only costs you one swing. Avoid designs that let blazes pile up faster than you can hit them; a backlog of live blazes near the spawner throttles new spawns and slows your XP income even if it looks impressive.
For Blaze Rods
Rods drop from the kill itself regardless of exactly how the blaze dies, though a Looting enchantment specifically boosts the odds and quantity of rods per kill. If your priority is rods over XP, a fully automatic setup, like one that uses tamed wolves or environmental damage to finish blazes off, can run while you're doing something else entirely. Add hoppers or minecarts to funnel rods straight into storage and you've got a passive income source that doesn't need your attention at all.
Most players end up wanting both, and the good news is the same basic farm produces both by default. The only real decision is whether you're standing there landing the killing blow yourself for XP, or letting an automated system handle it for rods while you AFK nearby.
Getting More Blaze Rods
A few changes genuinely move the needle on rod output, and a few popular "tips" don't do much at all.
Looting is the single biggest lever you have. A blaze without Looting drops zero or one rod per kill; with Looting III, that range extends up to four rods, so upgrading your farm sword before you start grinding pays for itself fast. Beyond that, spawn efficiency matters more than almost anything else: a farm that keeps the kill area clear and stays within the spawner's 16-block activation range constantly will simply produce more blazes per hour than one where you wander off between sessions.
If you're going for a passive setup, position your AFK spot carefully. You want to be close enough to keep the spawner active but far enough that fireballs and melee attacks can't reach you, ideally behind glass or a solid wall with a clear view of the killing chamber. A second spawner platform, if your fortress has one, effectively doubles your ceiling, though it also doubles the building effort.
Be skeptical of any guide (including this one, if you're benchmarking against your own world) that promises a specific rods-per-hour number. Actual output depends on your farm's design, whether you're AFK or actively funneling blazes, your edition, server performance if you're on multiplayer, and how consistently you're clearing the kill chamber. Treat published rates as rough ballparks, not guarantees.
Staying Safe
Nether fortresses are genuinely one of the more dangerous places to build in survival, so a few precautions go a long way.
Blaze fireballs deal solid damage and set you alight, so a shield or a wall to break line of sight is worth having during the early building phase before your enclosure is sealed. Fire Resistance potions are close to essential once you remove your temporary lights and the spawner starts producing blazes again at full rate; without one, a sudden burst of four blazes at once can chip through your health fast.
Watch your footing around the spawner platform. Fortresses are full of gaps over lava, and a knockback hit from a blaze fireball near an edge is a common way to lose a fully-geared character. Build railings or fence posts along any exposed walkways before you start fighting there regularly.
Ghasts and wither skeletons both spawn in open fortress areas near your build site, so don't assume the whole structure is safe just because the spawner room is sealed off. A stray ghast fireball can hit you through gaps in an unfinished wall, and wither skeletons inflict Wither, which drains health over time even after the fight ends. Keep milk or a bed nearby if you plan to spend long stretches building.
Finally, always leave yourself an escape route. A hole in the wall you can duck through, a ladder back to the entrance, or even just a clear mental note of which way is out matters more than any piece of gear once things go wrong.
Does This Blaze Farm Work on Java and Bedrock?
Mostly, yes, with a few differences worth knowing before you commit to a specific build.
The core mechanics, spawner activation range, the 9x9 spawning volume, and the light level requirement, work the same way on both editions. Where things diverge is natural spawn group sizes (blazes spawn in groups of 2 to 3 on Java versus 1 to 3 on Bedrock) and entity cramming damage, which only exists on Java Edition. That last point actually matters for farm design: a Java killing chamber that lets too many blazes stack in one space risks them taking cramming damage and dying before you can land a kill for XP, while a Bedrock chamber doesn't have that concern.
Bedrock also has a genuinely useful shortcut Java doesn't: flowing lava naturally pushes blazes toward the flow point, which means you can build a working funnel with no redstone at all. On Java, that same lava-pushing behavior for fire-resistant mobs exists too, but it's less commonly used since Java players tend to default to piston-based funnels instead.
The piston-and-pressure-plate design covered above works on both editions, though exact redstone timing (repeater delays, piston firing order) can need small adjustments between them due to differences in tick handling. If you're following a build from a video and something isn't triggering quite right, check whether it was originally built for the other edition before assuming your farm is broken.
Blaze Farm Not Working? Troubleshooting
|
Problem |
Likely Cause |
Fix |
|
No blazes spawning at all |
Light level inside the spawn area is above 11, or you left a light source behind after building |
Break every torch, lantern, or glowstone block inside the 9x9 enclosure and check with a light-level overlay or by testing at night |
|
Farm produces blazes slowly |
You're standing outside the spawner's 16-block activation range, or the kill chamber has a backlog of live blazes throttling new spawns |
Move your AFK spot closer to the spawner and clear kills faster so the spawner doesn't see a crowd of existing blazes |
|
Blazes keep escaping the enclosure |
Gaps in the ceiling or walls, since blazes spawn and float in midair |
Seal every block of the 9x9x3 volume, including corners and the ceiling directly above the spawner |
|
XP isn't dropping from kills |
Blazes are dying to suffocation, fall damage, or another environmental source instead of a player hit |
Make sure your killing method only weakens blazes, leaving the final hit to the player, since orbs need a player kill to drop reliably |
|
Rods aren't collecting into Storage |
Hoppers are misaligned, out of range, or the drop point isn't directly above them |
Confirm hoppers sit directly beneath where blazes die and that item drops aren't scattering outside the hopper's pickup radius |
|
Spawner seems completely inactive even up close |
You're just outside 16 blocks, or the entire spawn volume is still lit above the threshold |
Stand directly on the spawner's platform to confirm activation, then re-check light levels across the full enclosure, not just near the spawner block |
Common Mistakes
-
Building the kill chamber too far from the spawner and stepping outside the 16-block activation range without realizing it
-
Leaving a single torch or lit block inside the spawn volume, which quietly blocks all spawning
-
Making the enclosure smaller than the actual 9x9x3 spawning space, which pushes blazes to spawn just outside your walls
-
Letting kills pile up instead of clearing them quickly, which throttles the spawner's output
-
Using a purely environmental kill method (lava, fall damage) when the goal is XP, since player kills are what reliably drop orbs
-
Skipping Fire Resistance and getting caught by a full burst of four blazes at once
-
Assuming a build works identically on both editions without checking for cramming or redstone timing differences
-
Expecting a specific rods-per-hour number instead of judging your farm by whether the chamber stays empty between spawns
Optimization Tips
The single highest-impact change you can make is keeping the kill chamber clear. A farm that lets blazes accumulate is a farm that's actively slowing itself down, since the spawner checks how many blazes already exist nearby before attempting a new spawn. Everything else is secondary to this.
After that, Looting III on your weapon has an outsized effect on rod output specifically, since it directly widens the drop range per kill. If you're choosing between upgrading your sword or expanding the farm's footprint, the sword usually wins.
Positioning your AFK spot correctly, close enough to keep the spawner active, protected enough that you're not taking chip damage the whole time, matters more than most redstone tricks. A perfectly engineered piston funnel built in the wrong spot underperforms a simple design built in the right one.
Sealing the enclosure fully, with no floating gaps or missed corners, prevents the slow leak of blazes that never make it to your funnel at all. It's a boring fix, but it's usually the actual answer when a farm feels underwhelming compared to what a tutorial promised.
What Are Blaze Rods Used For?
Blaze rods aren't just a farming target for their own sake. They're a genuine progression bottleneck. Combined with an ender pearl, a blaze rod (via blaze powder) crafts an eye of ender, which you need in bulk to locate and activate a Stronghold portal. Blaze powder is also required as fuel for brewing stands, meaning every potion you make afterward traces back to a blaze kill somewhere along the line, and it's a core ingredient in potions of Strength. On top of the progression angle, blaze rods work as Furnace fuel, sitting just behind lava buckets, blocks of coal, and dried kelp blocks in overall efficiency, which makes a surplus from your farm genuinely useful even after your End prep is done.